¶ Advanced Relief Sculpting Tutorial
This tutorial explains the method of performing 3D relief processing in Kiri.moto.
Learning Suggestions: To facilitate understanding of the following content, we recommend that you complete:
- First-time User Tutorial (Basic Operations and Interface)
- Machine Tool Configuration Tutorial (Add Configuration Tutorial)
- Tool Addition Tutorial (New Tool Tutorial)
- 2D Plane Machining Tutorial (Basic Tool Path Programming)
¶ Preface:
Since the current version of Kiri.moto does not support exporting the roughing and finishing tool paths separately as independent NC files, please use the following method:
Start two Kiri.moto instances: Open two separate Kiri.moto browser tabs or windows simultaneously.
Set separately:
In the first instance, configure and generate the rough machining tool path.
In the second instance, configure and generate the refined tool path.
Key synchronization settings: Make sure that the following parameters in both instances are exactly the same:
Raw material dimensions (Stock Material Dimensions)
Work Coordinate System Origin
此操作是保证粗、精加工精准对齐的基础。
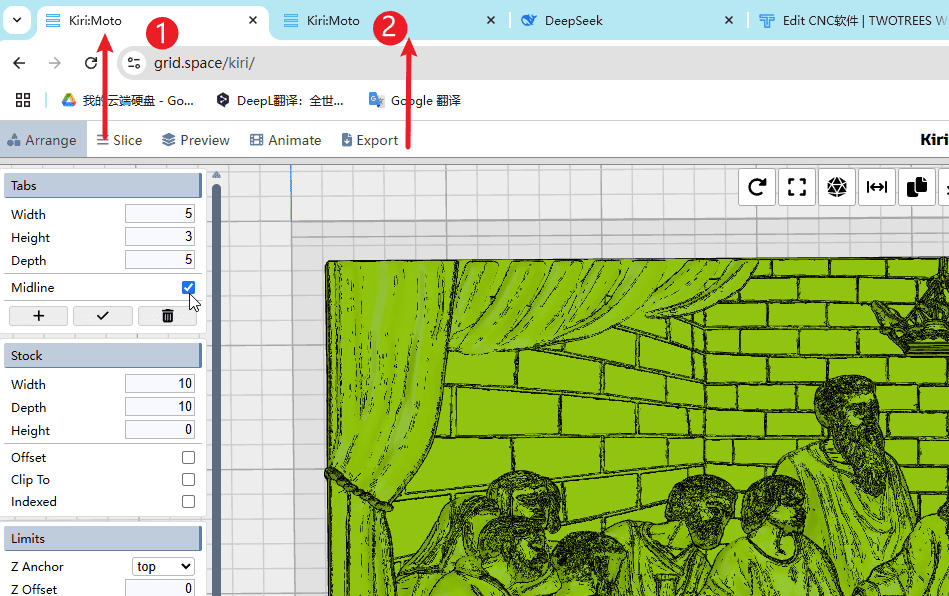
Step 1
Perform the operations according to the sequence numbers.
- 1.Select a page for rough programming processing
- 2.The second page undergoes refined programming
|
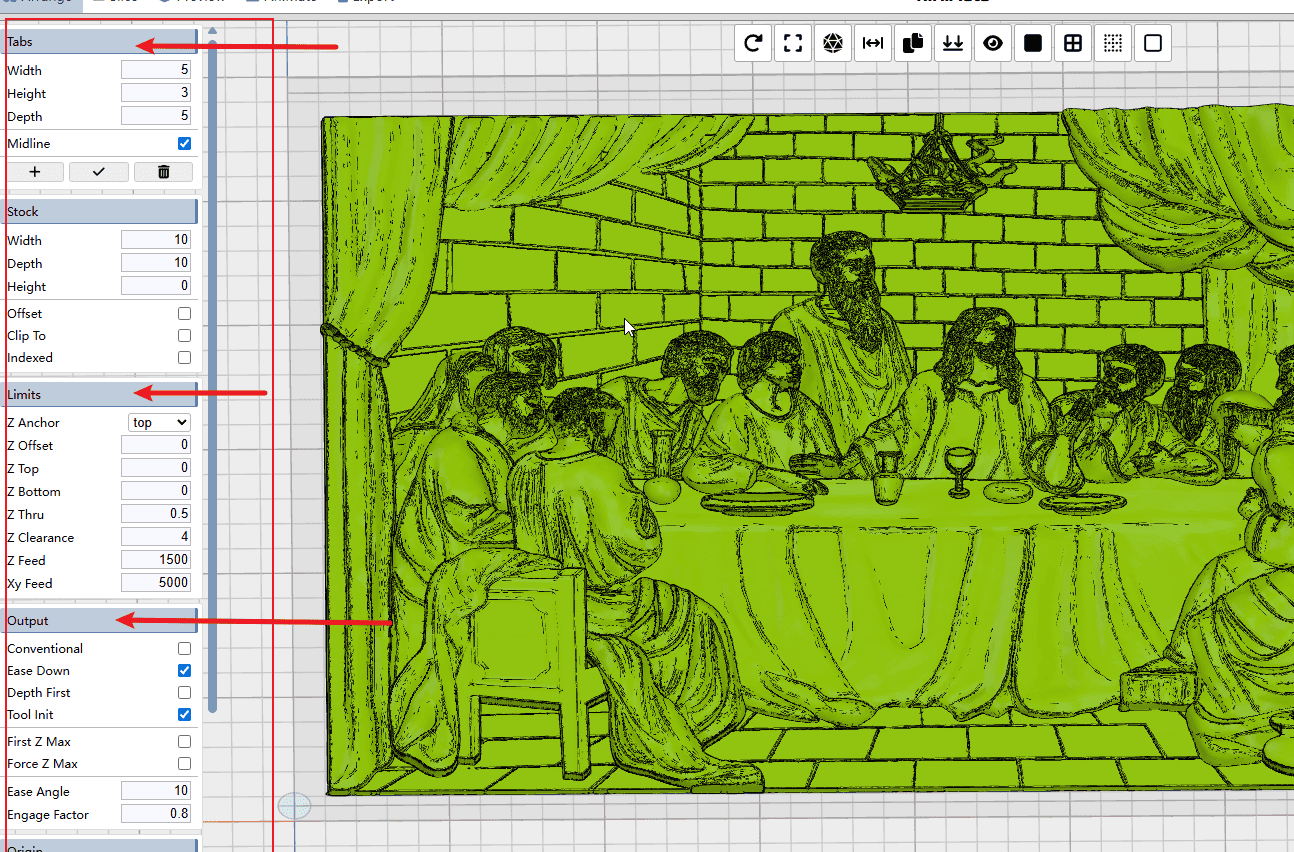
Step 2
The settings bar on the left can be used in the same way as in the 2D programming tutorial (Note: You can set it yourself, but make sure the settings for roughing and finishing are consistent)
|
Step 3
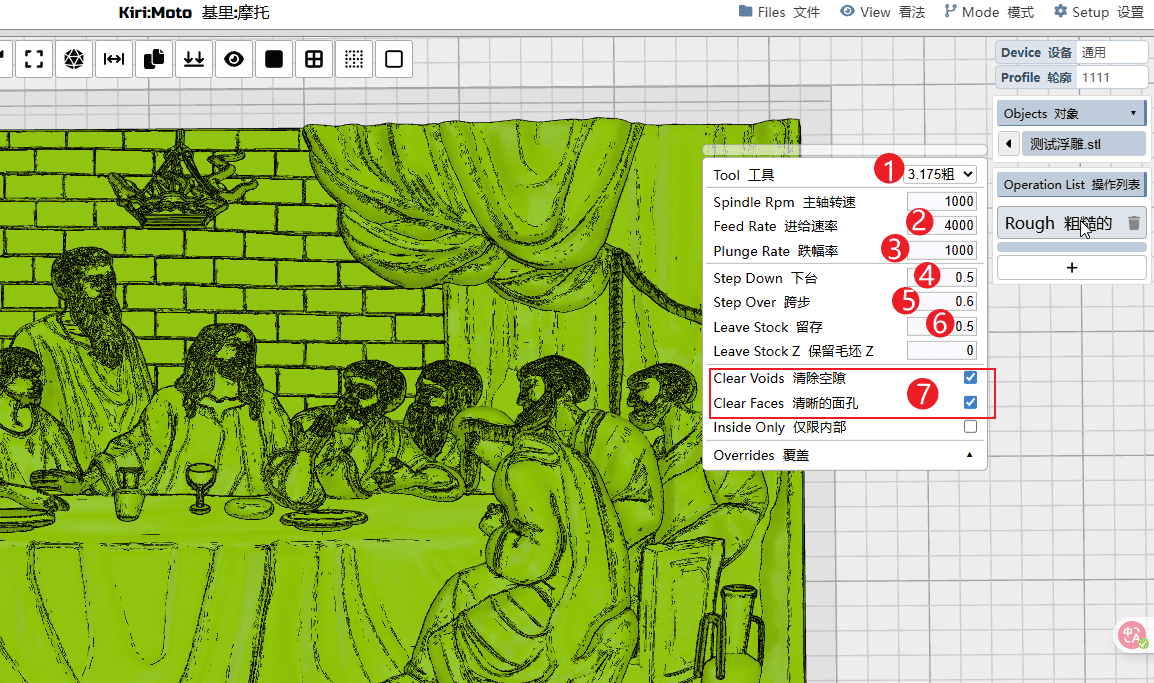
Coarse processing settings,Perform the operations according to the sequence numbers.
- 1.After selecting the rough machining instructions, first choose the face mill cutter required for the rough machining.
- 2.Set the XY feed rate
- 3.Set the Z-axis feed rate for retraction
- 4.Set the depth of each downward cut
- 5.Set the row spacing for each cutting path
- 6.Set the margin properly to facilitate subsequent fine processing. A margin of around 0.5 is sufficient.
- 7.Just check the boxes of the options you want to select.
|
Step 4
Perform the operations according to the sequence numbers.
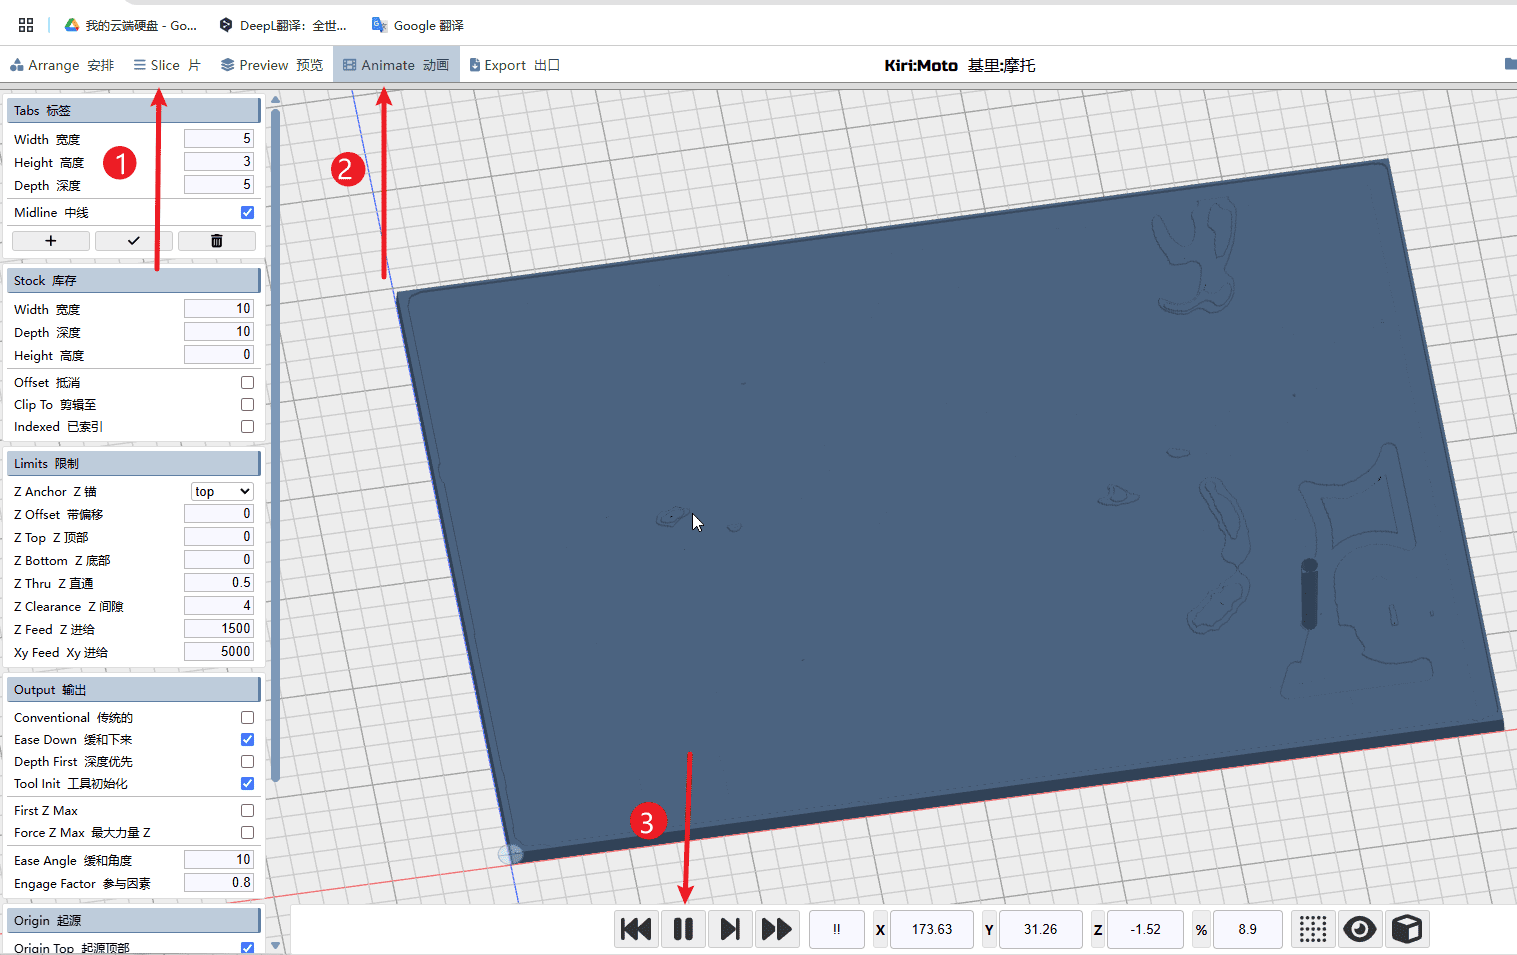
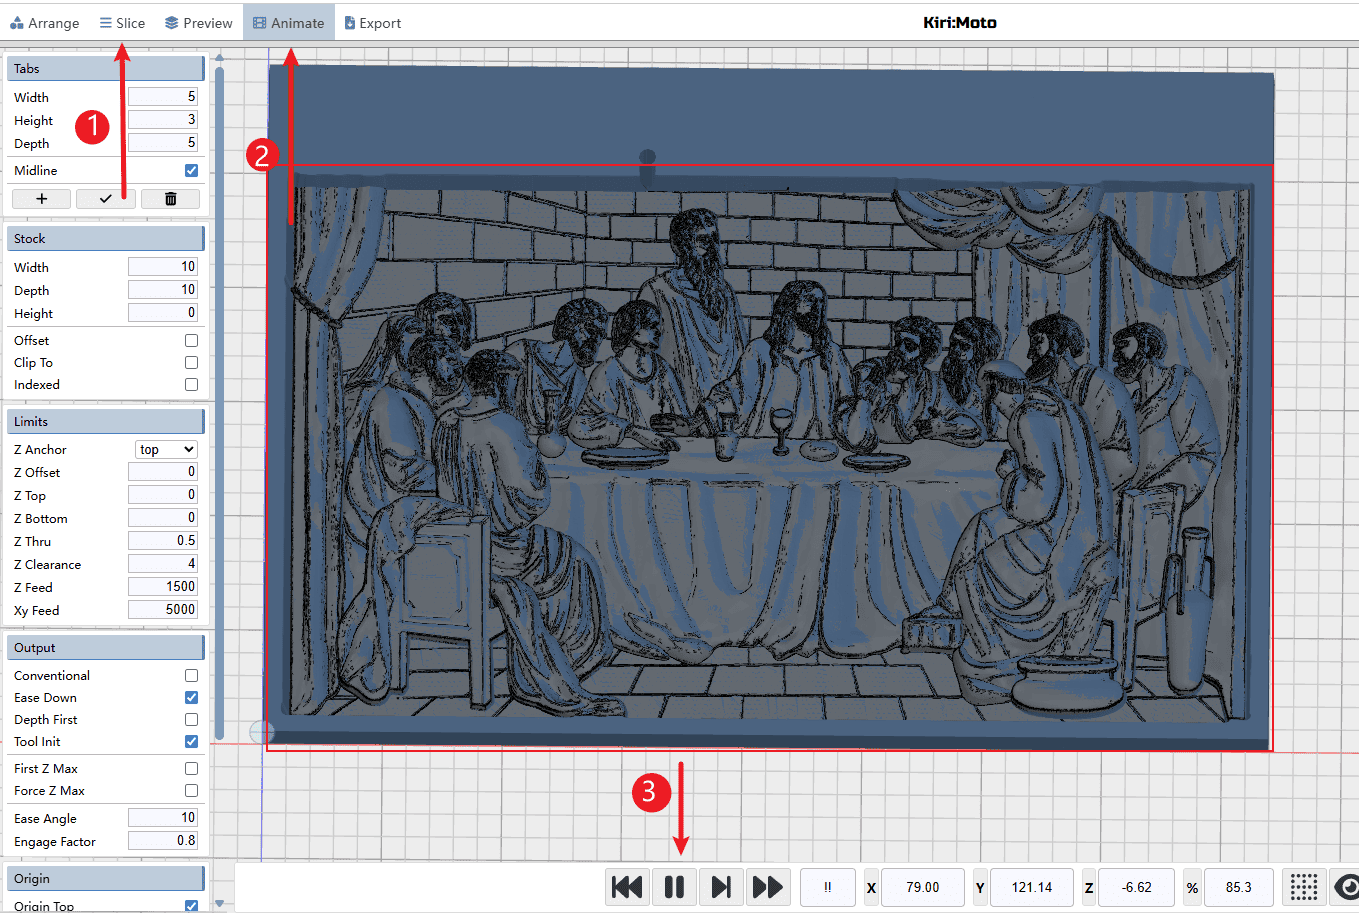
- 1.Click on the slice to start programming and wait for it to complete.
- 2.Click simulation
- 3.Click to play and check if the knife path is normal
|
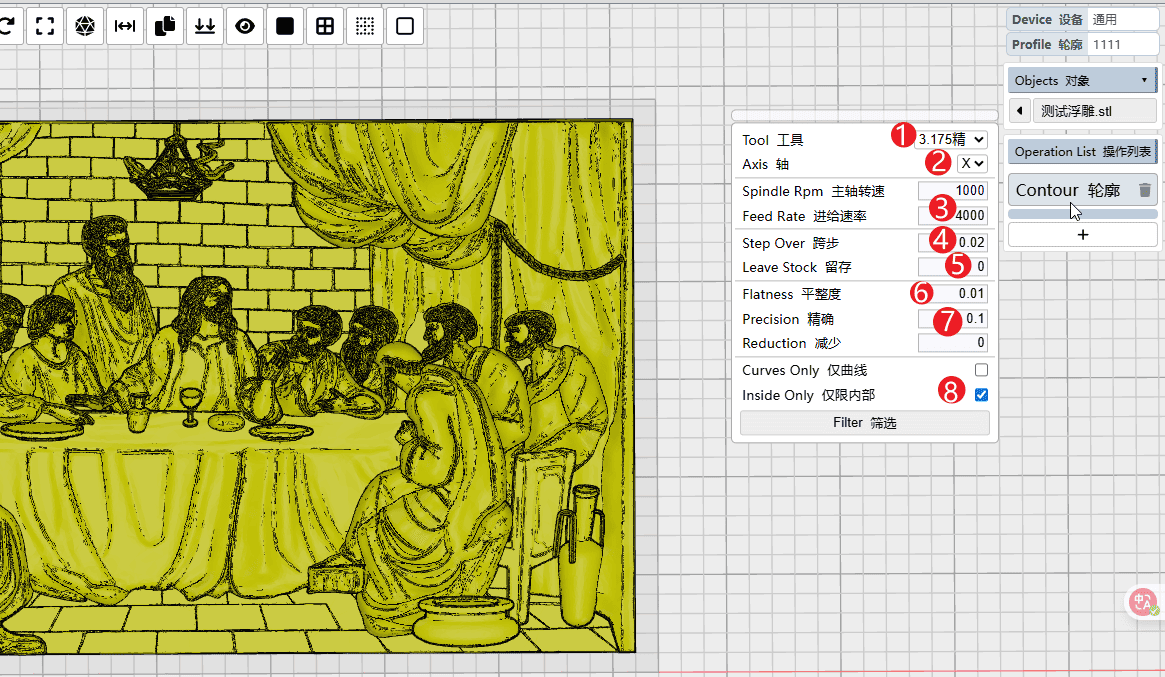
Step 5
Finishing processing settings,Perform the operations according to the sequence numbers.
- 1.Select the contour command. First, select the V-shaped milling cutter that needs to be finely processed.
- 2.Set the direction of the tool path movement
- 3.Set the XY feed rate
- 4.Set the step distance for movement, and the machining allowance setting should be within 0.5.
- 5.Finishing processing can do without setting up allowances.
- 6.The recommended setting for flatness is 0 - 0.01 (you can also set it yourself. The smaller the value, the more it will ignore minor protrusions).
- 7.The recommended setting for precision is 0.1.
- 8.Select “Internal Only”
|
Step 6
Perform the operations according to the sequence numbers.
- 1.Click on the slice to start programming and wait for it to complete.
- 2.Click simulation
- 3.Click to play and check if the knife path is normal
|
Step 7
Perform the operations according to the sequence numbers.
- 1.Set the names for rough processing and fine processing separately (to avoid duplicate naming)
- 2.You can preview the G-code.
- 3.Finally, simply export the G-code separately.

|