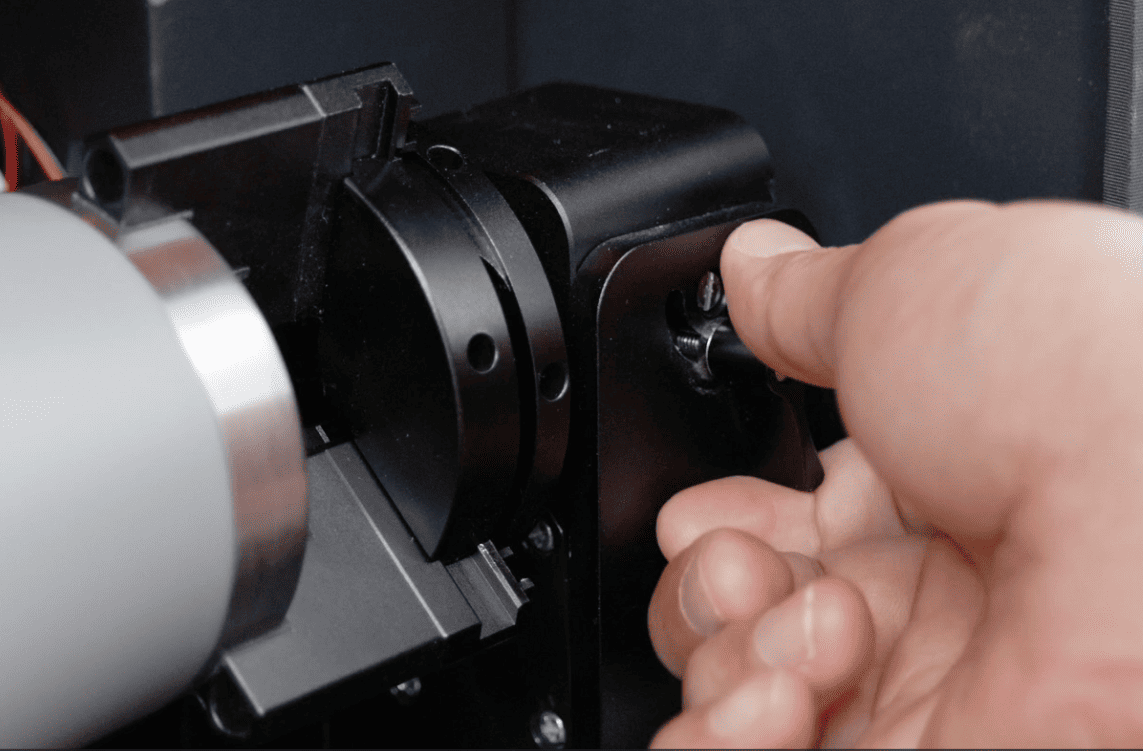
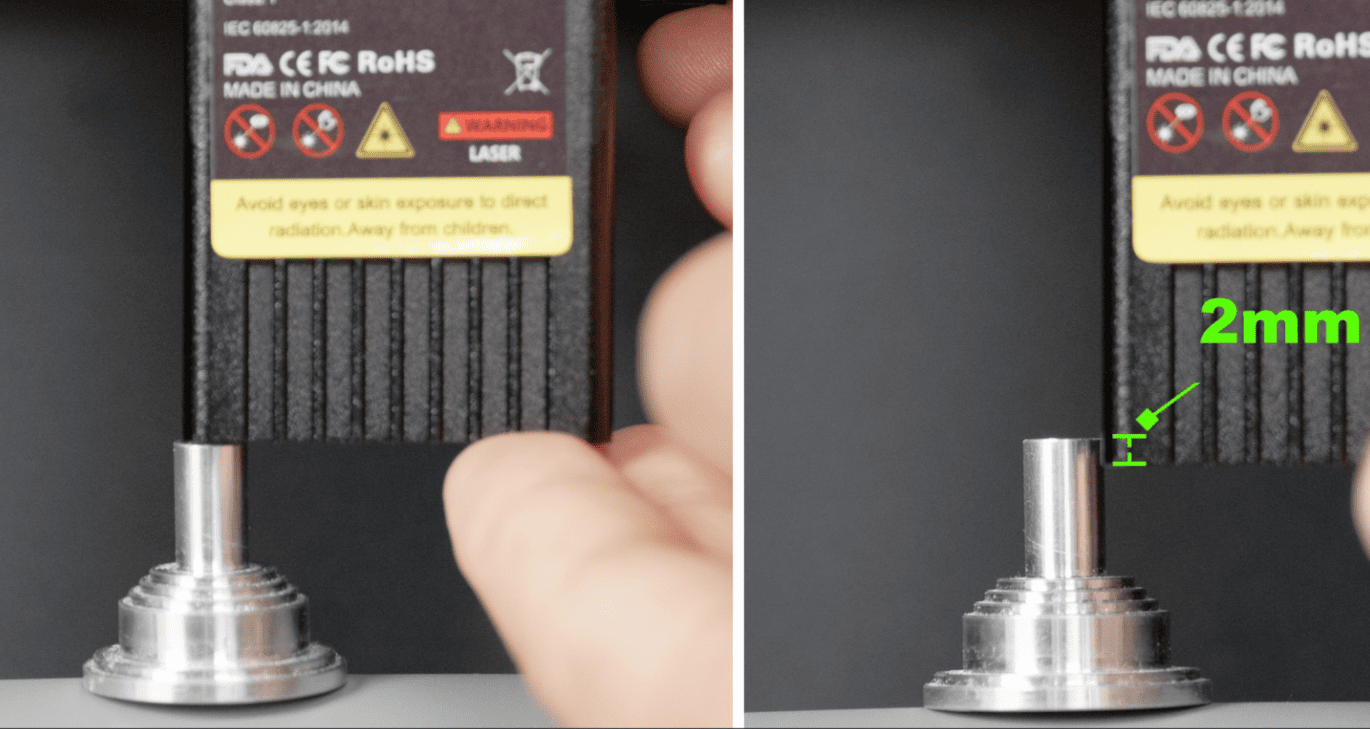
Place the bottom flat surface of the laser head against the focused surface, then fix the laser head a little bit lower, approximately two millimeters, to complete the focusing.
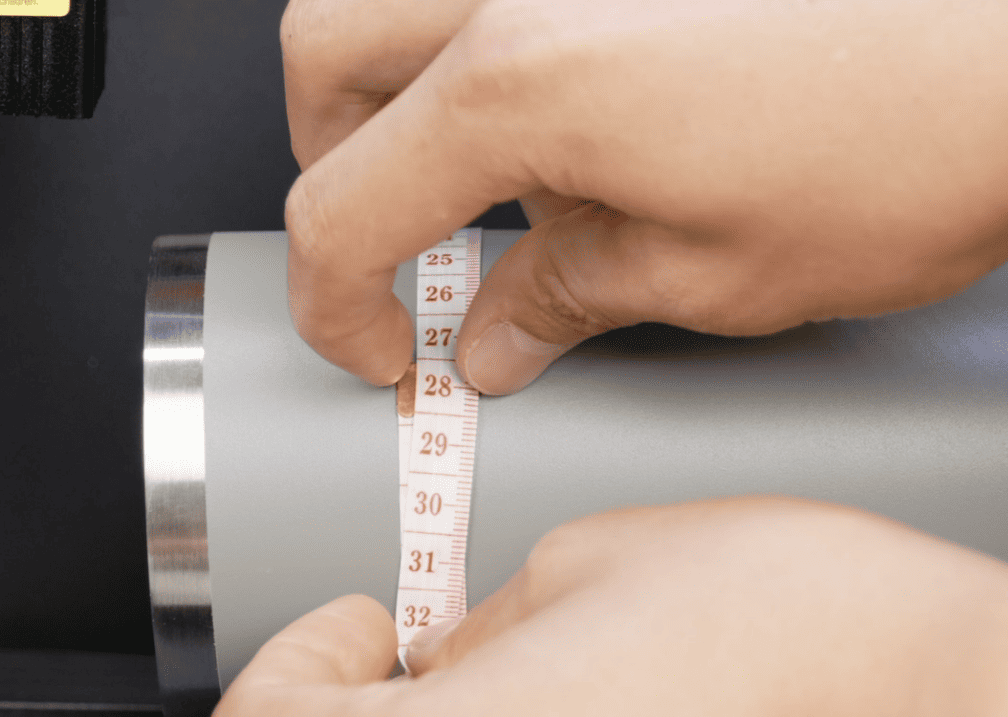
1.Use the included tape measure to measure the circumference of the area to be engraved (or you can measure the diameter using a caliper), and record the measurement.
2.1.Open the laser tool in the upper left corner
2.2.Click on the rotation settings
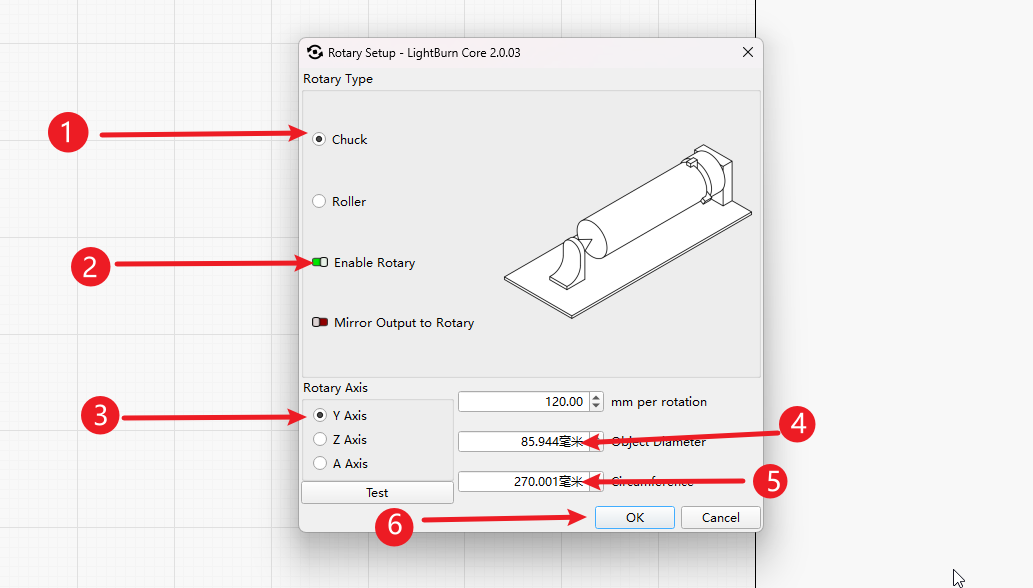
3.1.Choose the style of the rotating module
3.2.Click to start rotation
3.3.Rotation axis selected as Y
3.4.If you measure the diameter using a caliper, please enter the diameter in this column.
3.5.If you measure the circumference using a tape measure, please enter the length of the circumference in this column.
3.6.Click “OK” to proceed.
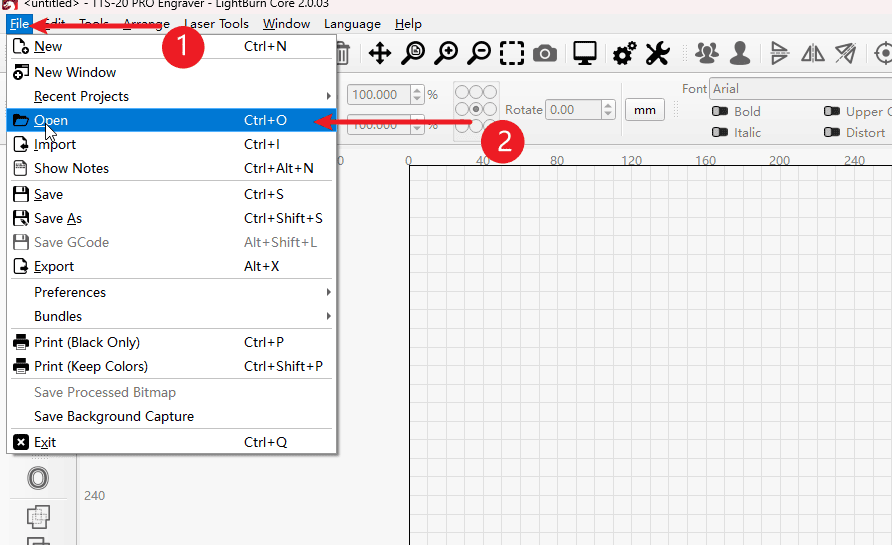
4.1.Click on the file in the upper left corner.
4.2.Click to open the file
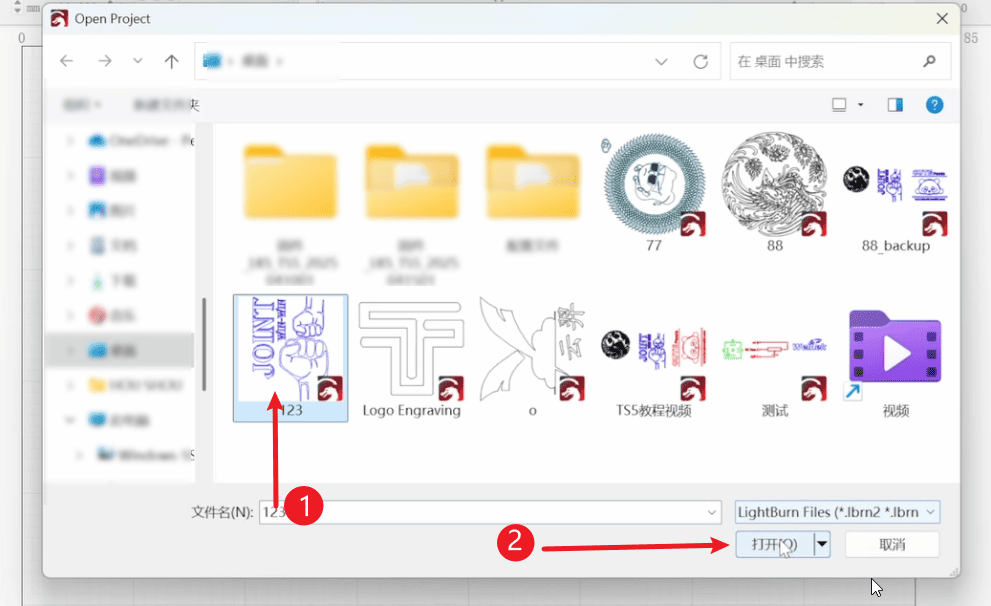
5.1.Select a file (If there is no pre-made file, you can change the opening file format to image and use the image for processing and engraving)
5.2.Click to open
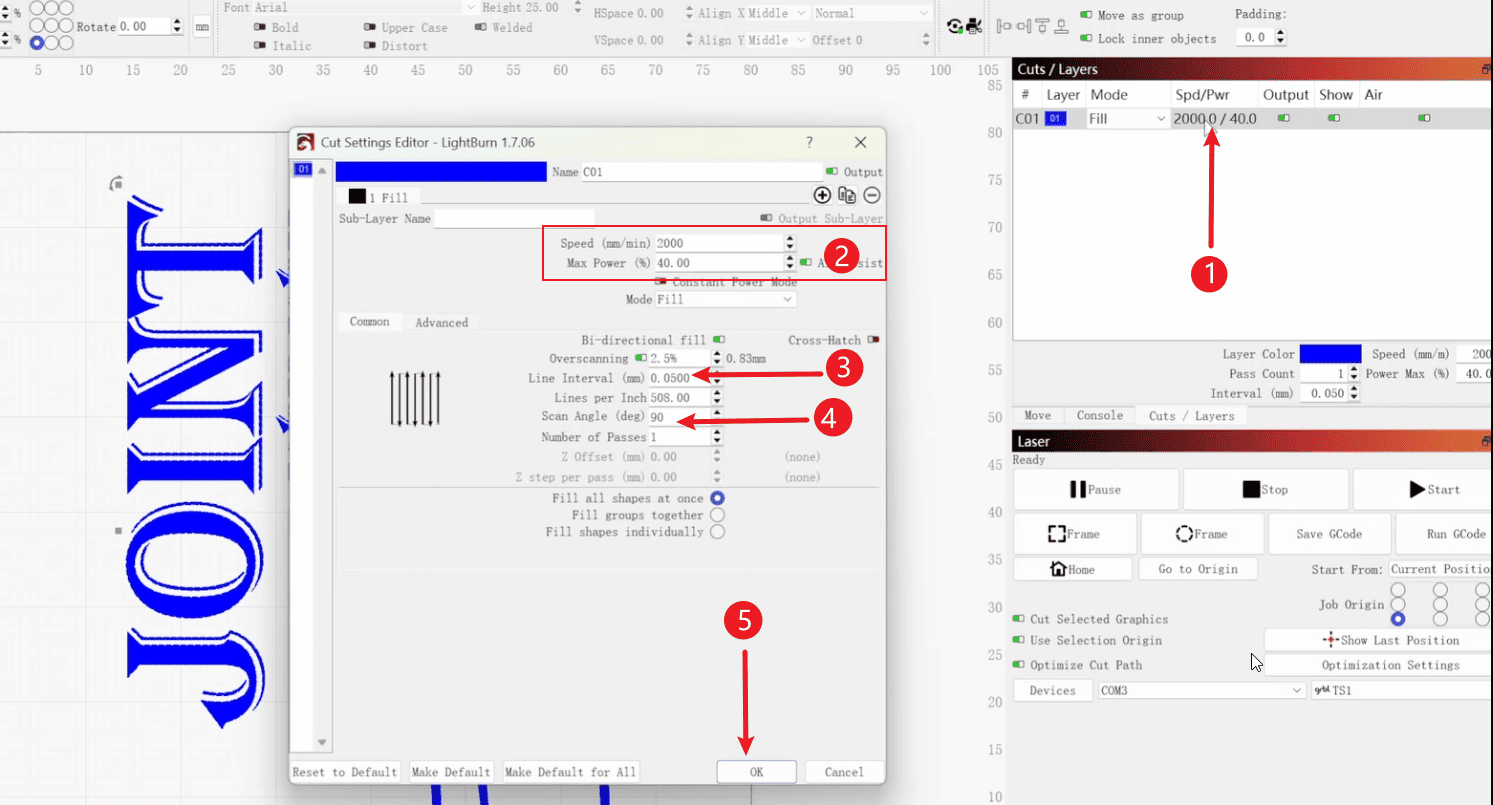
6.1.After selecting the image to be engraved, click on the engraving parameters.
6.2.Set the speed and power parameters for the engraving according to your needs.
6.3.Set the line spacing for each line (this is related to quality and the recommended value is 0.08)
6.4.Set the movement angle to 90 degrees.
6.5.Click “OK” to complete the setting of the carving parameters.