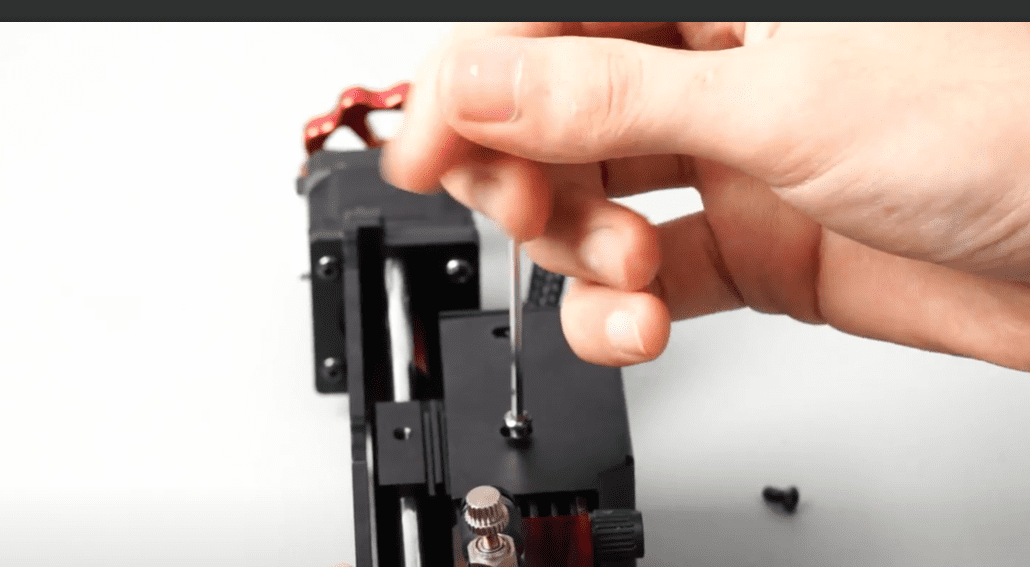
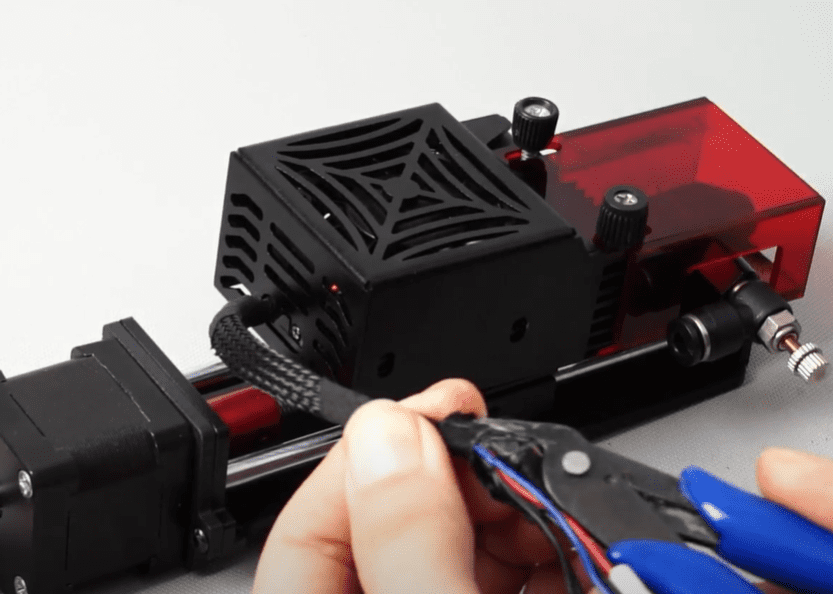
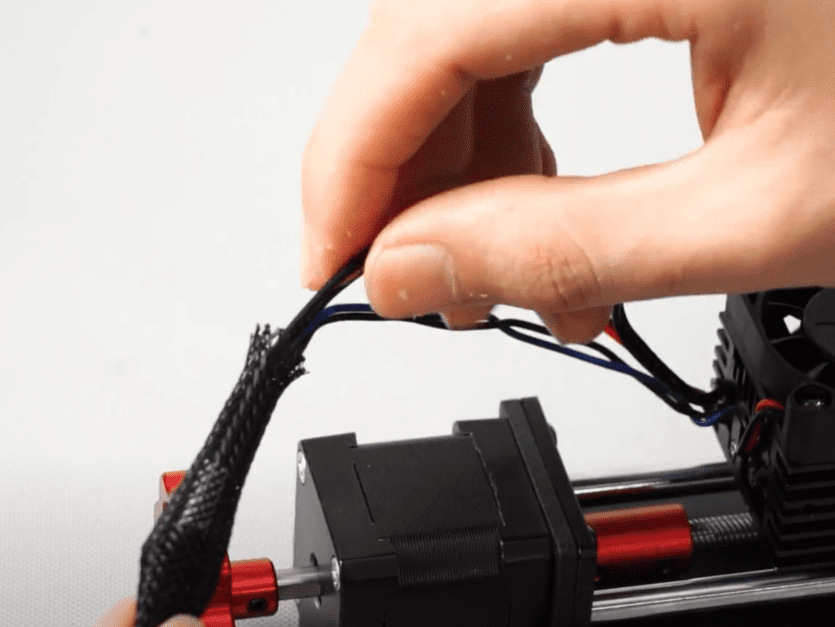
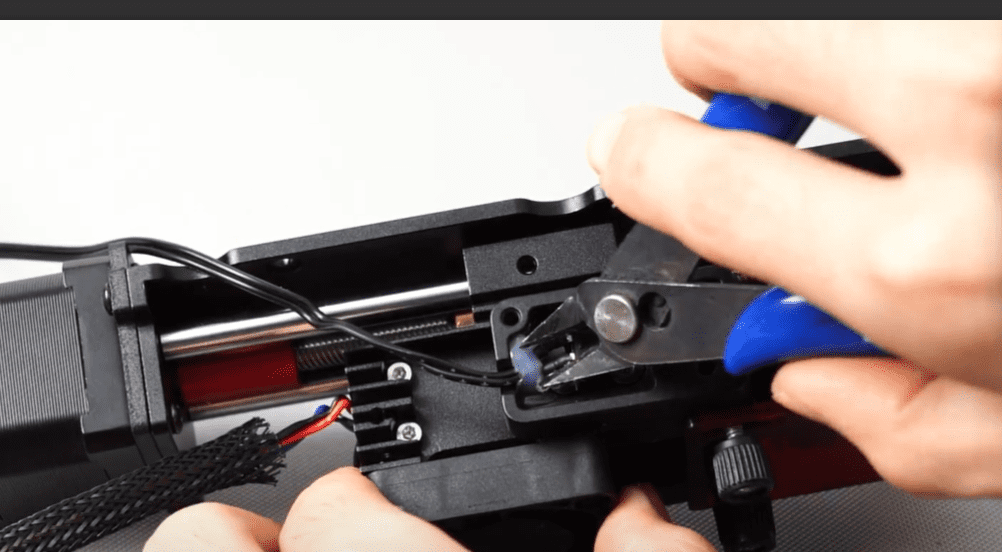
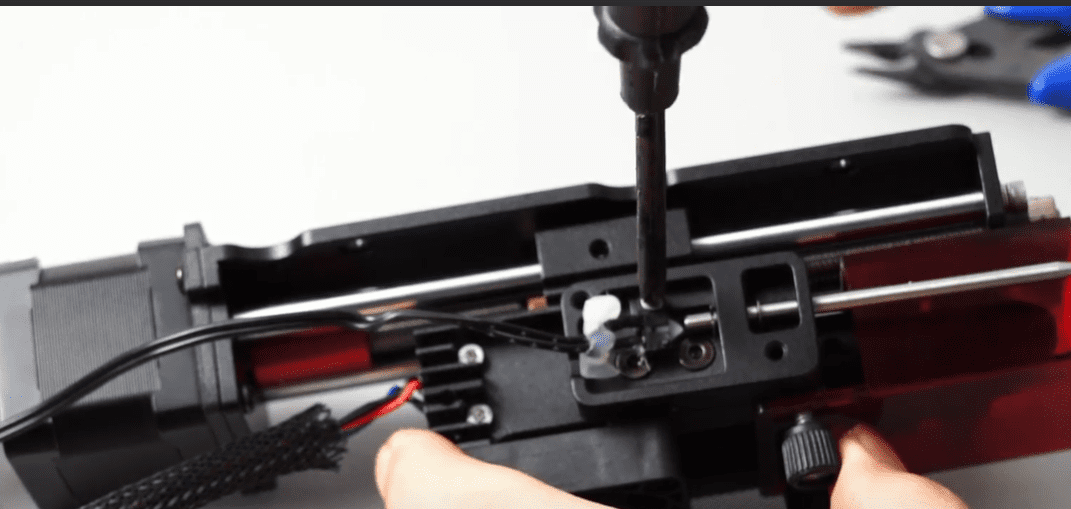
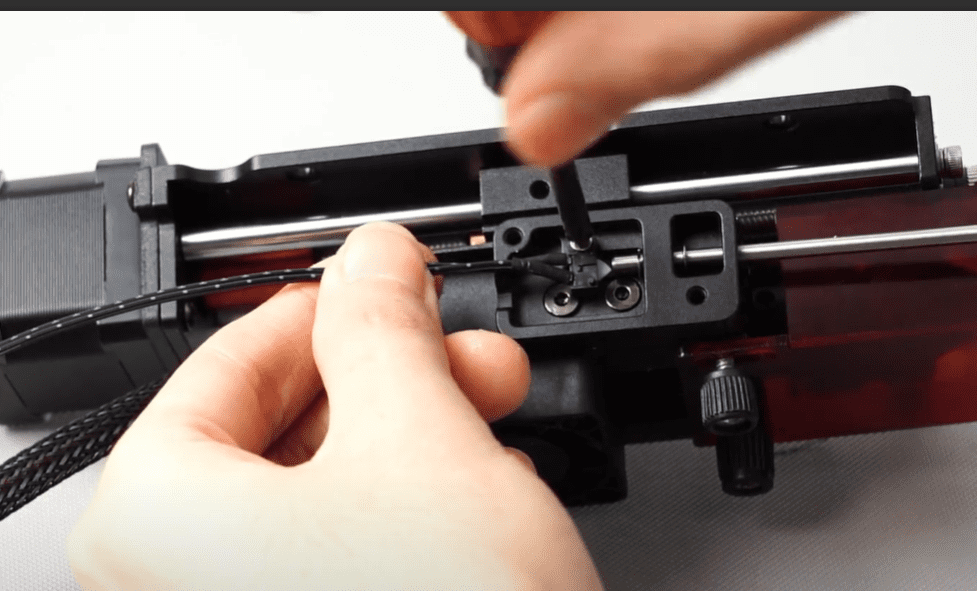
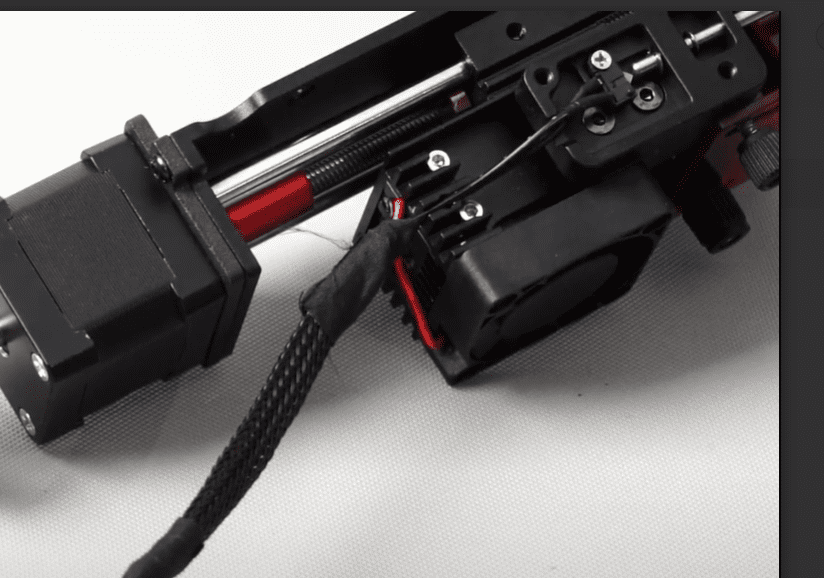
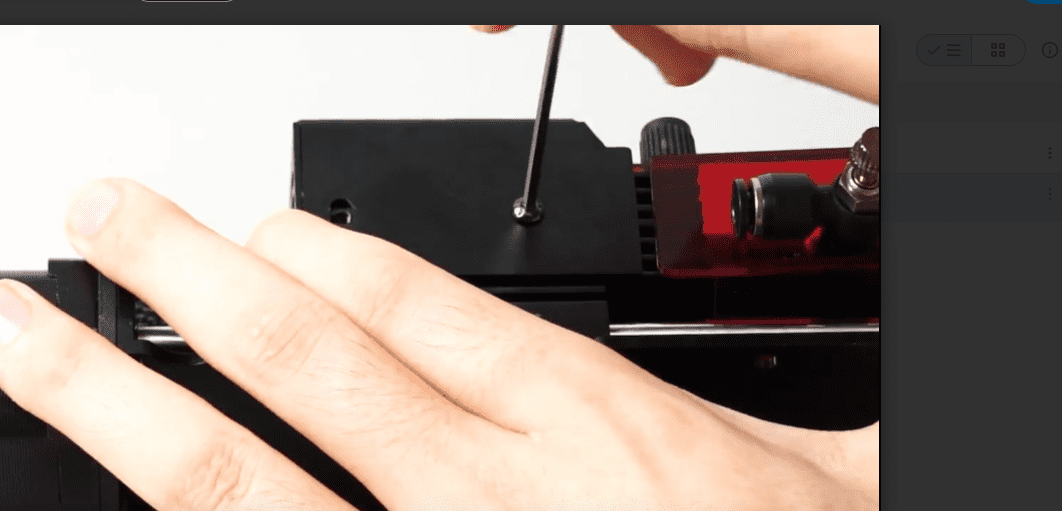
¶ Replace parts.
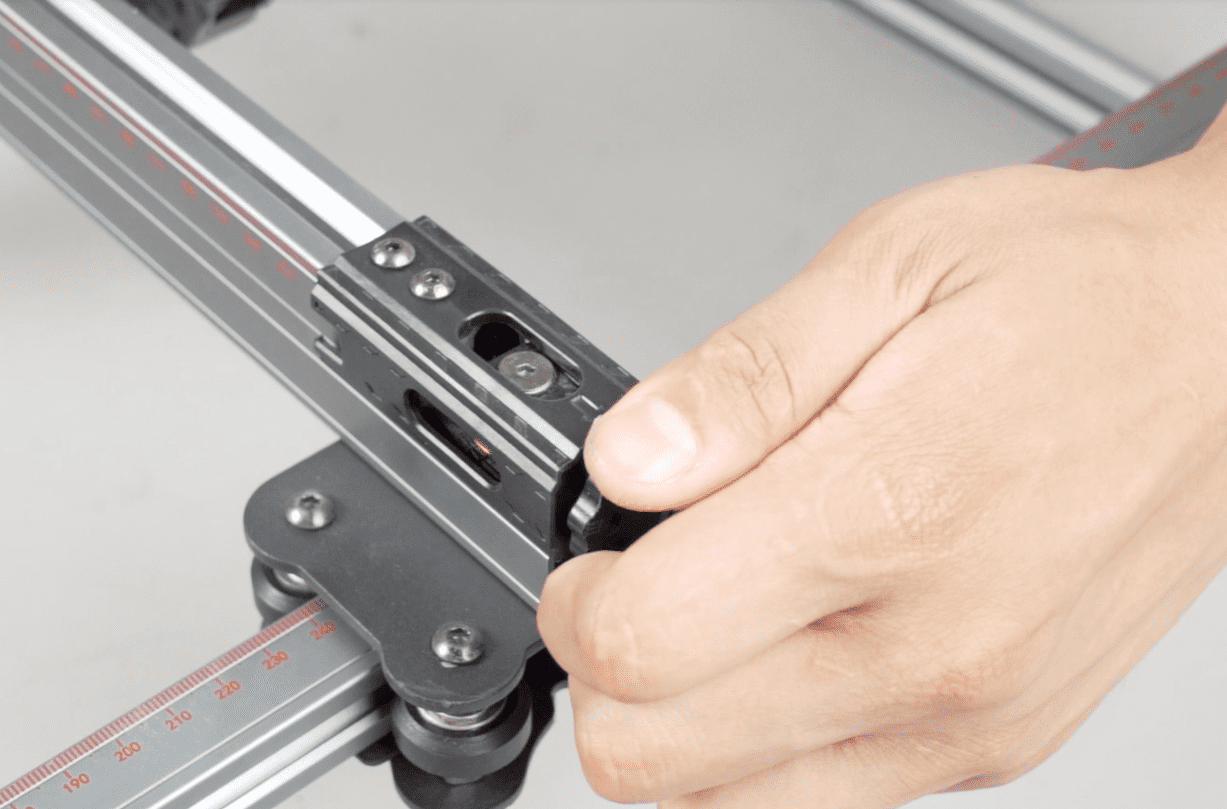
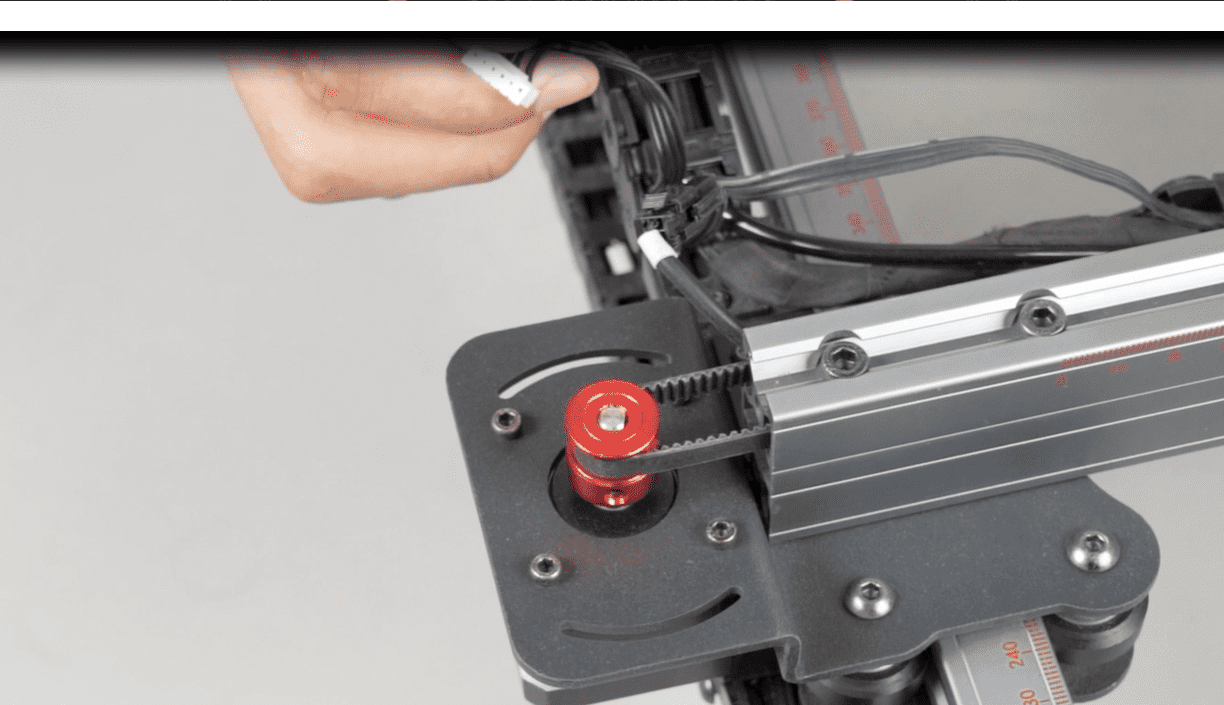
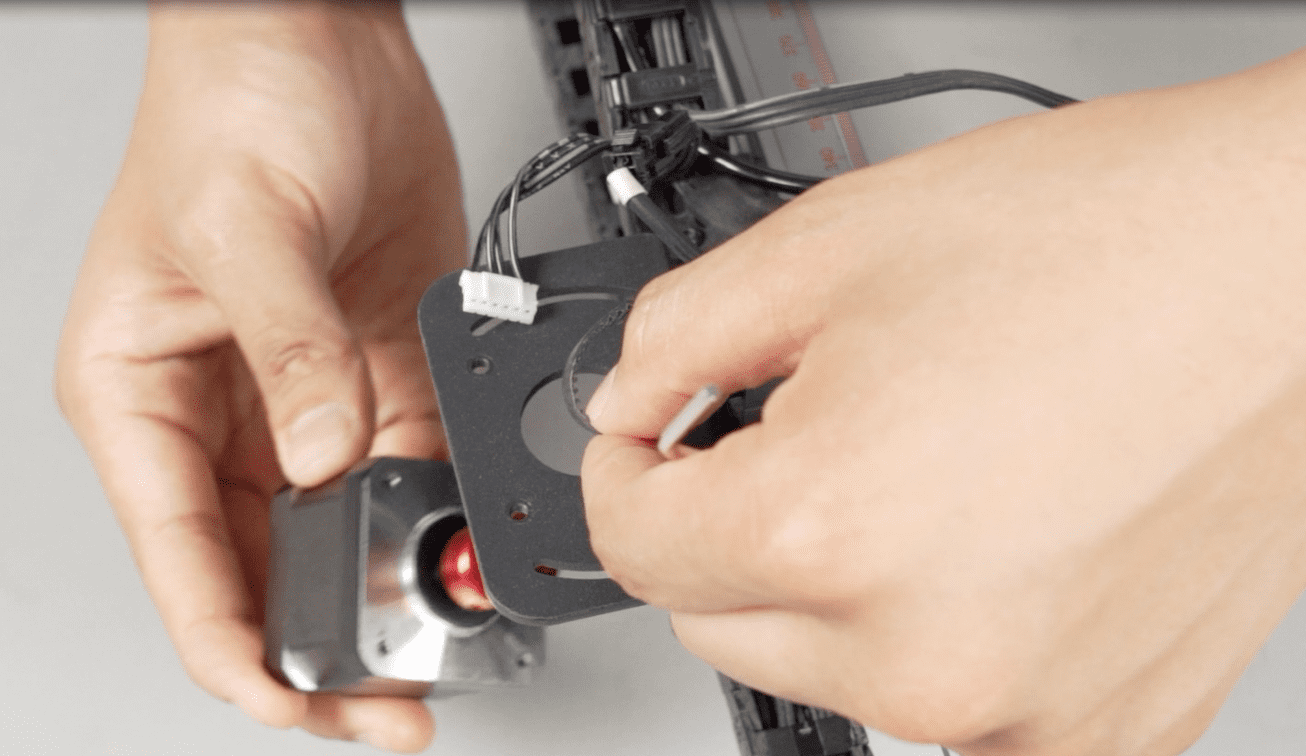
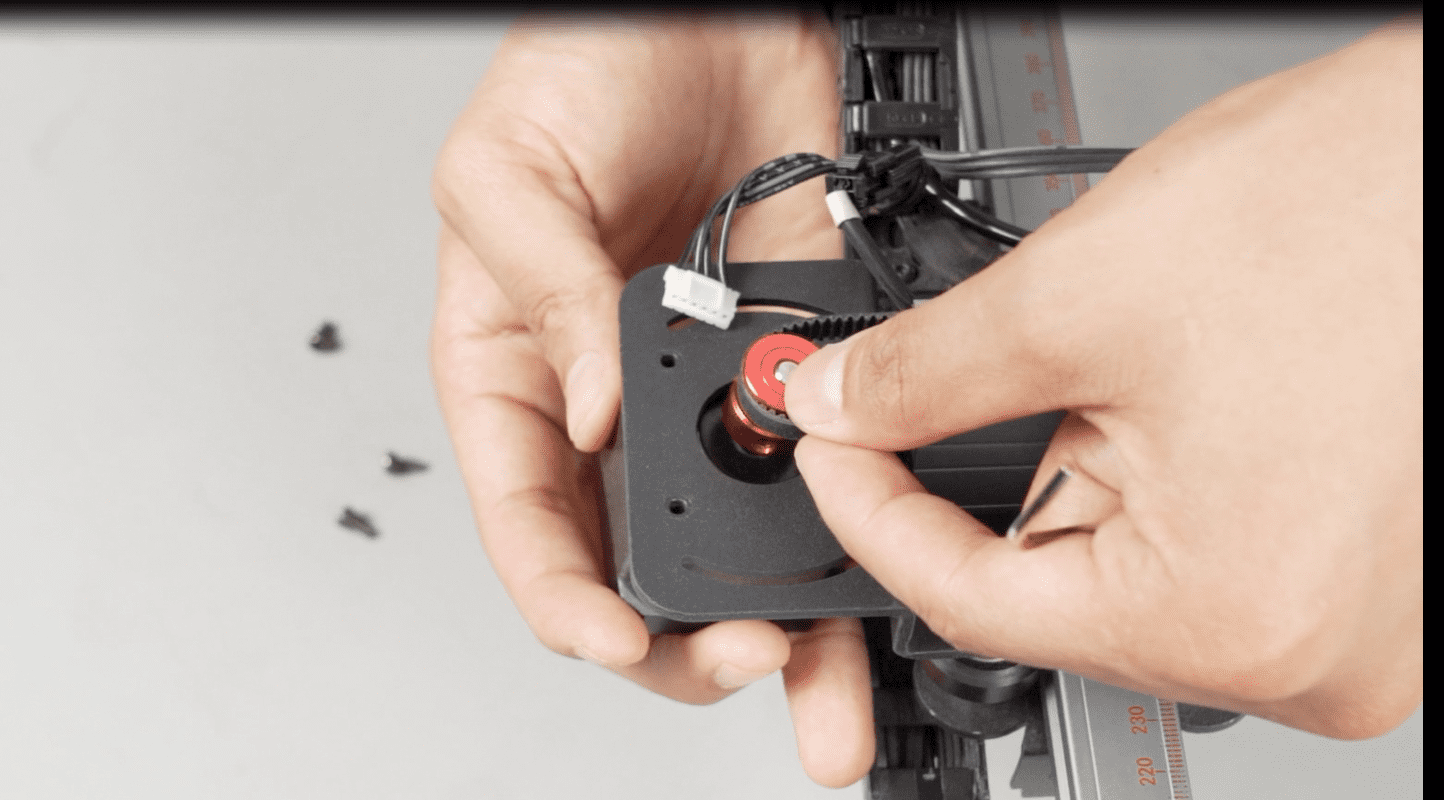
¶ X-axis motor.
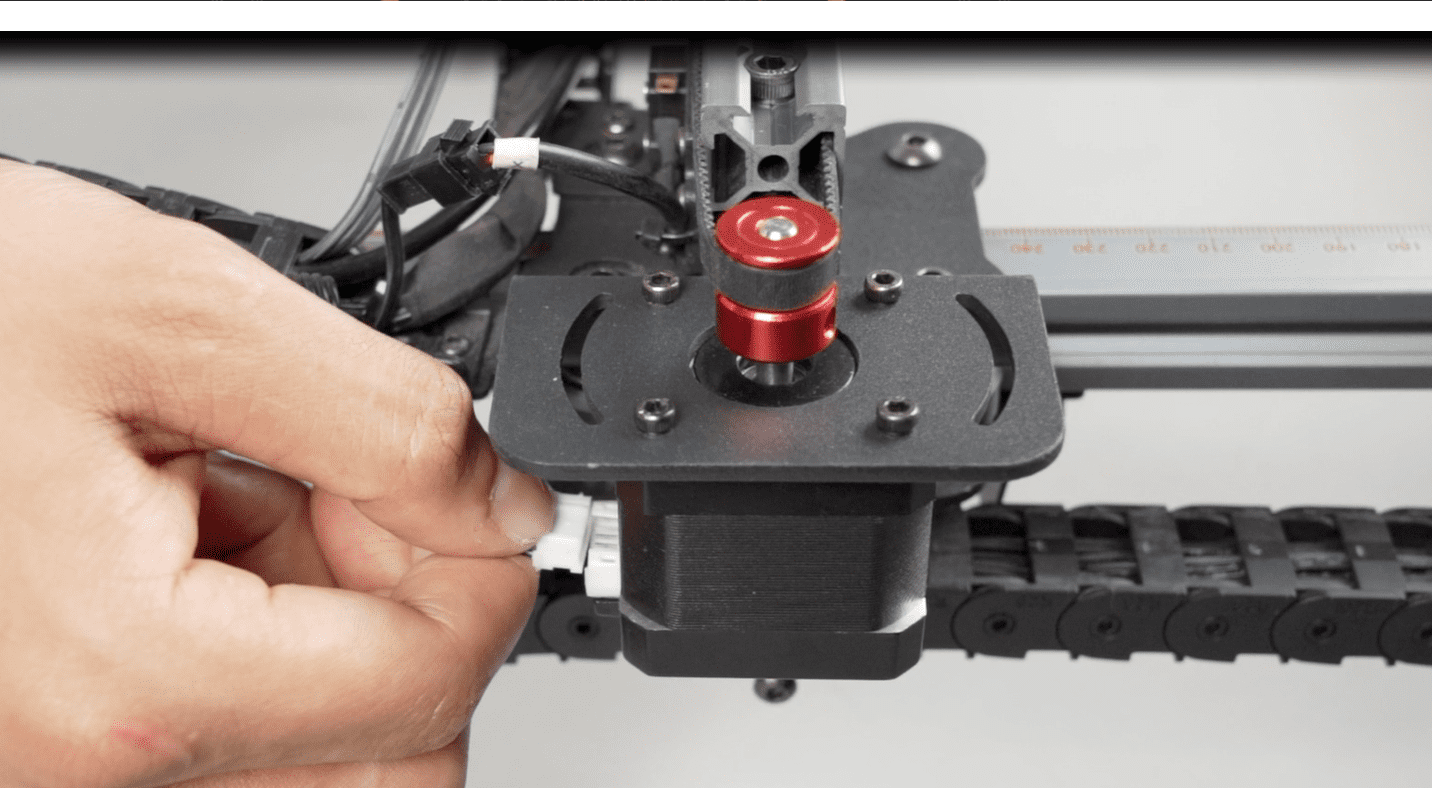
1After loosening the X-axis belt tensioner, unplug the motor cable of the X-axis.
2.Remove the mounting screws of the X-axis motor and take it off.
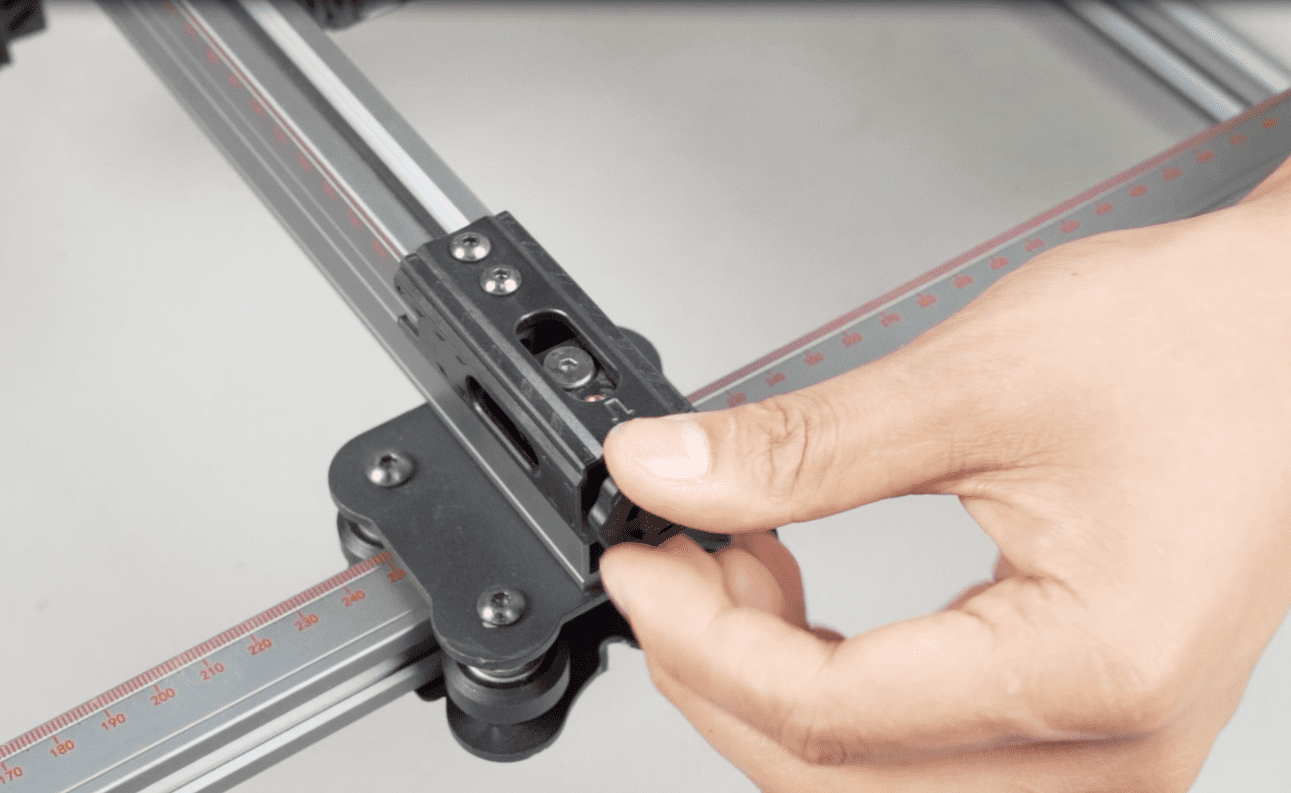
3.Replace the motor with a new one, reattach the belt, and secure it properly before adjusting the belt tensioner to tighten the belt.
¶ Y-axis motor.
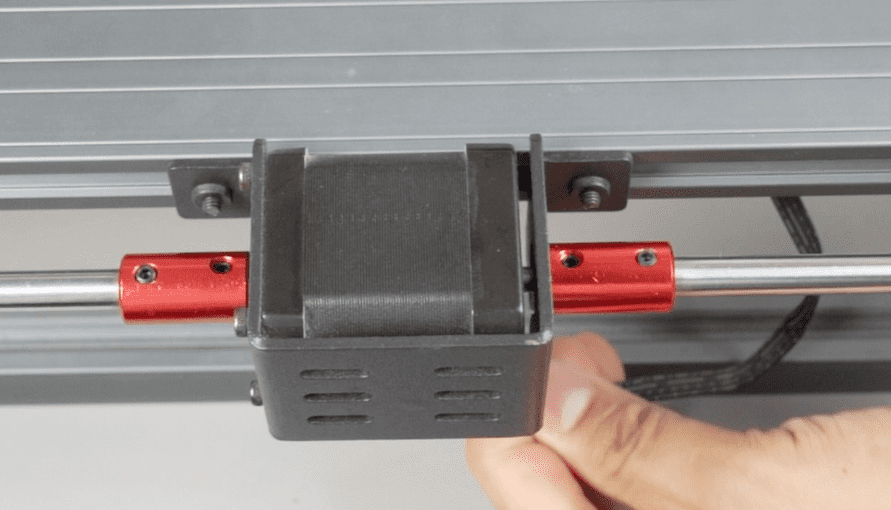
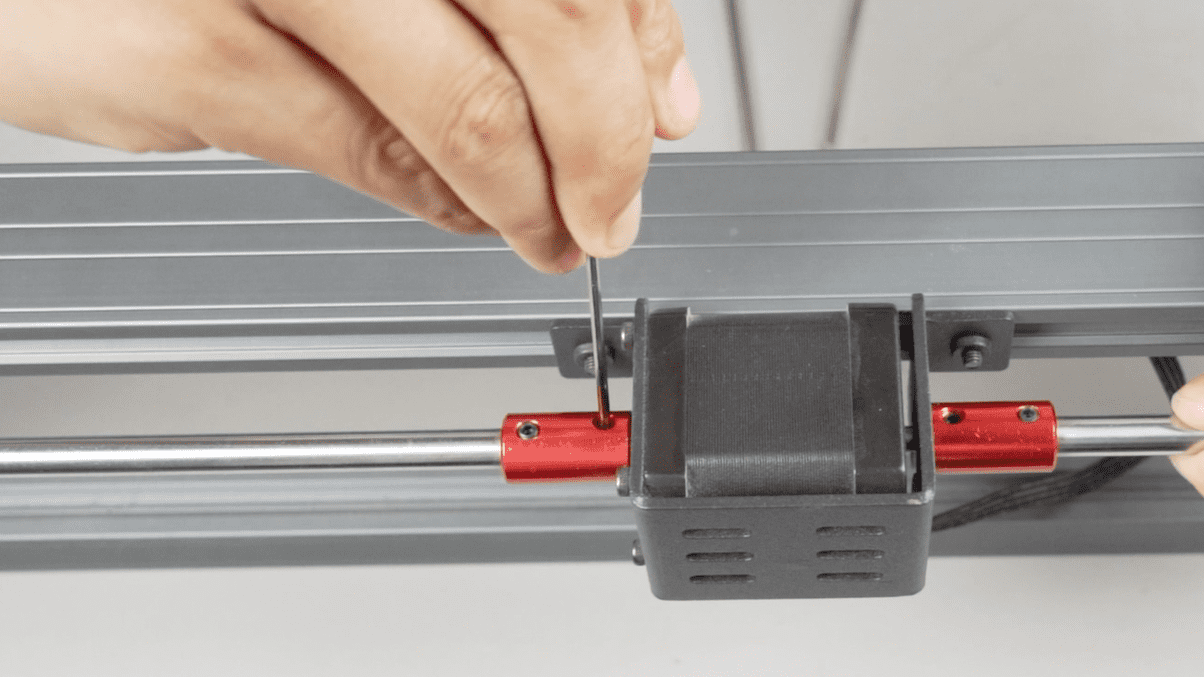
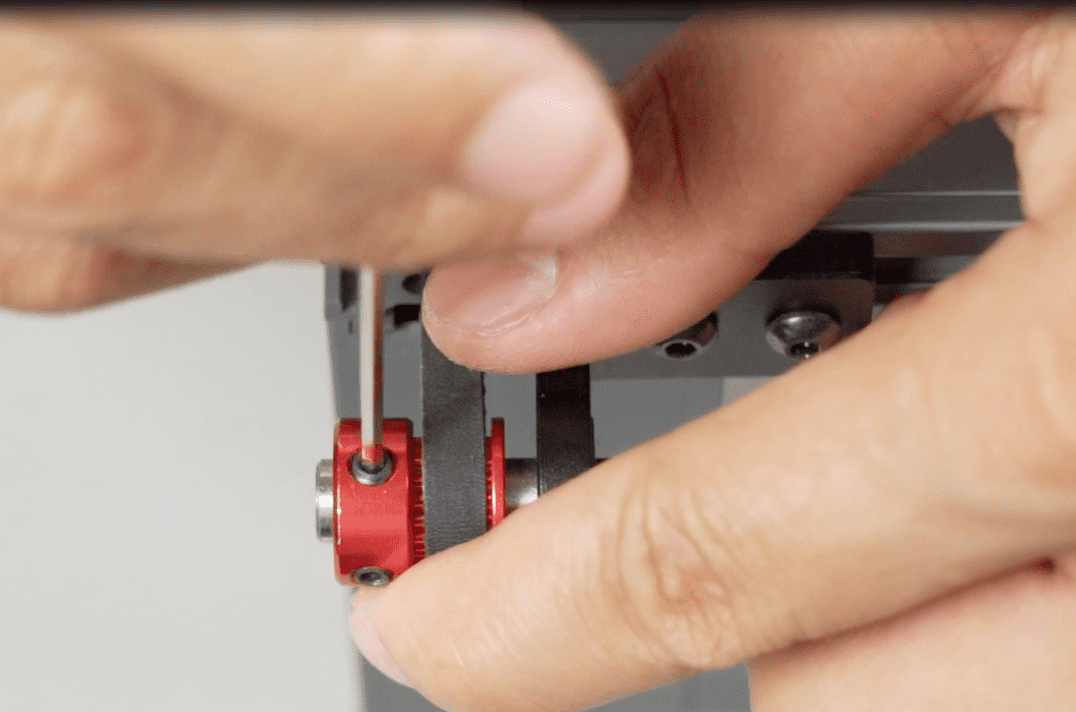
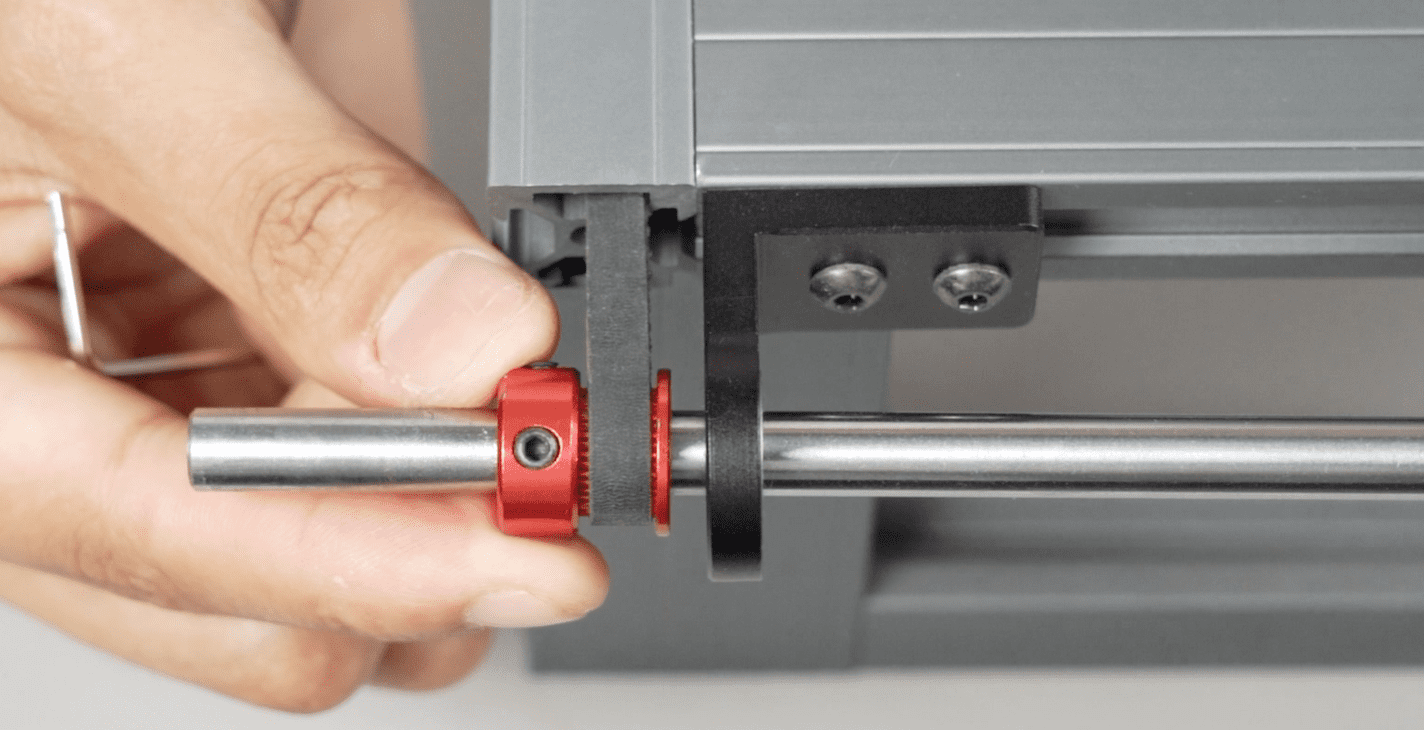
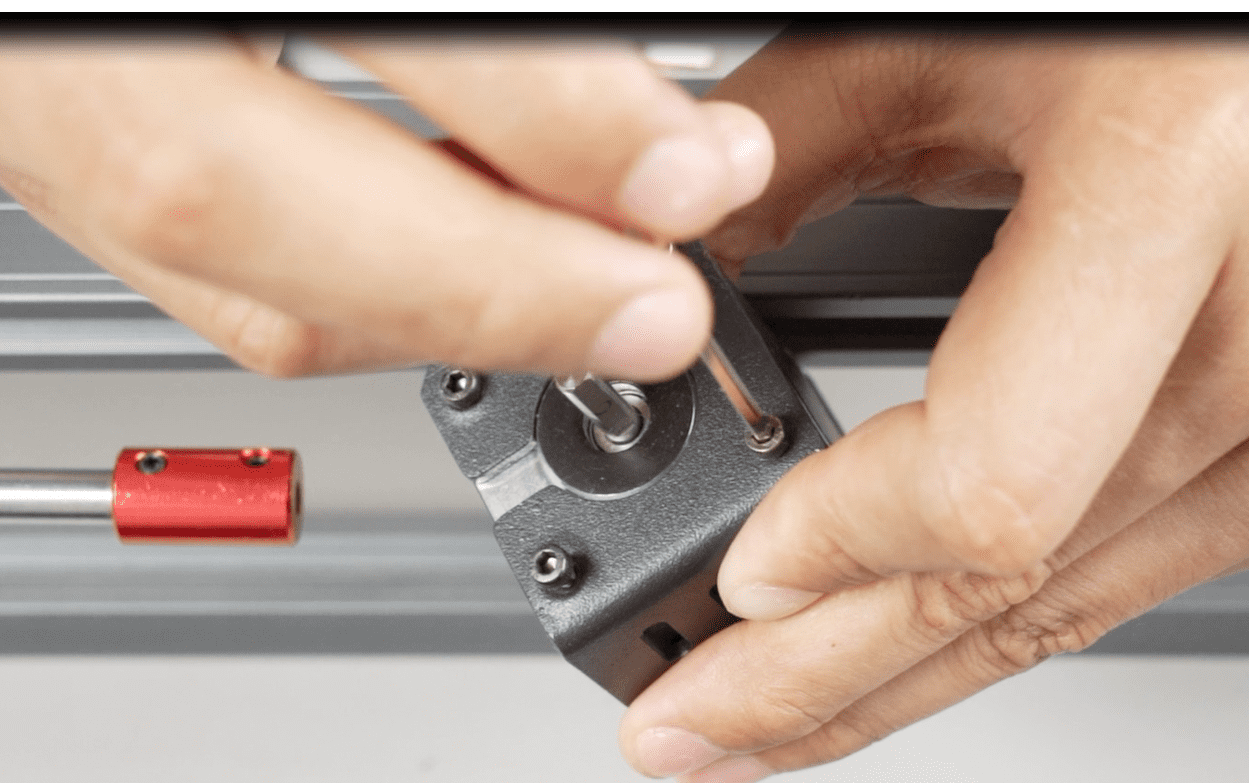
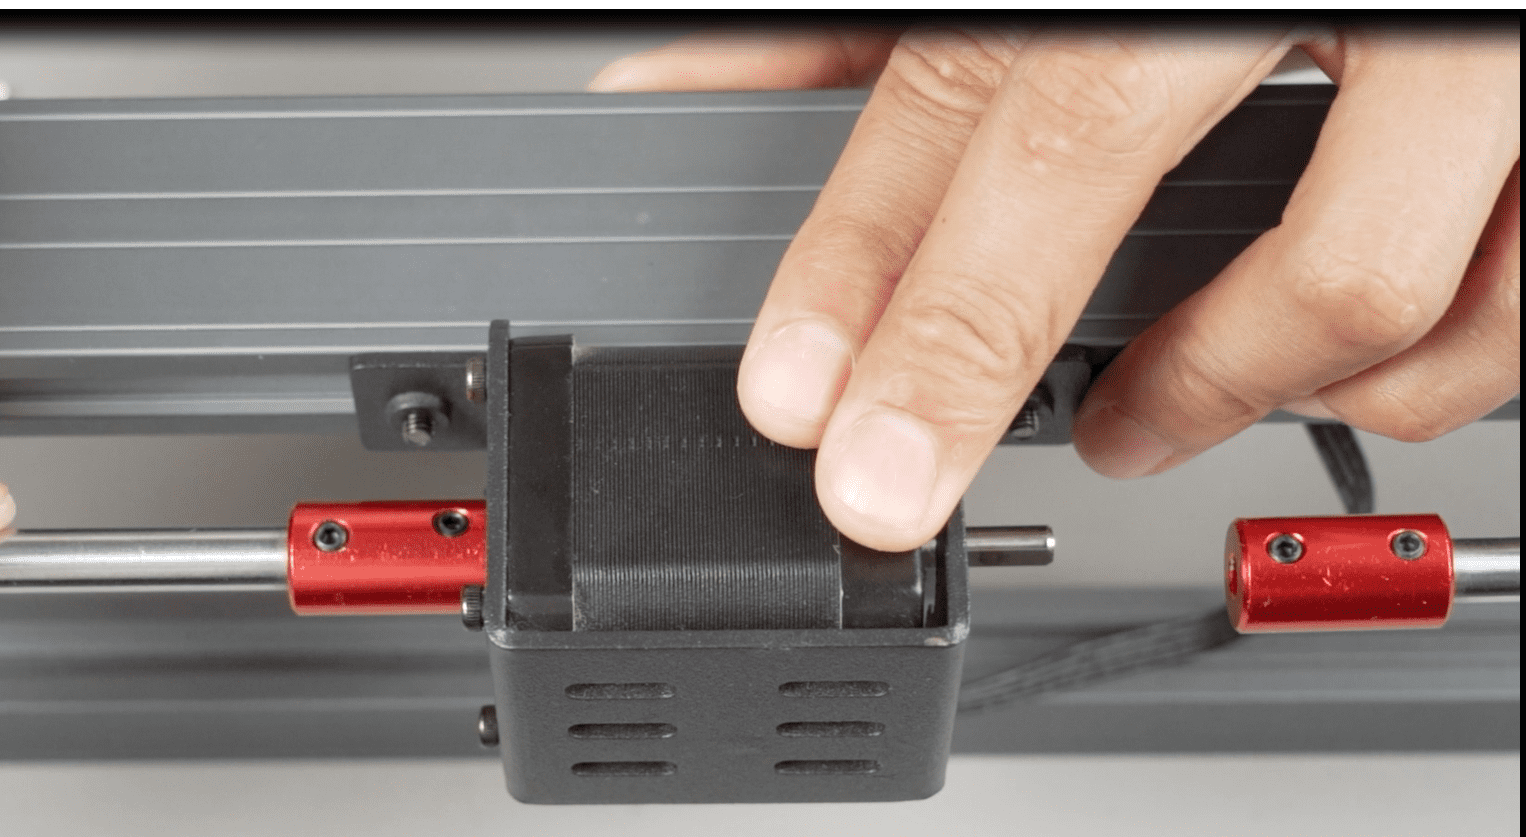
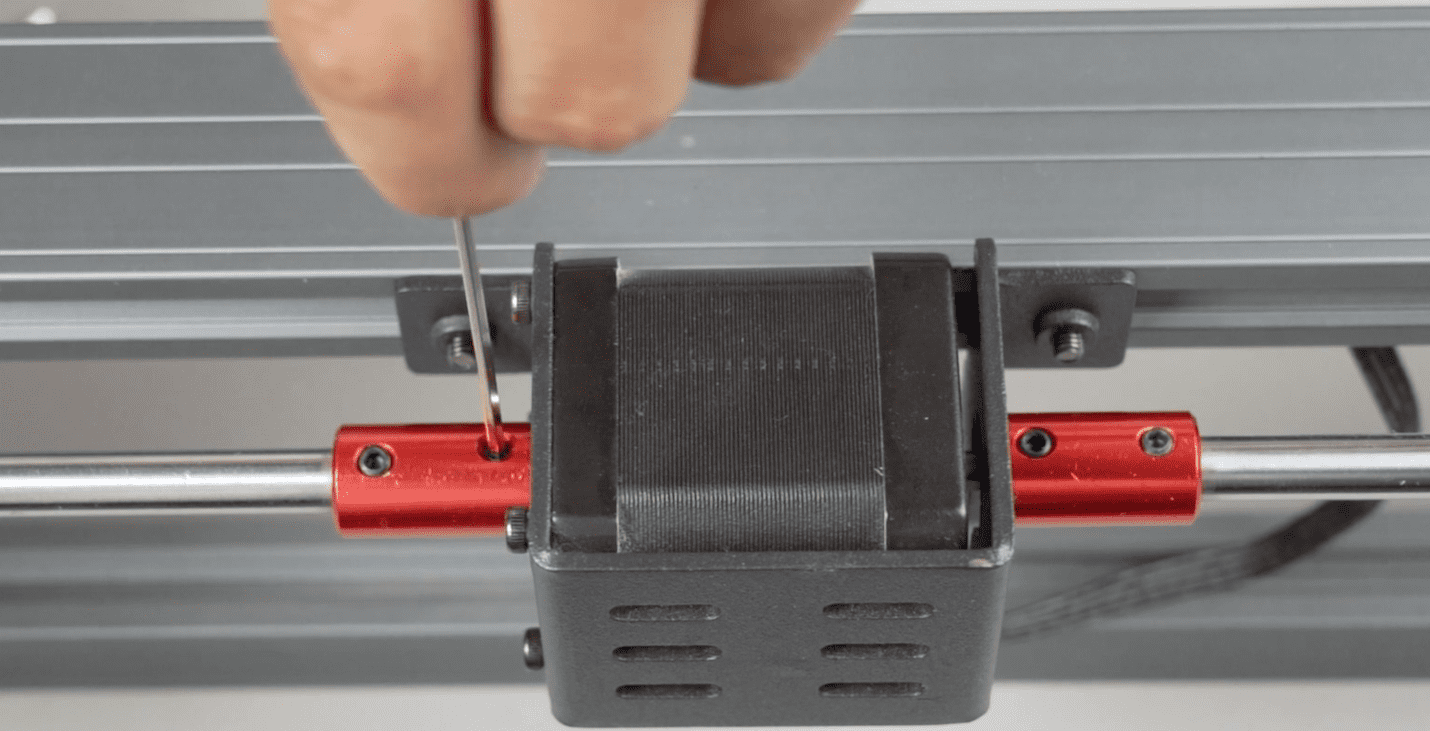
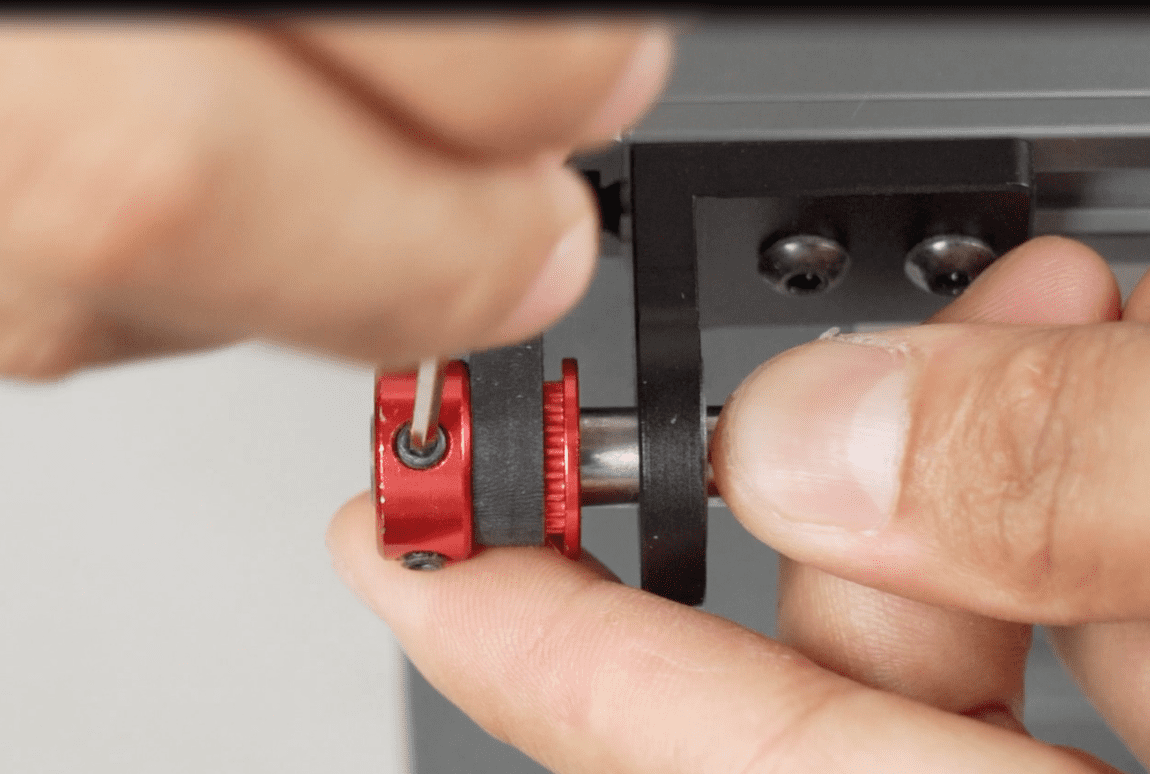
1Unplug the Y-axis motor cable, loosen the screws on the inside of the Y-axis coupling, and then loosen the screws that fix the synchronous pulley on both ends.
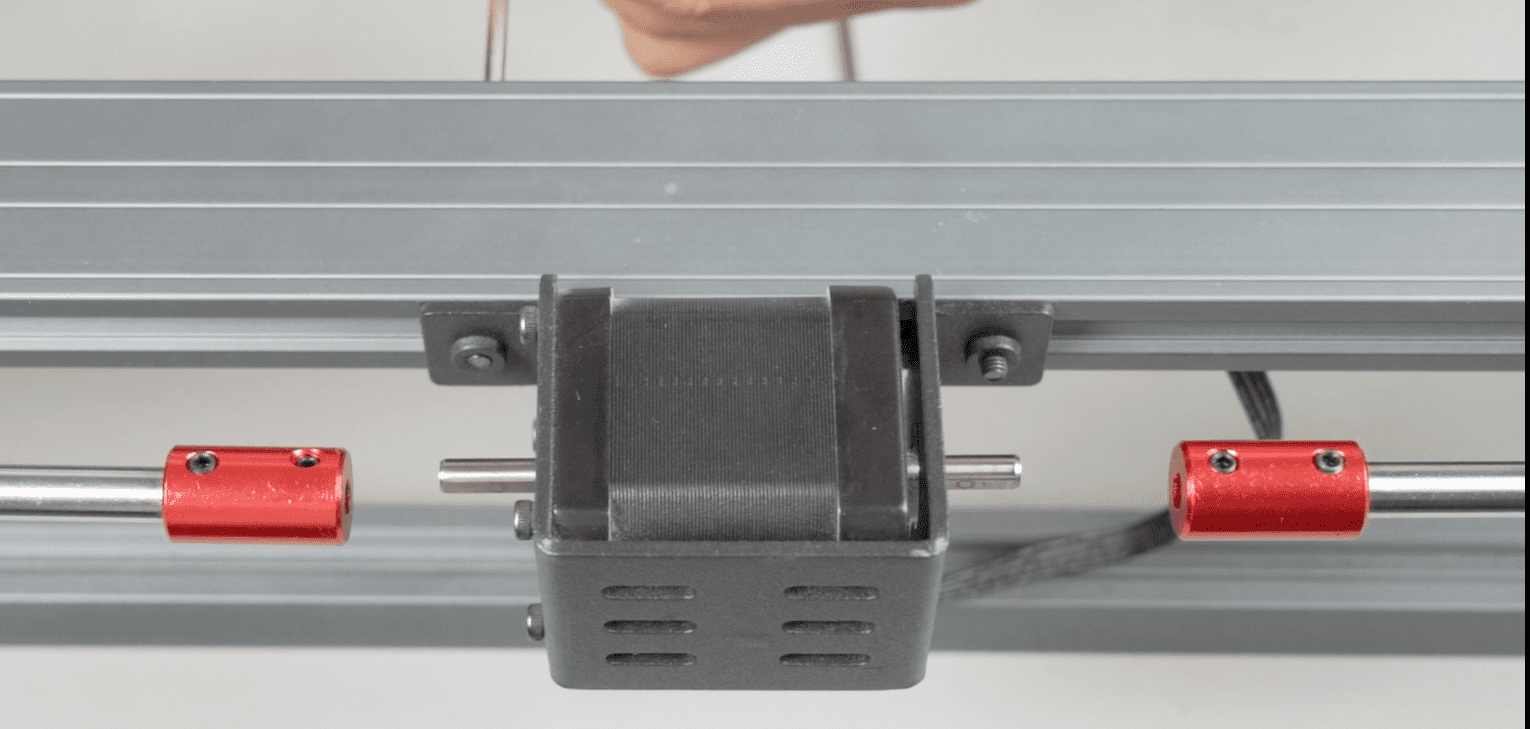
2.Pull out the shaft to facilitate the removal of the motor.
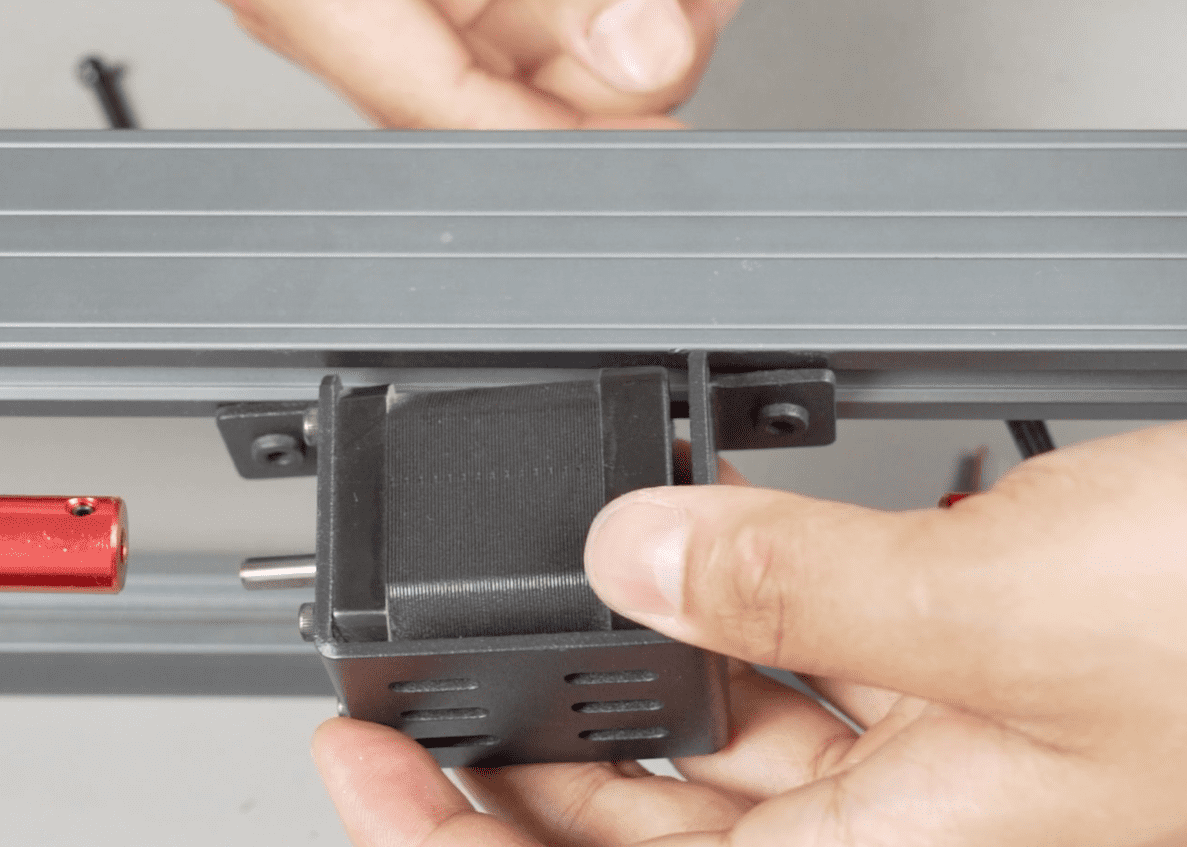
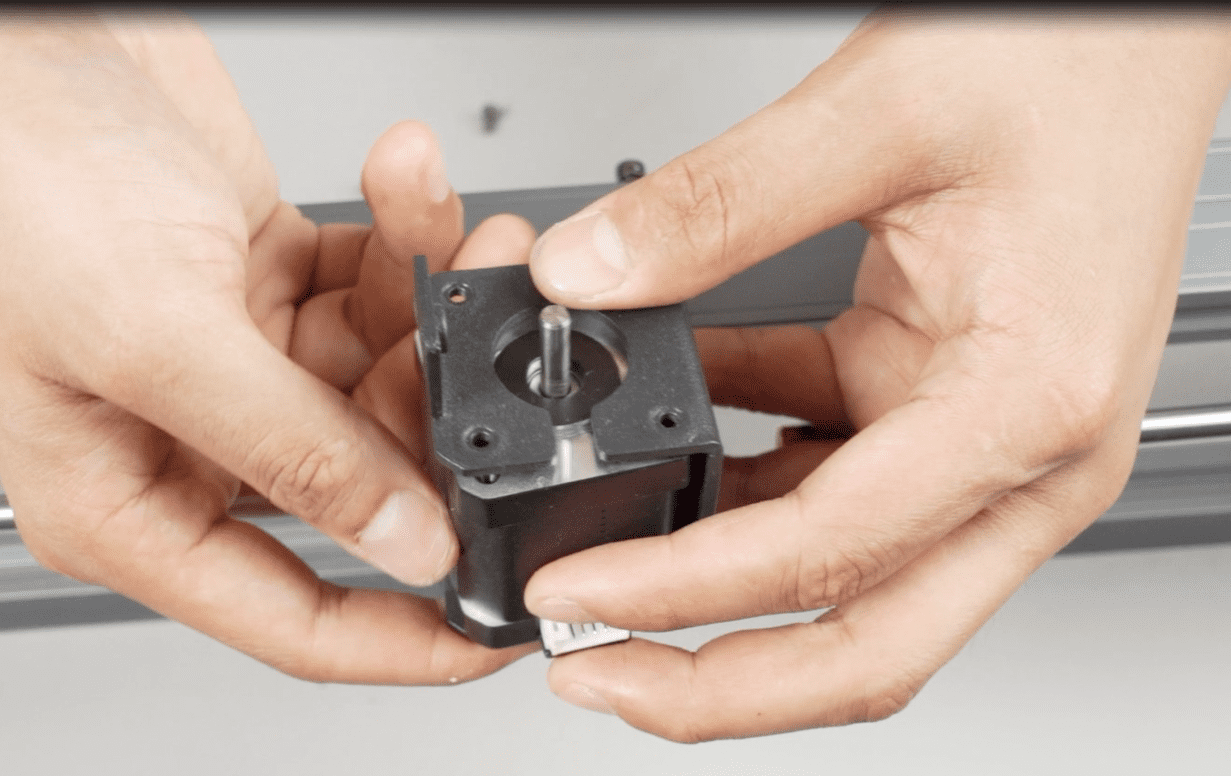
3.Remove the Y-axis motor bracket and take the motor off from the bracket.
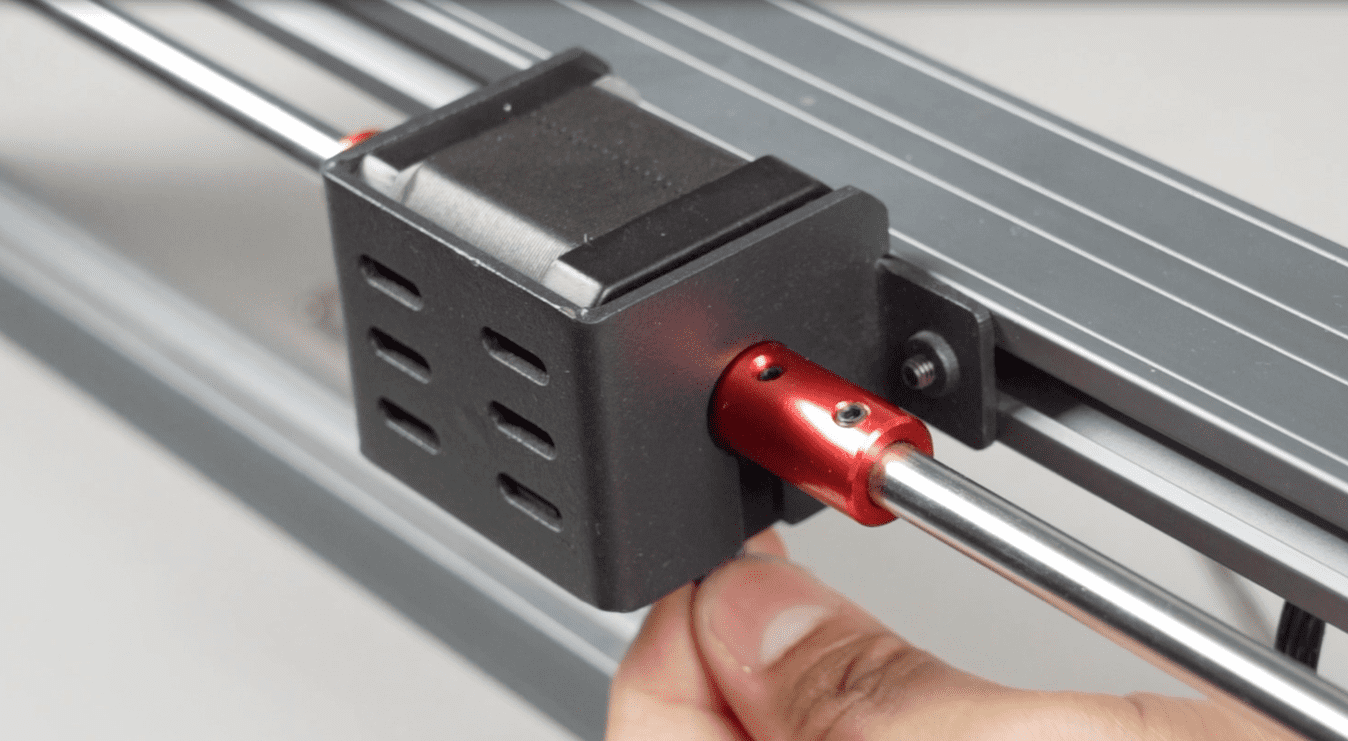
4.Replace the motor with a new one, and after securing it, reattach the coupling to the motor.
5.After tightening the screws of the synchronous pulley, simply plug in the Y-axis motor cable.
¶ Z-axis motor.
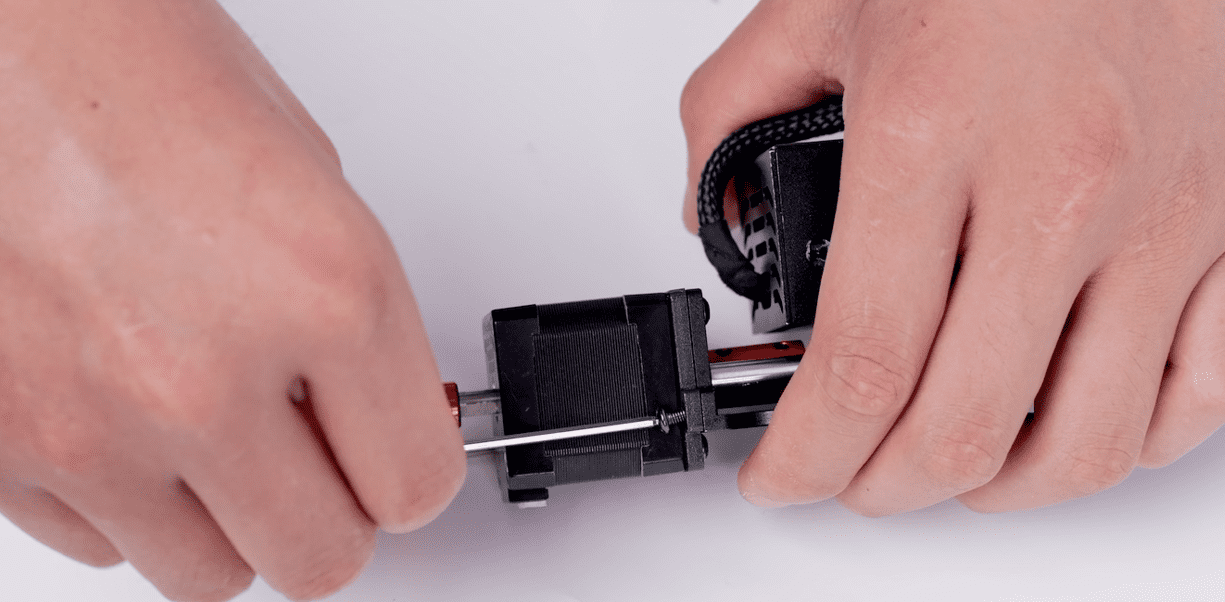
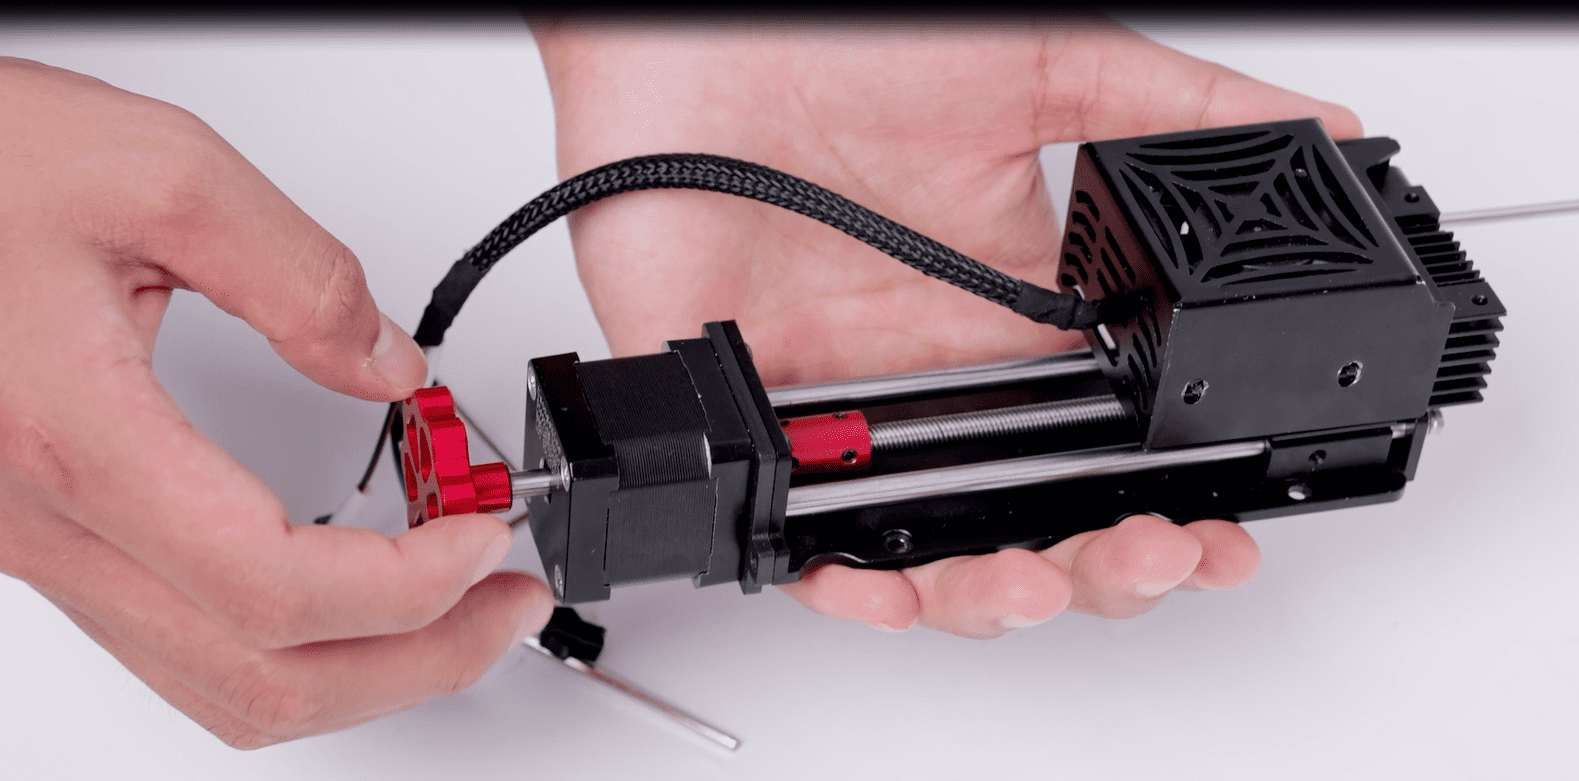
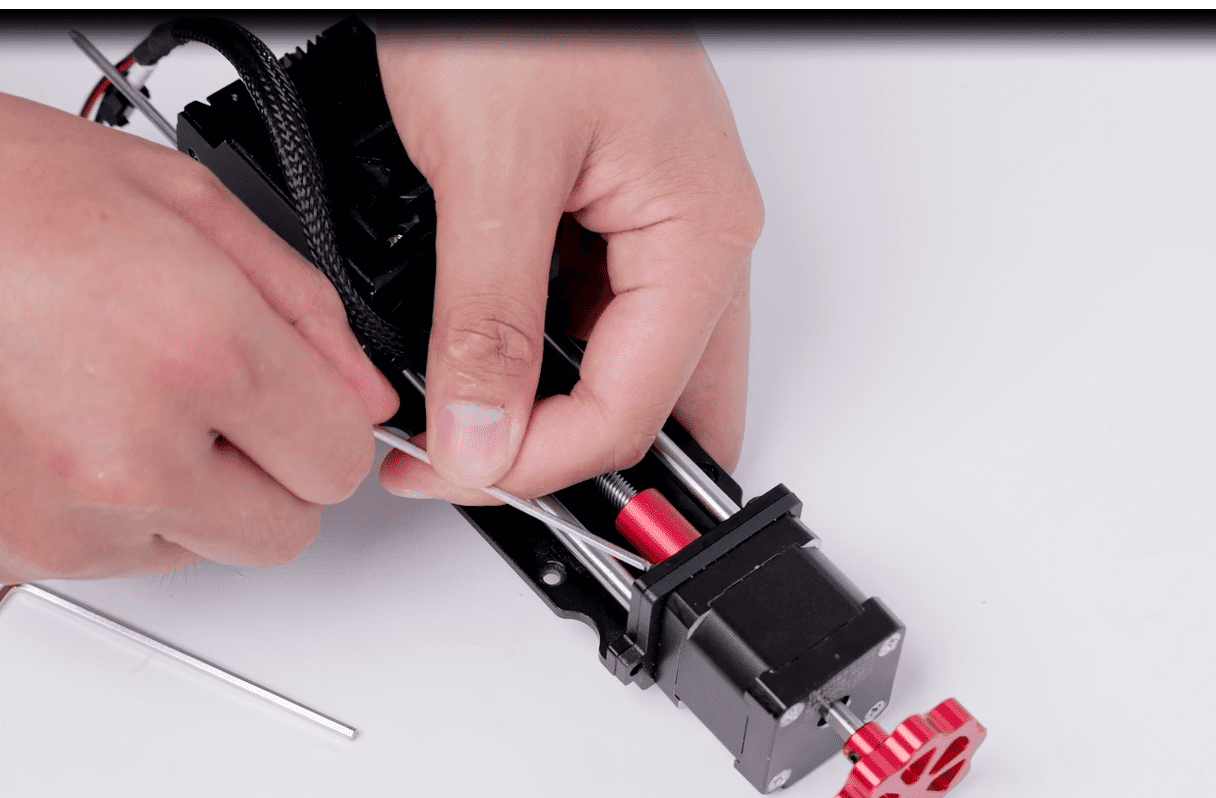
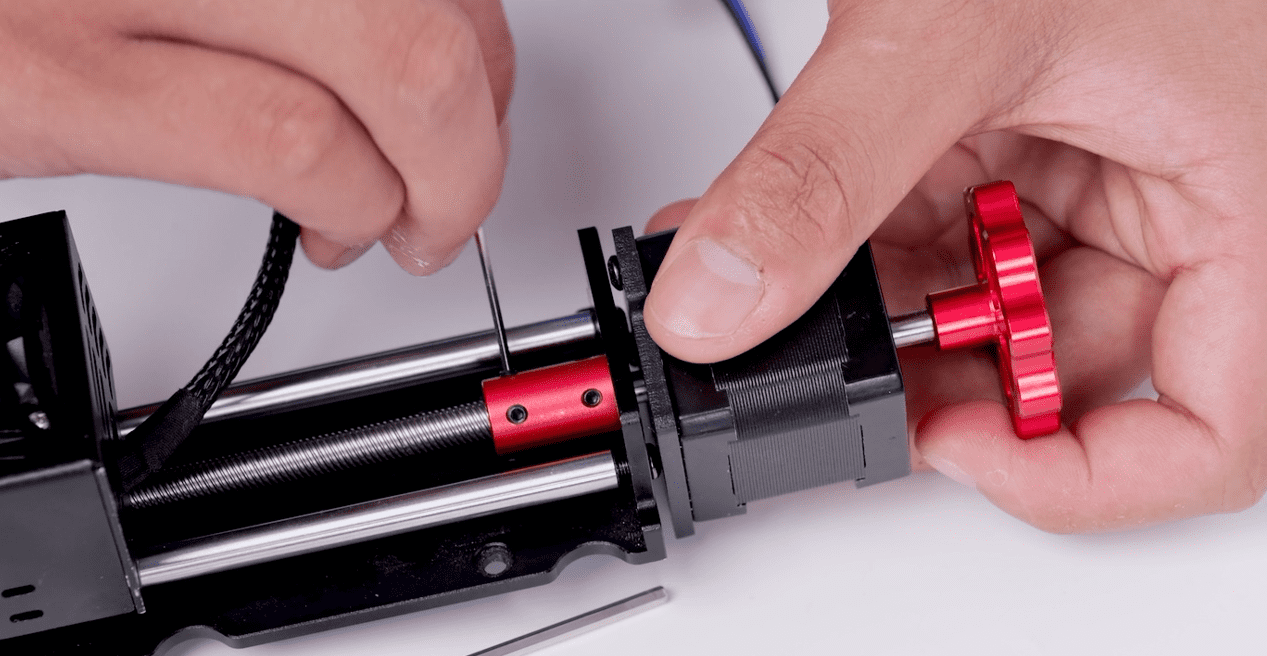
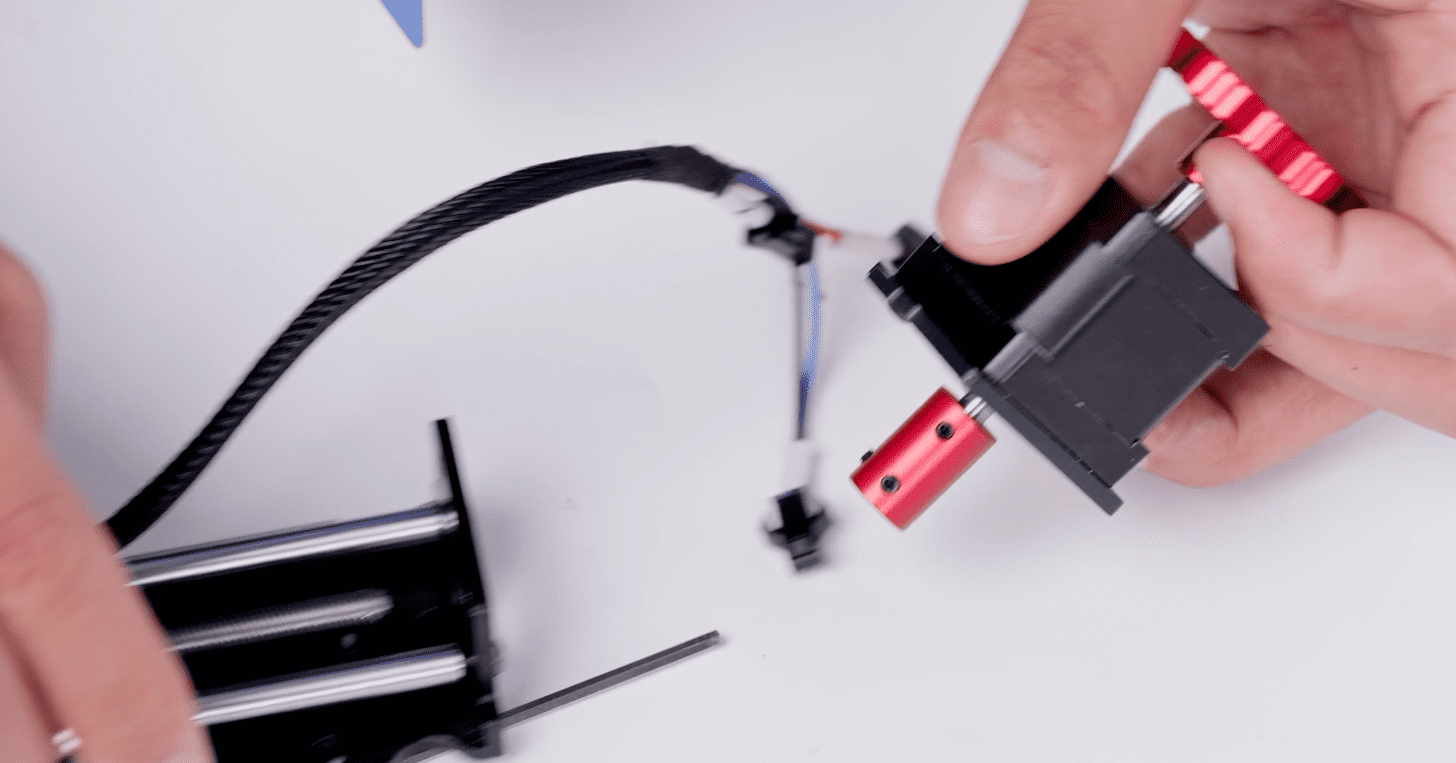
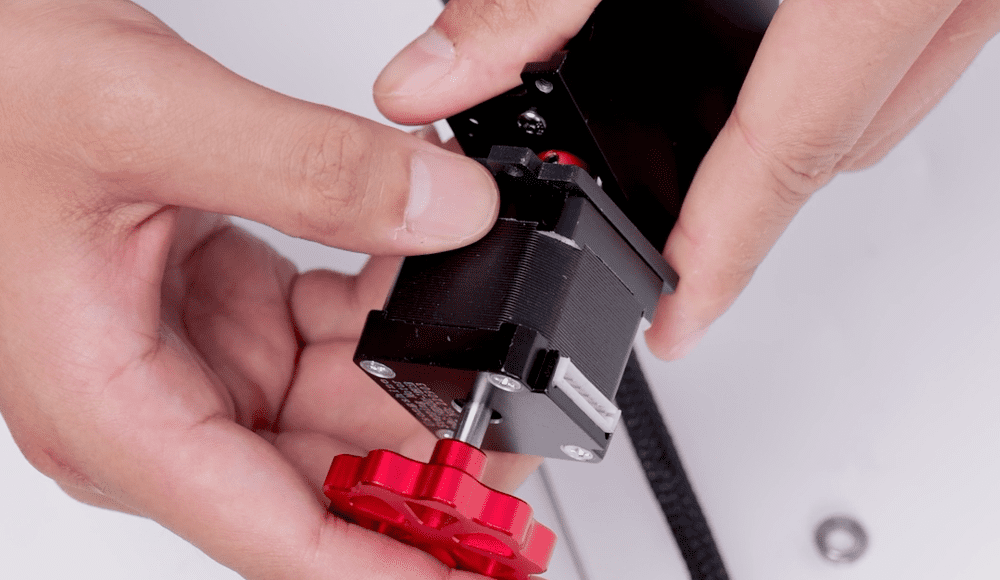
1.Remove the fixing screws of the Z-axis.
2.Loosen the fixing screws of the coupling, remove the motor, and replace it with a new one.
¶ Replace the Z-axis limit switch wiring.
1.Remove the front cover sheet metal.
2.Remove the black wrapping film and pull out the Z-axis limit switch wire.
3.Remove the hot-melt adhesive that secures the Z-axis limit switch, and then unscrew the fixing screws.
4.Replace the limit switch wire with a new one, secure it in place, and then rethread the wire through the telescopic tube and reattach the sheet metal.
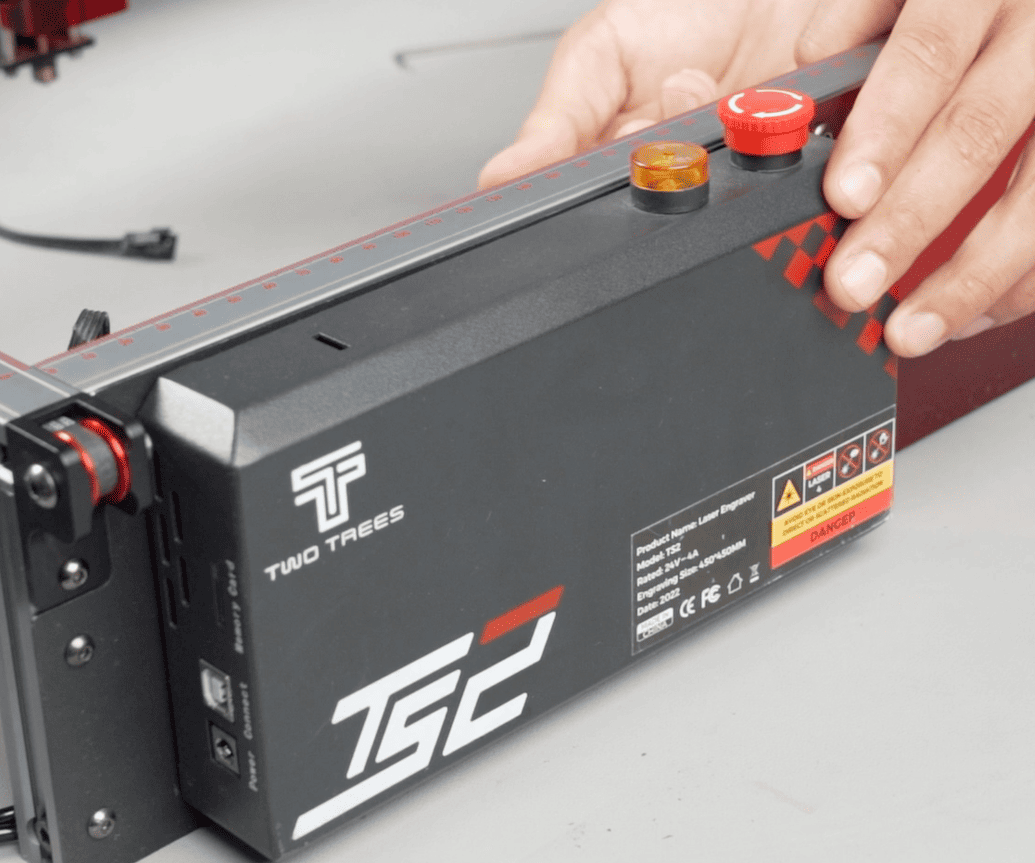
¶ Replace the mainboard
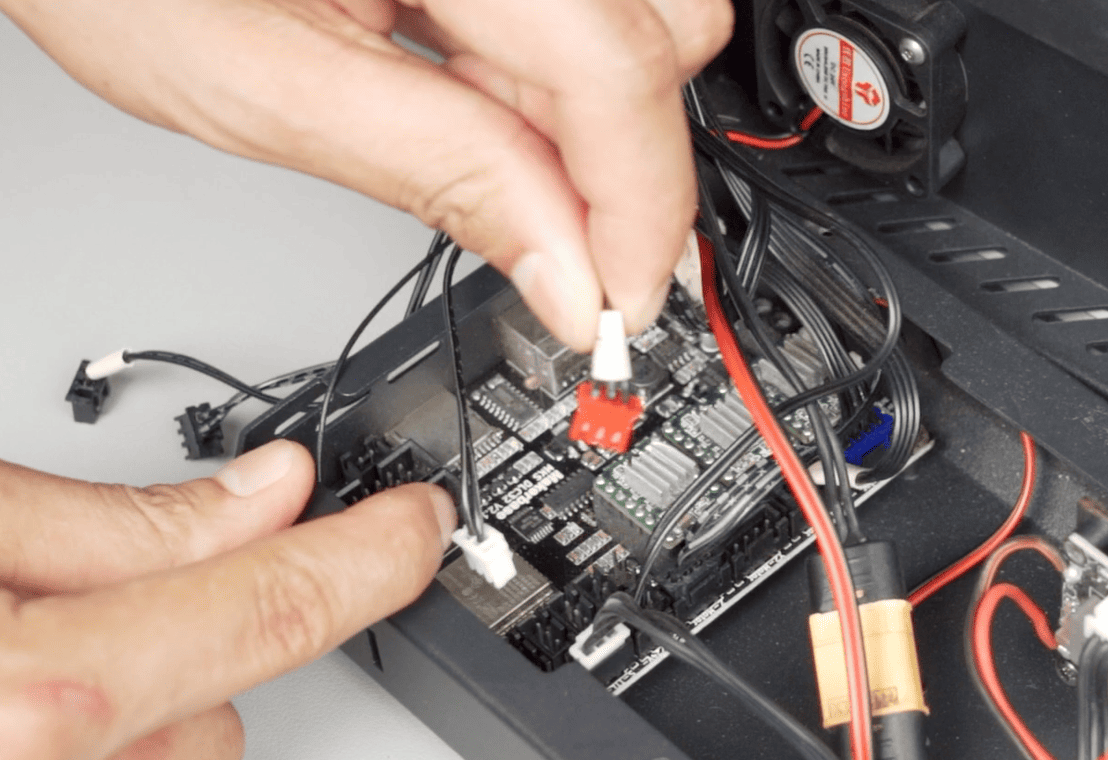
1.After removing the mainboard box casing, mark or take photos of all the wires on the mainboard for reference, and then unplug them all.
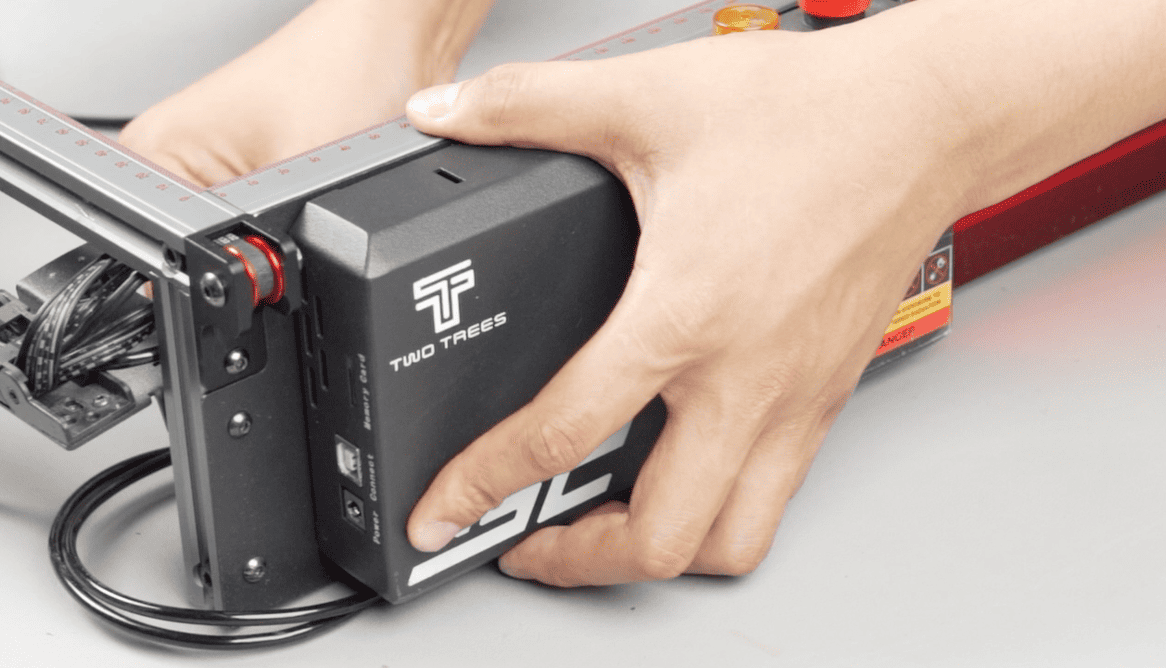
2.After replacing the mainboard, reconnect the wires according to the marked ones, and then secure the casing back in place.
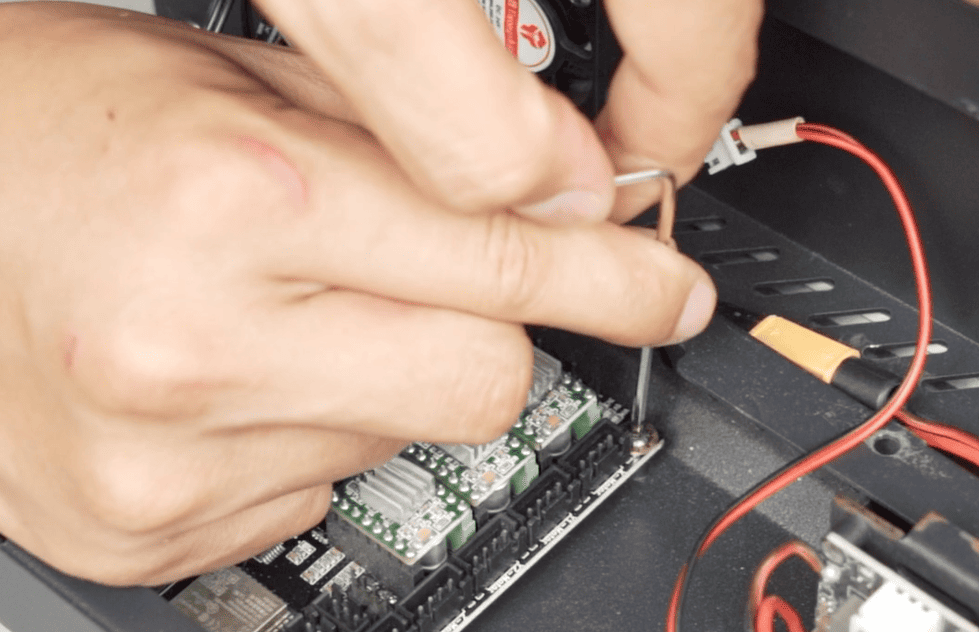
¶ Replace the driver board.
- Remove the mainboard casing.
- Disconnect all the wires from the driver board.
- Unscrew the four screws that secure the driver board in place and remove it.
- Install the new driver board and tighten the four corner screws.
- Reconnect the wires to their respective terminals on the driver board.
- Reattach the mainboard casing.
¶ Adjust the fit of the pulley with the guide rail, and adjust the tightness of the belt.
¶ X-axis belt adjustment.
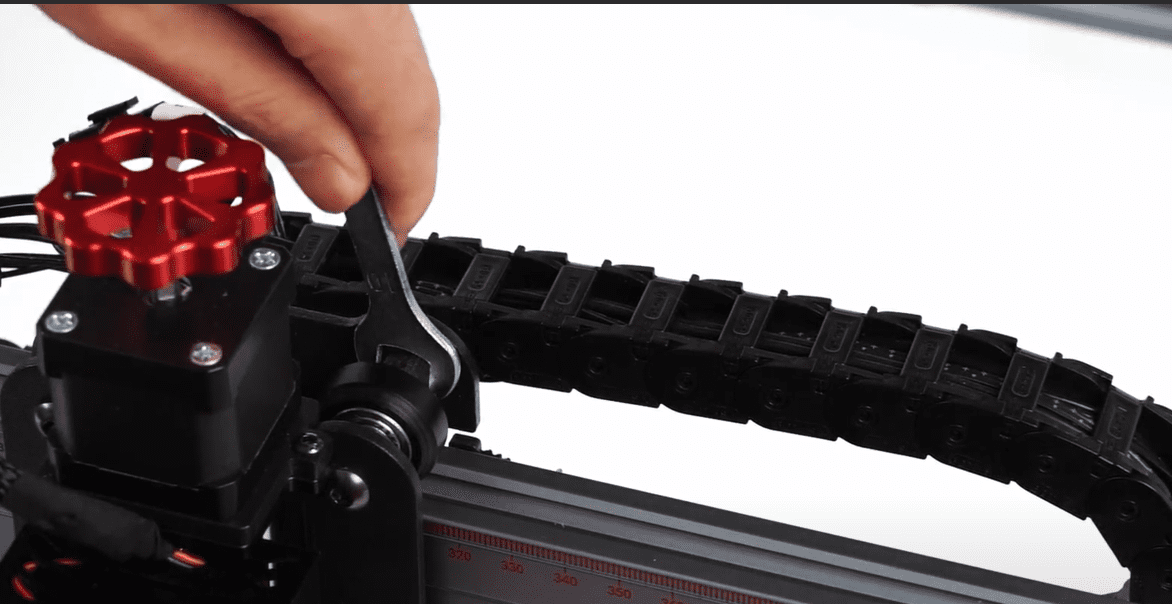
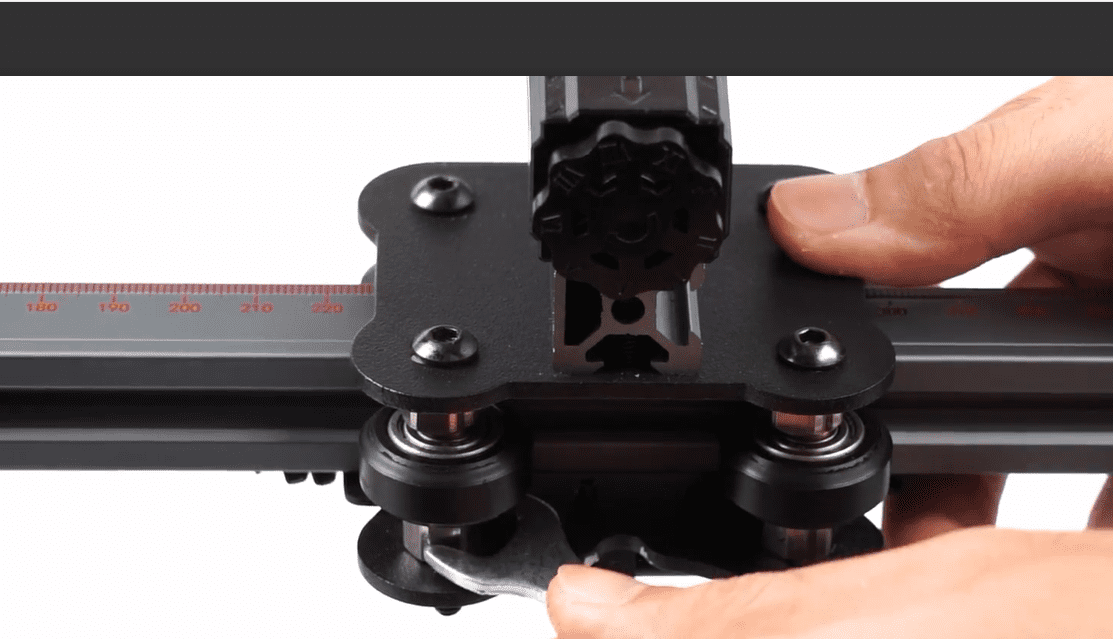
1.The loose BOM wheel on the X-axis moving module has an eccentric nut in the center; use a wrench to adjust the nut to the appropriate angle.
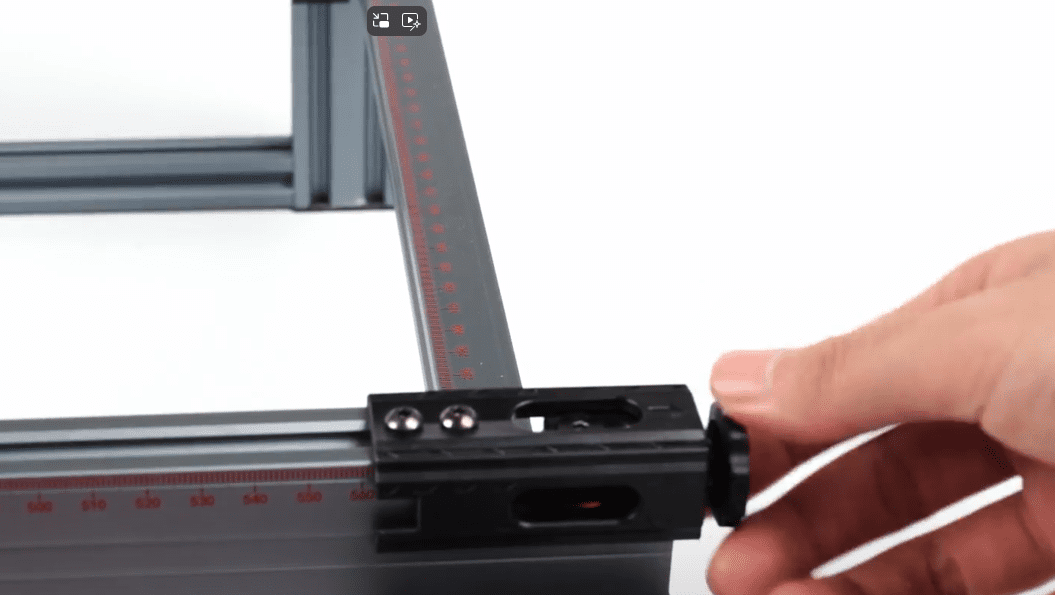
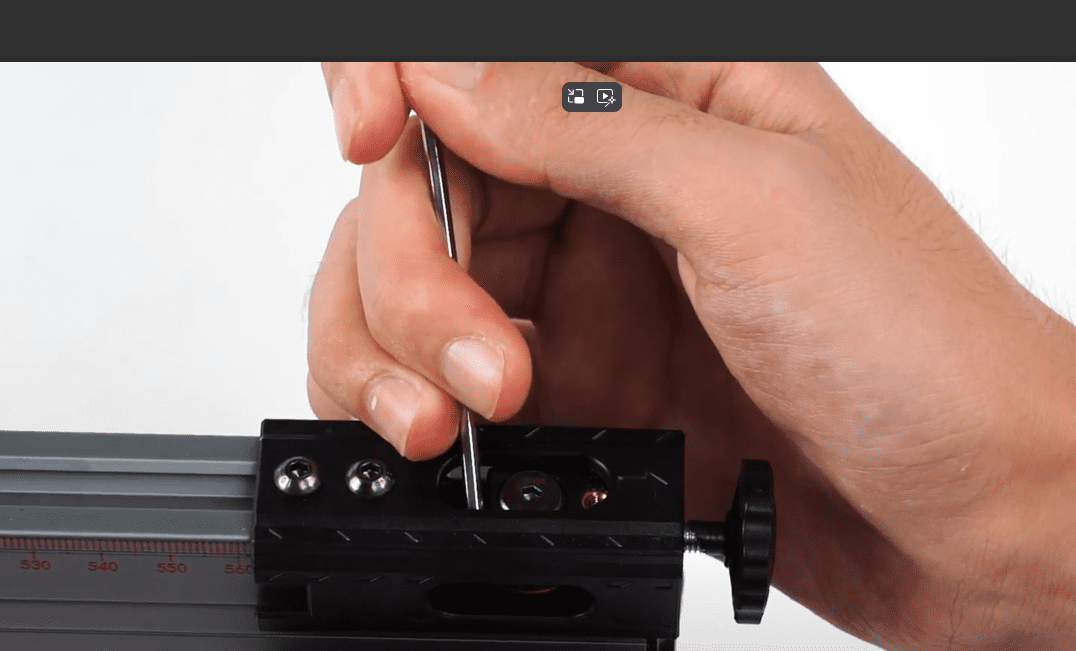
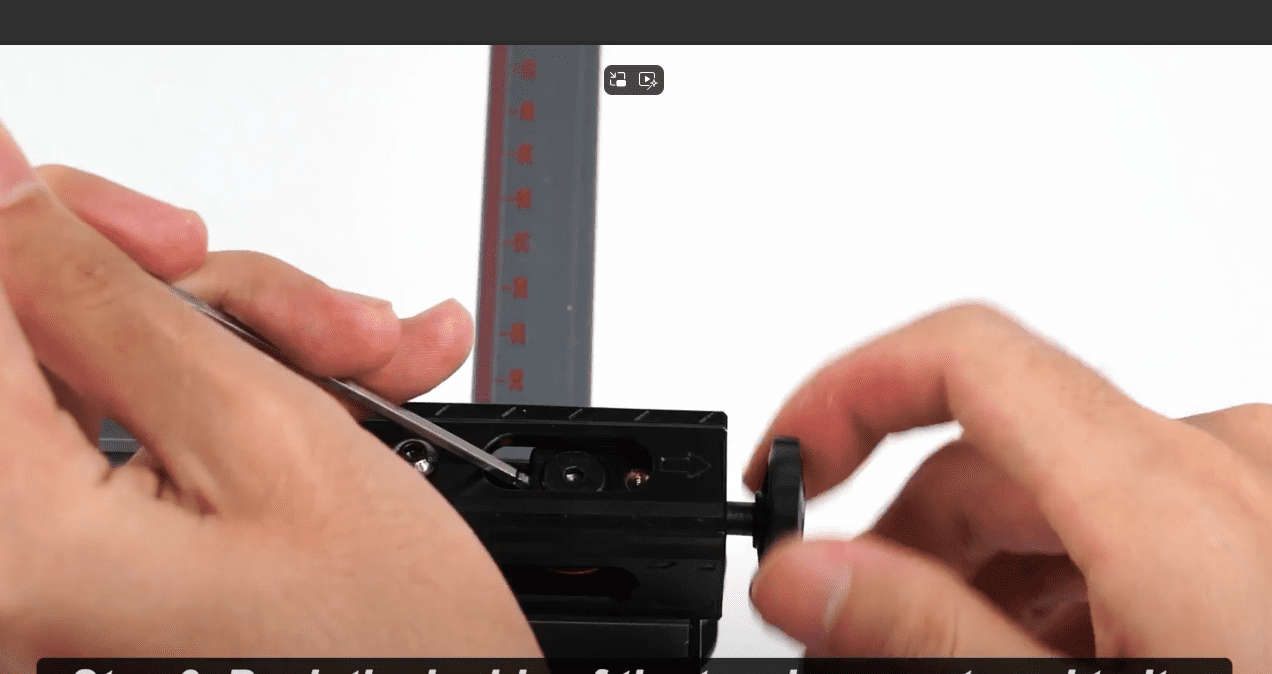
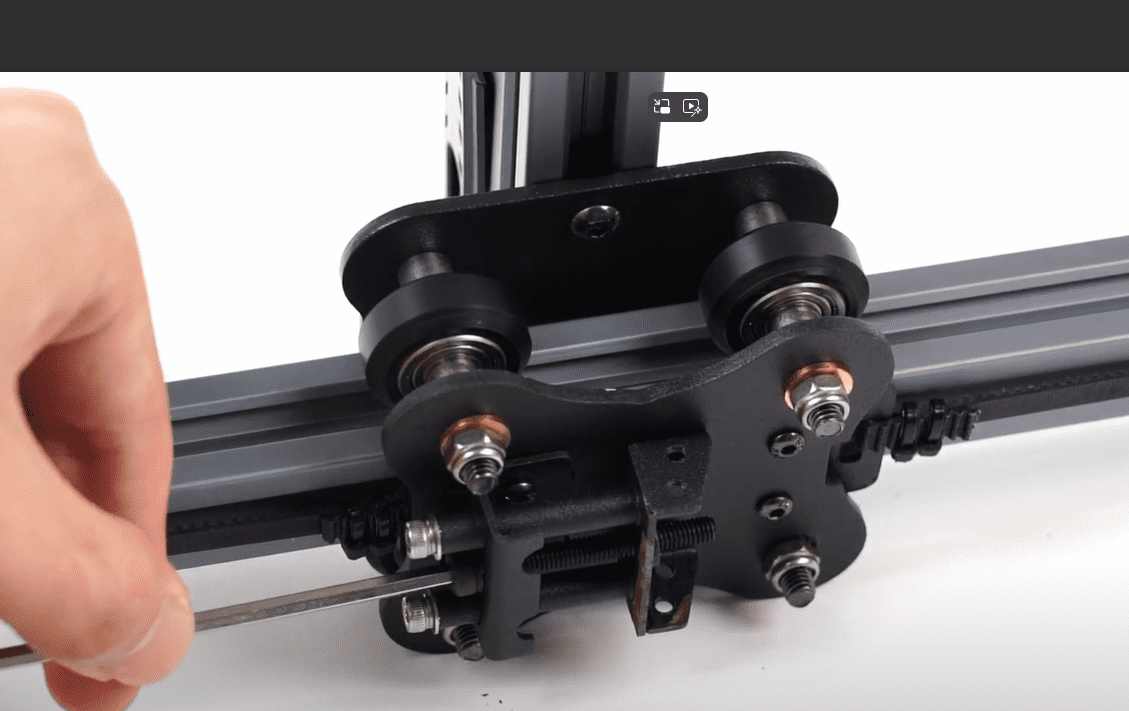
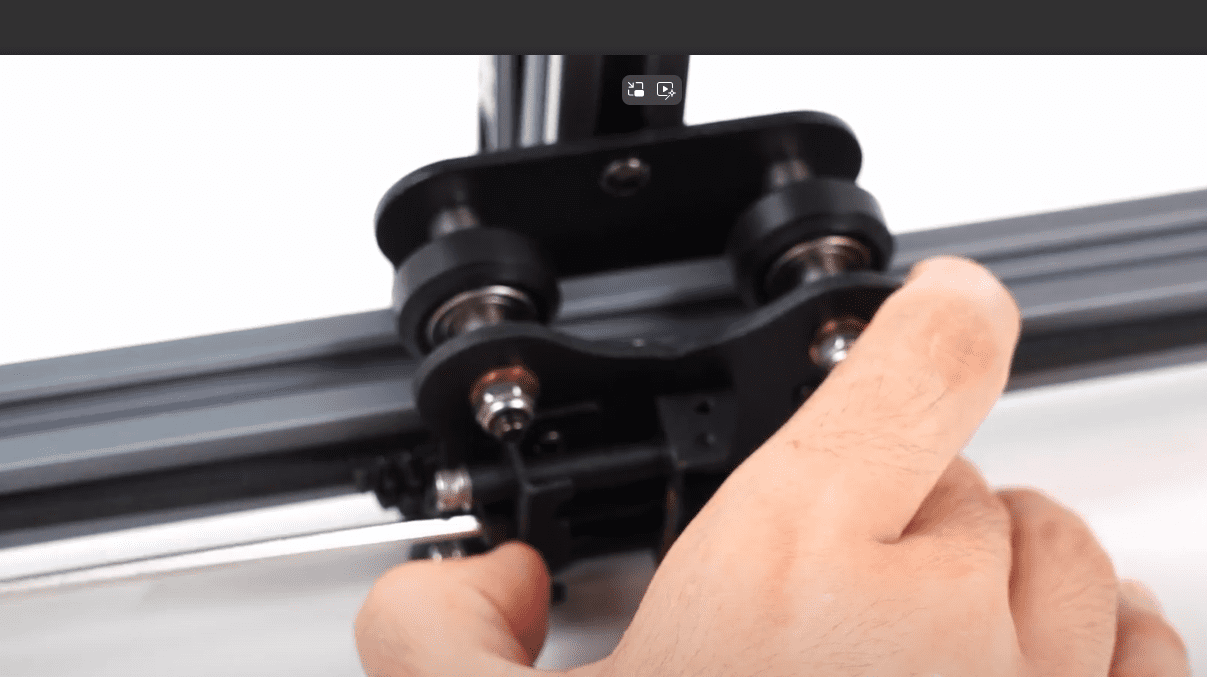
2.Loosen the X-axis belt tensioner slightly, then use a hex wrench to tighten and secure the fixing nut to the right.
¶ Adjustment of the Y-axis belt.
1.The Y-axis BOM wheel is loose, and there is an eccentric nut in the middle that can be properly tightened with a wrench.
2.On the back of the Y-axis moving module, there is a belt tensioner. First, loosen the adjustment screw a bit, then pull the tensioner and tighten the adjustment screw.
Precautions to Take:
- Only apply an appropriate amount of pressure; excessive pre-tightening force can increase resistance and may lead to jamming.
The best result is: one side of the wheel is in close contact with the rail, and the other side has slight friction when the wheel is rotated. - When adjusting the Y-axis, the screws on both sides of the X-axis rail need to be loosened. Tighten them back after adjustment.
Precautions to Take:
- Only apply a moderate amount of force; excessive pre-tightening force can increase resistance and may lead to jamming.
- After adjusting the tightness of the synchronous belt, manually push and test the results at different levels. Avoid causing jams or other part damage. Smooth movement with a slight tension in the synchronous belt is the best.
