¶ Calibration and Software Guide
The TS2 10W-TS2 20W laser engraving machine uses an automatic focus on the Z-axis
-
Laser Module Elevation Operation:
- The laser module’s elevation device will move downward to allow the laser probe to approach the engraving surface.
-
Probe Contact and Z-Axis Limit Switch:
- When the probe touches the engraving surface, the Z-axis limit switch is triggered, which is an automatic detection mechanism to ensure that the laser module does not descend too low.
-
Laser Module Returns to Pre-set Height:
- After the limit switch is triggered, the laser module will automatically move upward to the elevation height preset by the user in the software.
-
Auto Focus Completion:
- Once the elevation height is set, the machine will automatically complete the focusing process to ensure a constant distance between the laser module and the engraving surface.
-
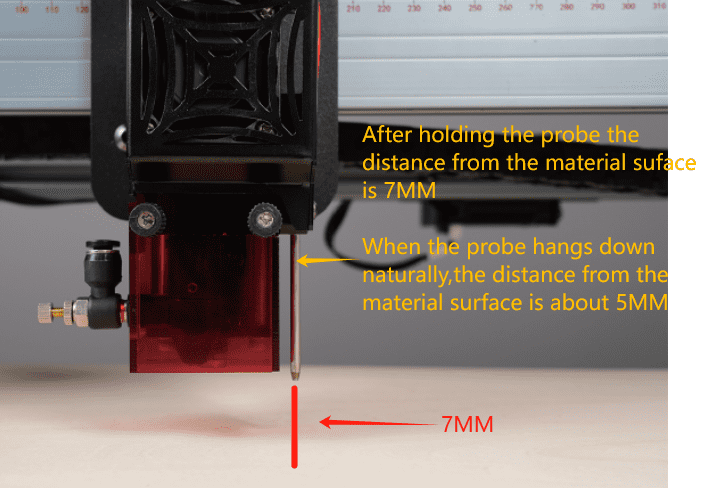
Relationship between Elevation Height and Focal Length:
- For example, if the elevation height is set to 7mm, when the laser module moves upward by 7mm, the focal length (i.e., the distance from the laser module to the engraving surface) will be set to 50mm.
-
Importance of Focal Length Setting:
- Correct focal length setting is crucial for the quality of laser engraving and cutting, affecting the concentration of laser energy and the processing effect.
-
Software Settings:
- Users need to correctly set the elevation height in the control software of the laser engraving machine to ensure that the laser module can focus correctly on different materials and thicknesses.
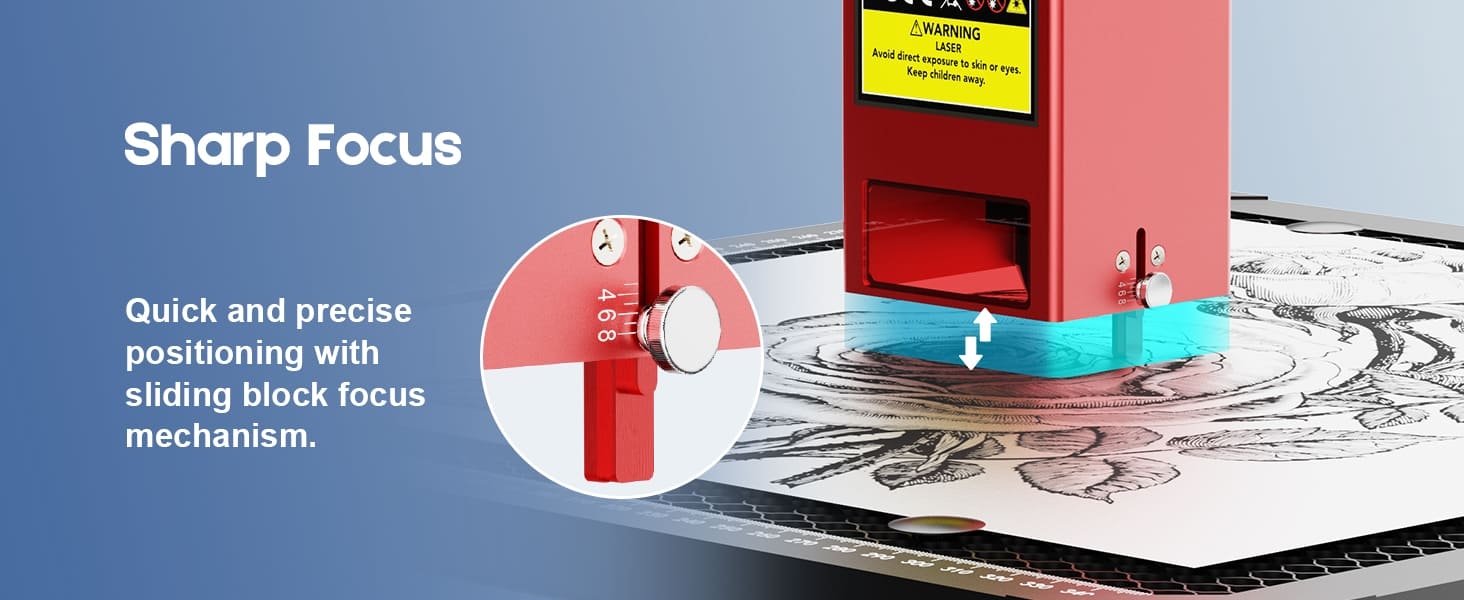
¶ The TS2-40W machine uses manual focusing, and the focusing column on the laser head can be freely expanded to the appropriate focusing length
|
¶ Custom Auto-Focus Focus Command Tutorial
TS2-LaserGRBL import tutorial
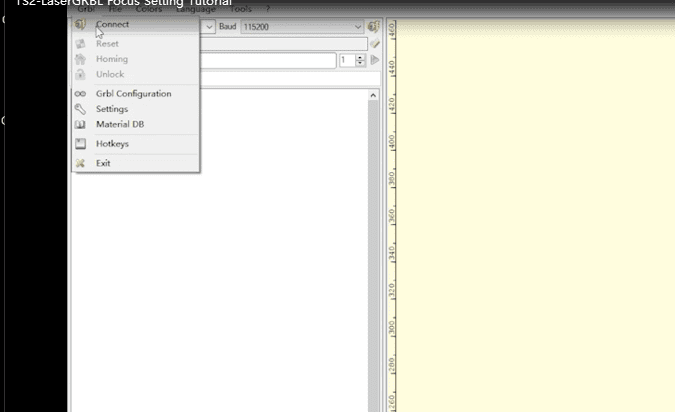
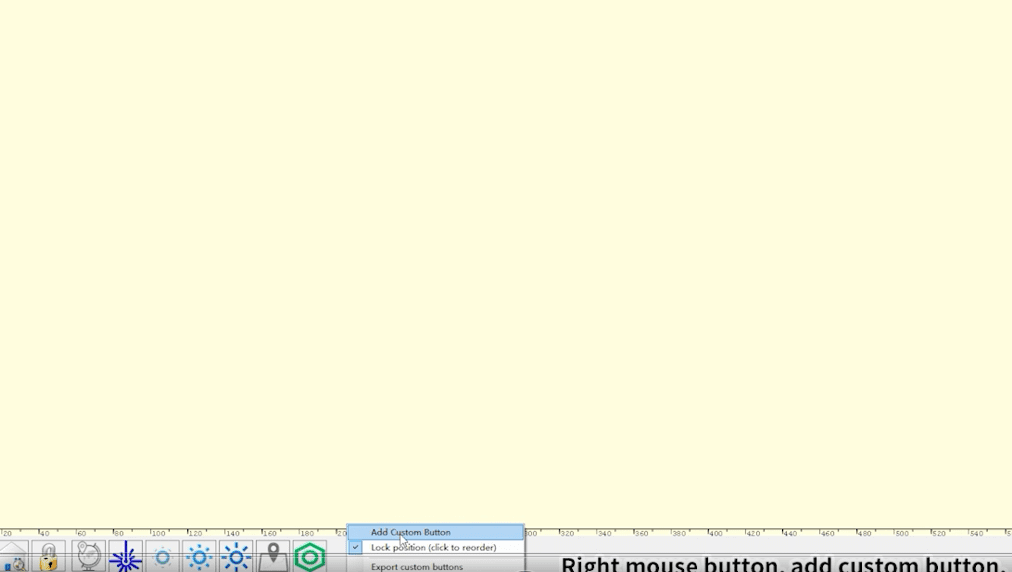
1.Open the TS2-LaserGRBL software, select the correct COM port to connect to the engraving machine, and then right-click the mouse in the control bar at the bottom of the software to start customizing commands.
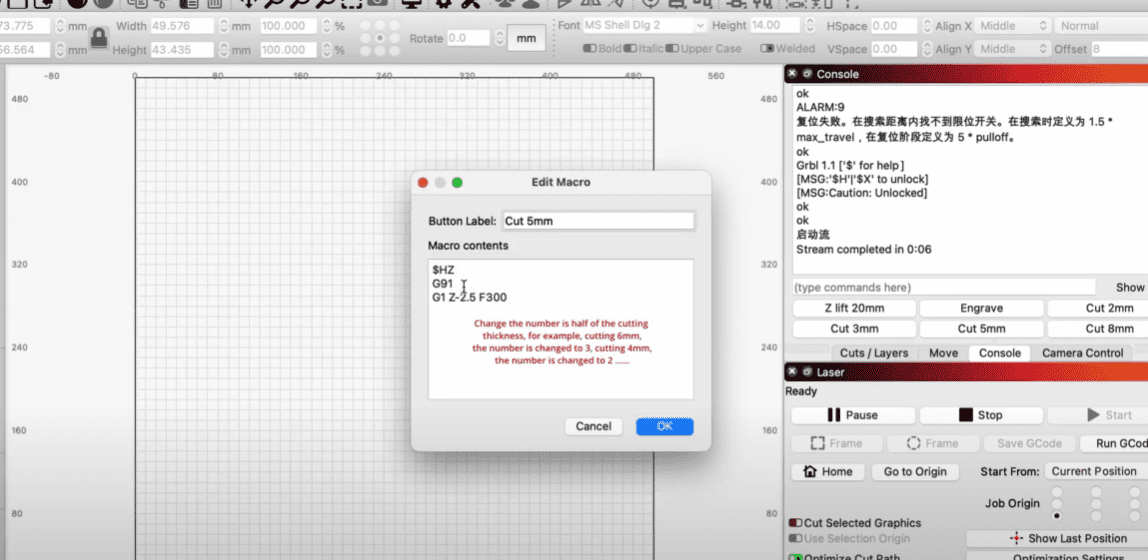
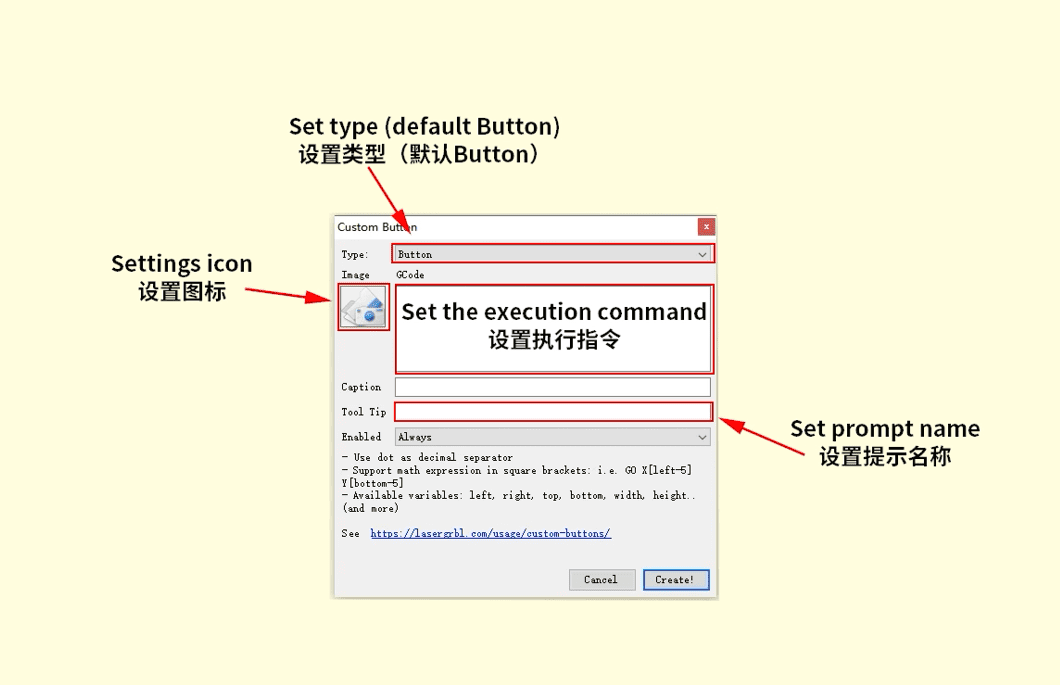
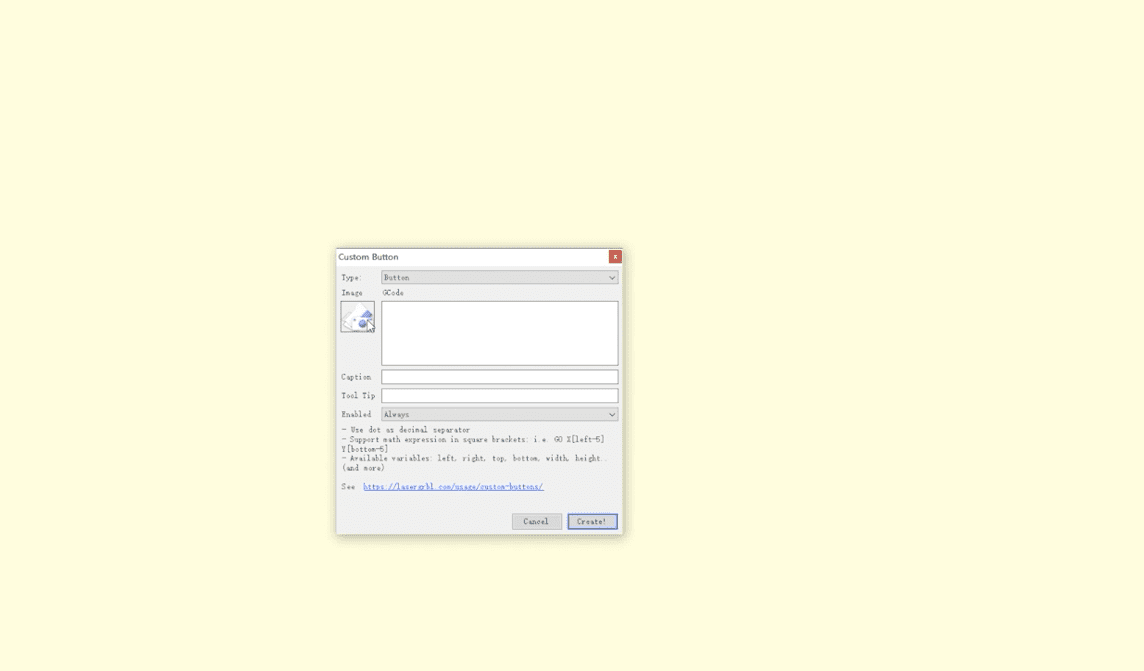
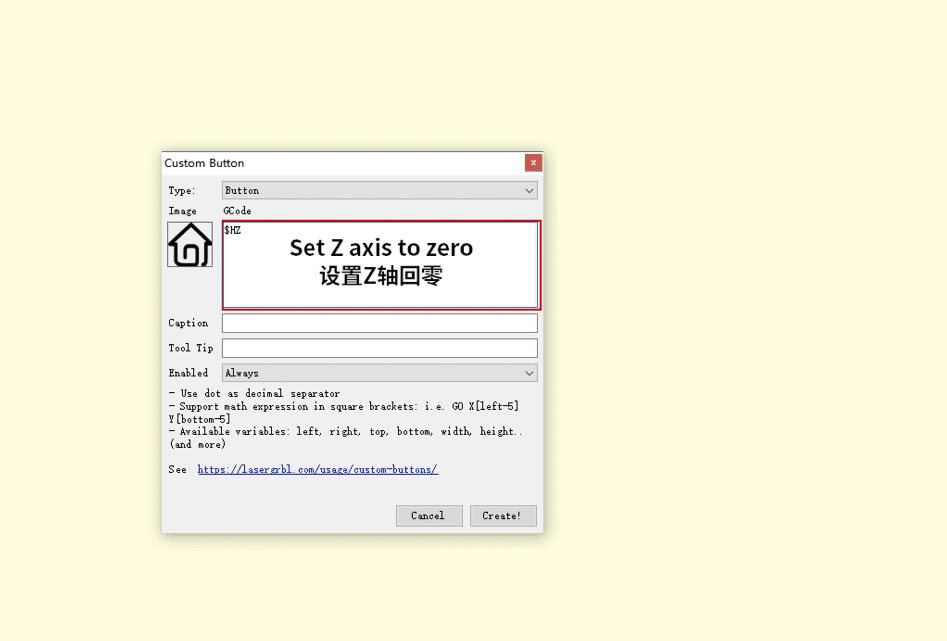
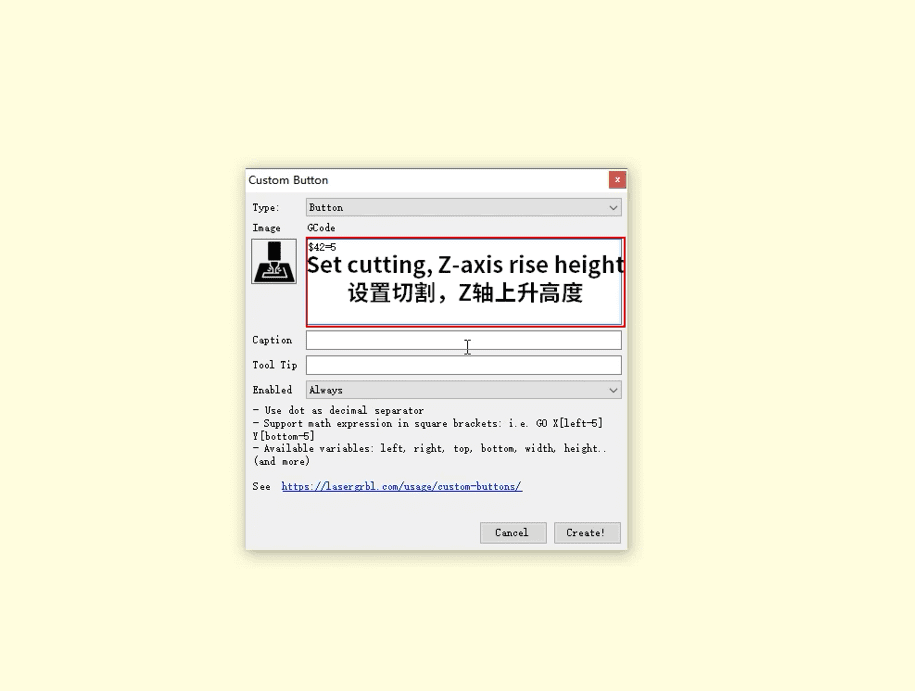
2.A pop-up editing page will appear; edit the commands according to the instructions.
|
3.A pop-up editing page will appear; edit the commands according to the instructions
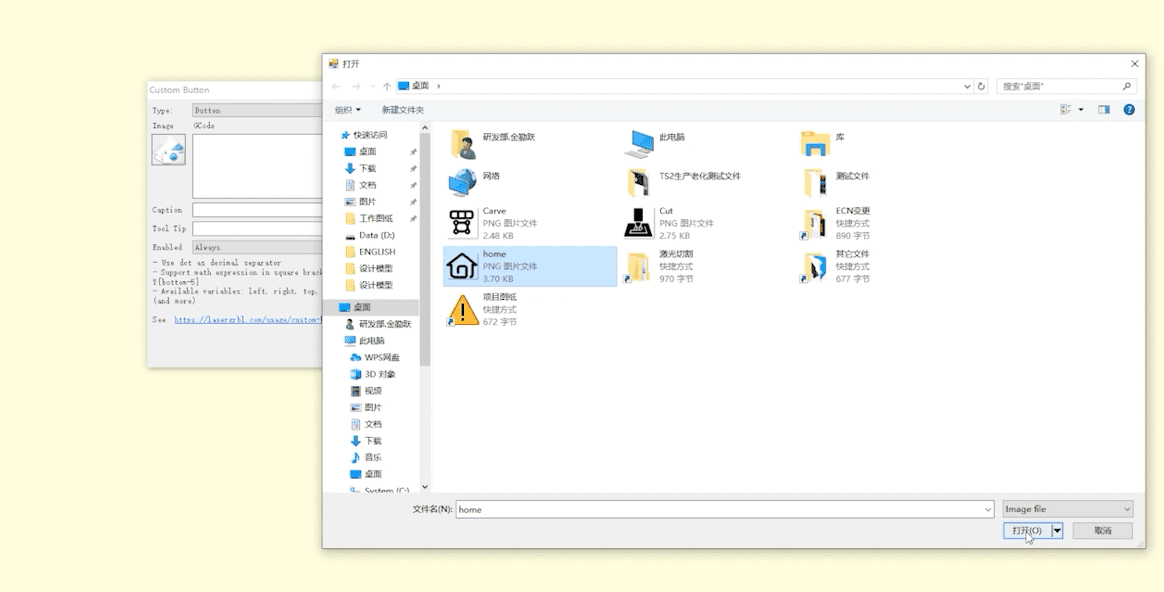
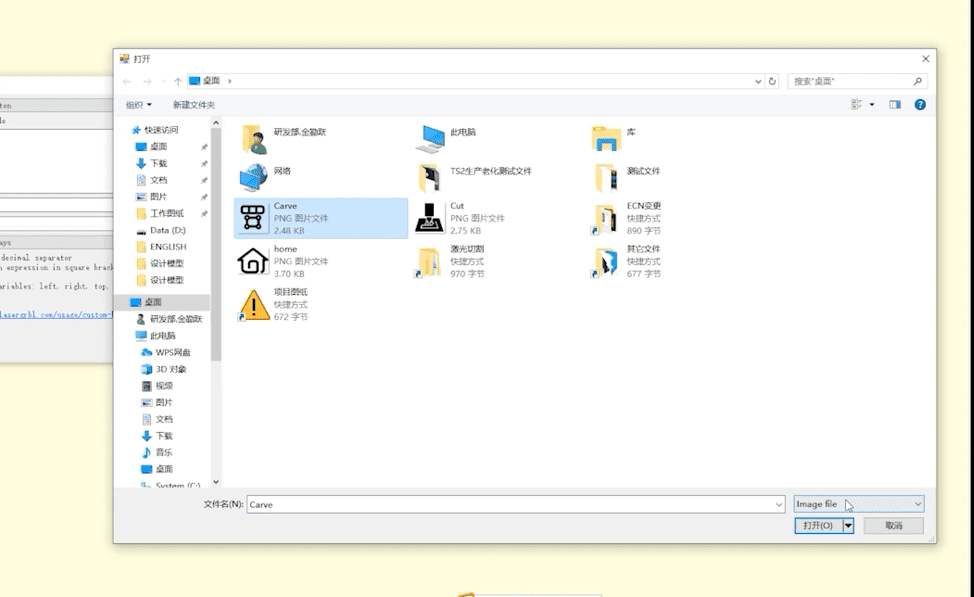
4.After entering the name, save it, and then set the other commands in the same manner
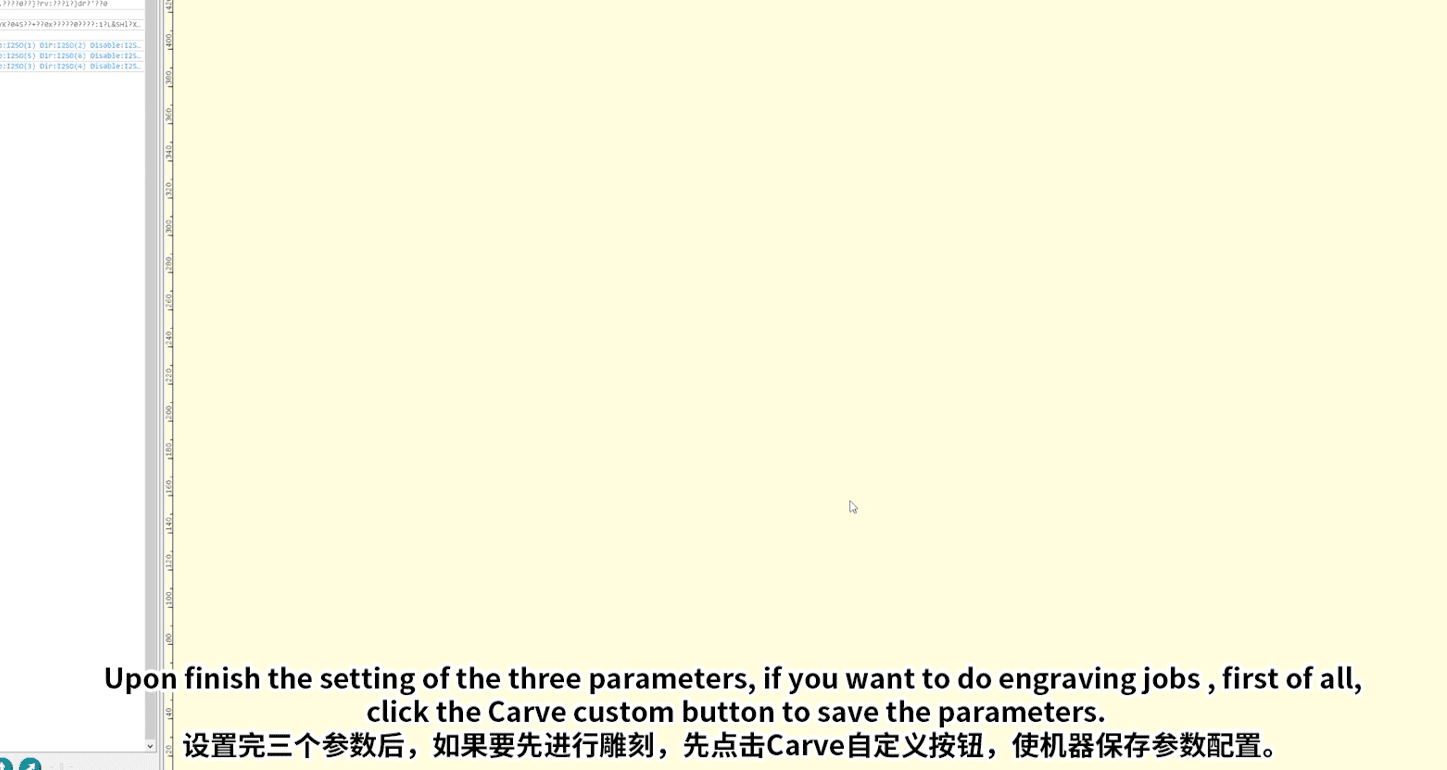
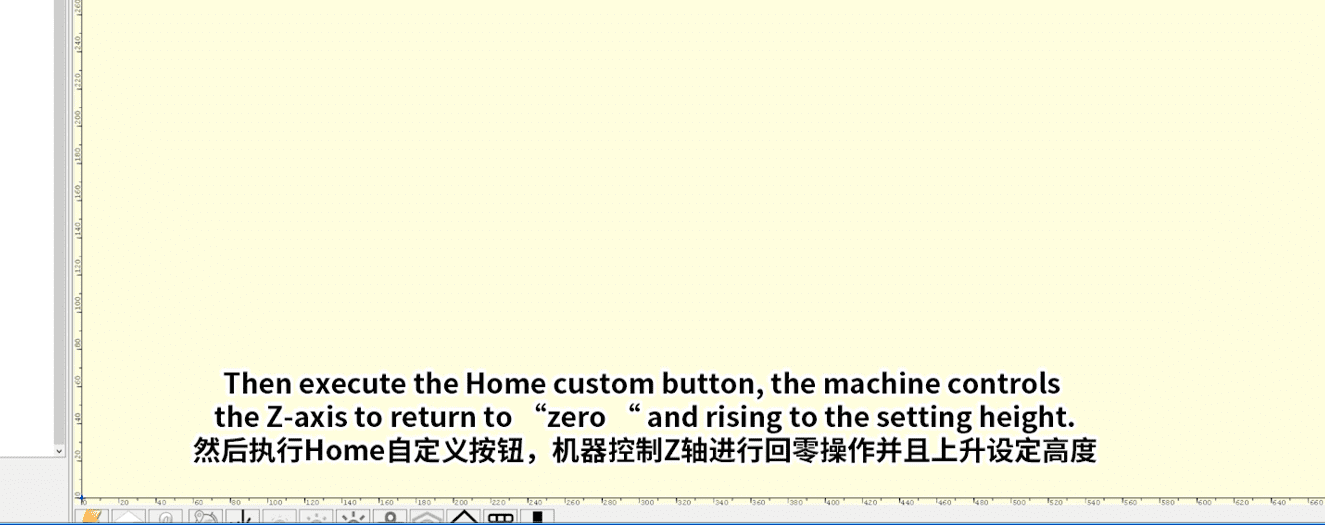
5.After setting the parameters, if you want to perform engraving, first click on ‘Carve’ to save the configuration, and then execute the Z-axis zeroing command
¶ TS2-LightBurn Import tutorial
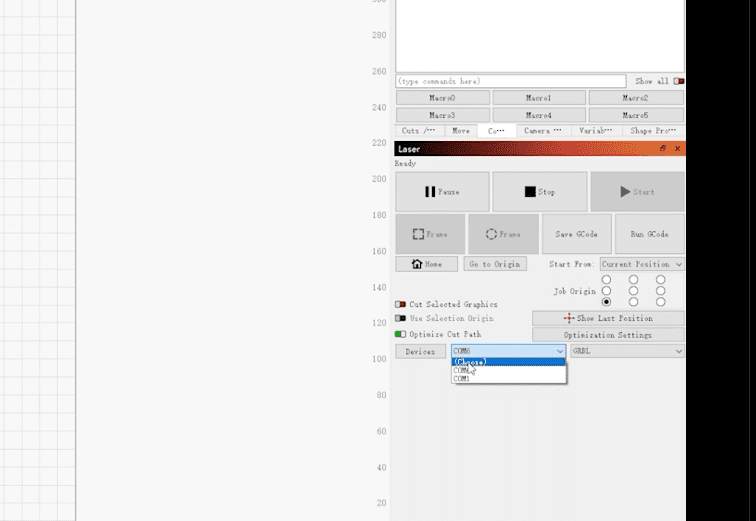
1.Open the TS2-LightBurn software and select the correct COM port to connect to the engraving machine
|
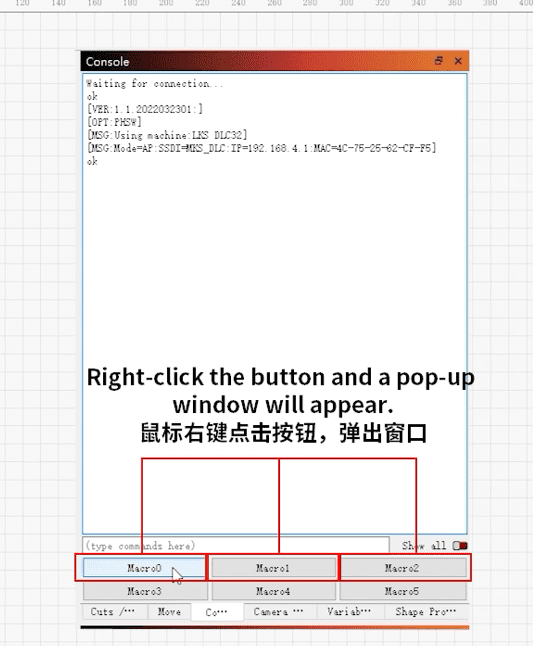
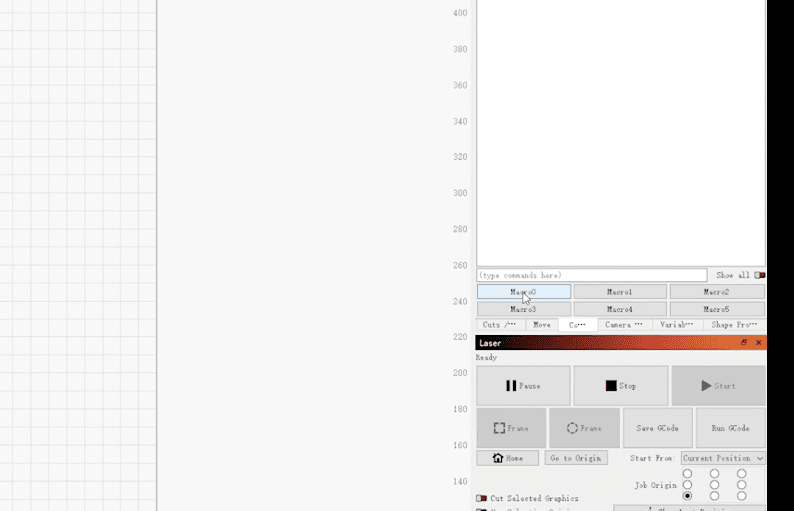
2. In the software, right-click the ‘Customize’ button in the upper right corner to enter the editing mode
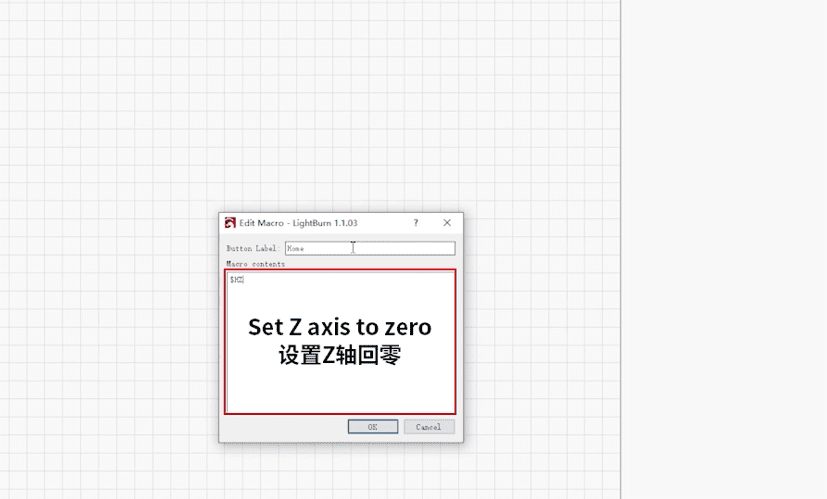
3.Set the Z-axis zeroing button
|
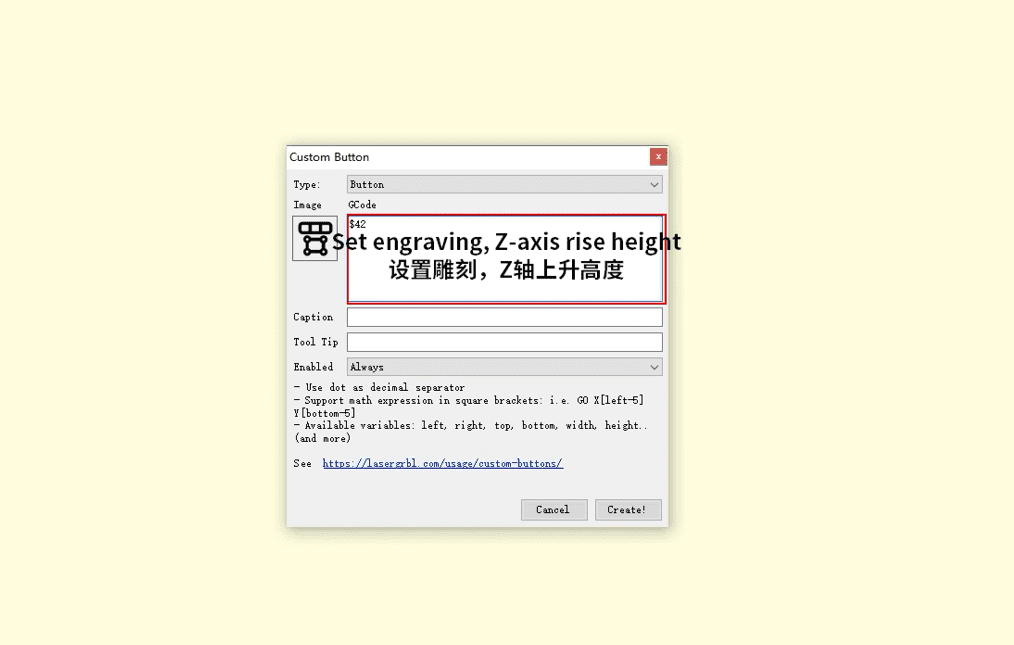
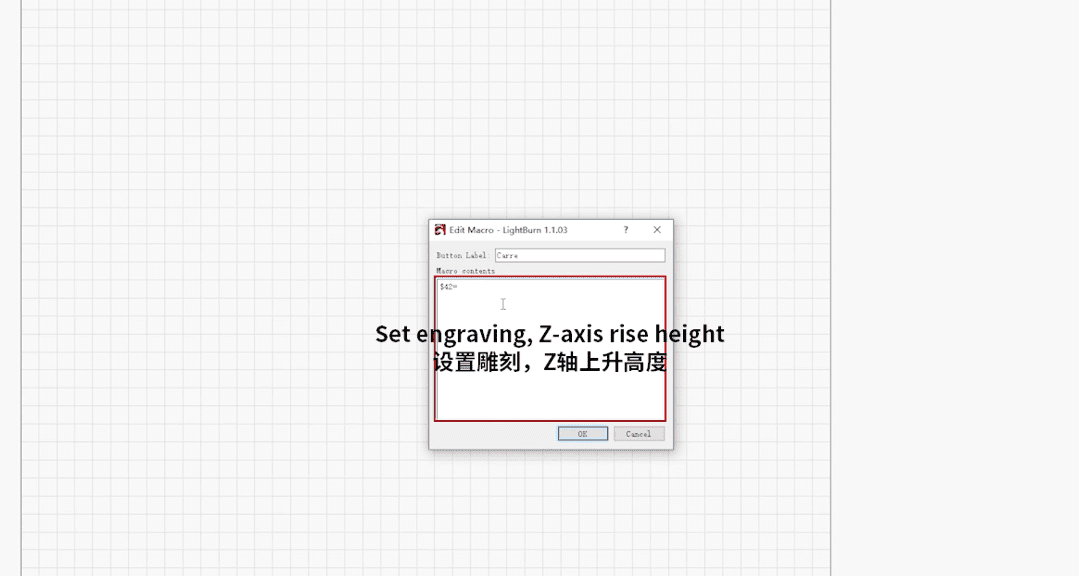
4.Set the engraving button
|
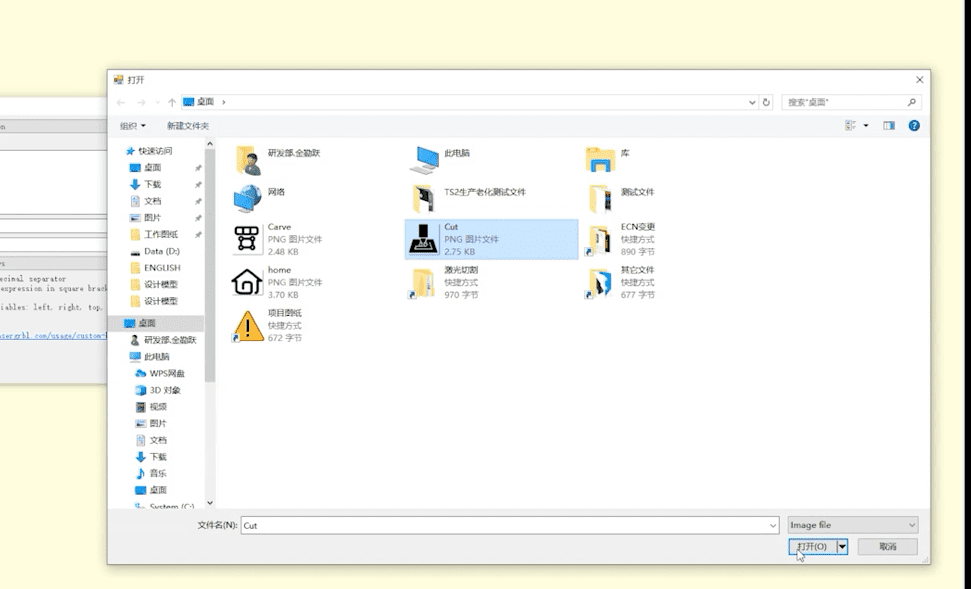
5.Set the cutting button
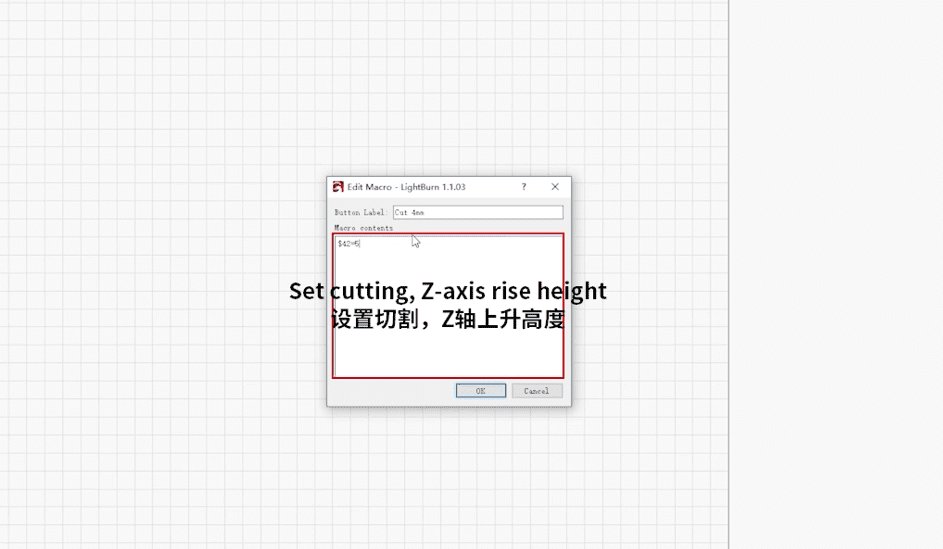
|
Matters needing attention:
- After the machine guides the configuration file, the starting position needs to be changed to ‘Current Position’”。
- At the same time, set the job origin to the lower left corner (A11)。
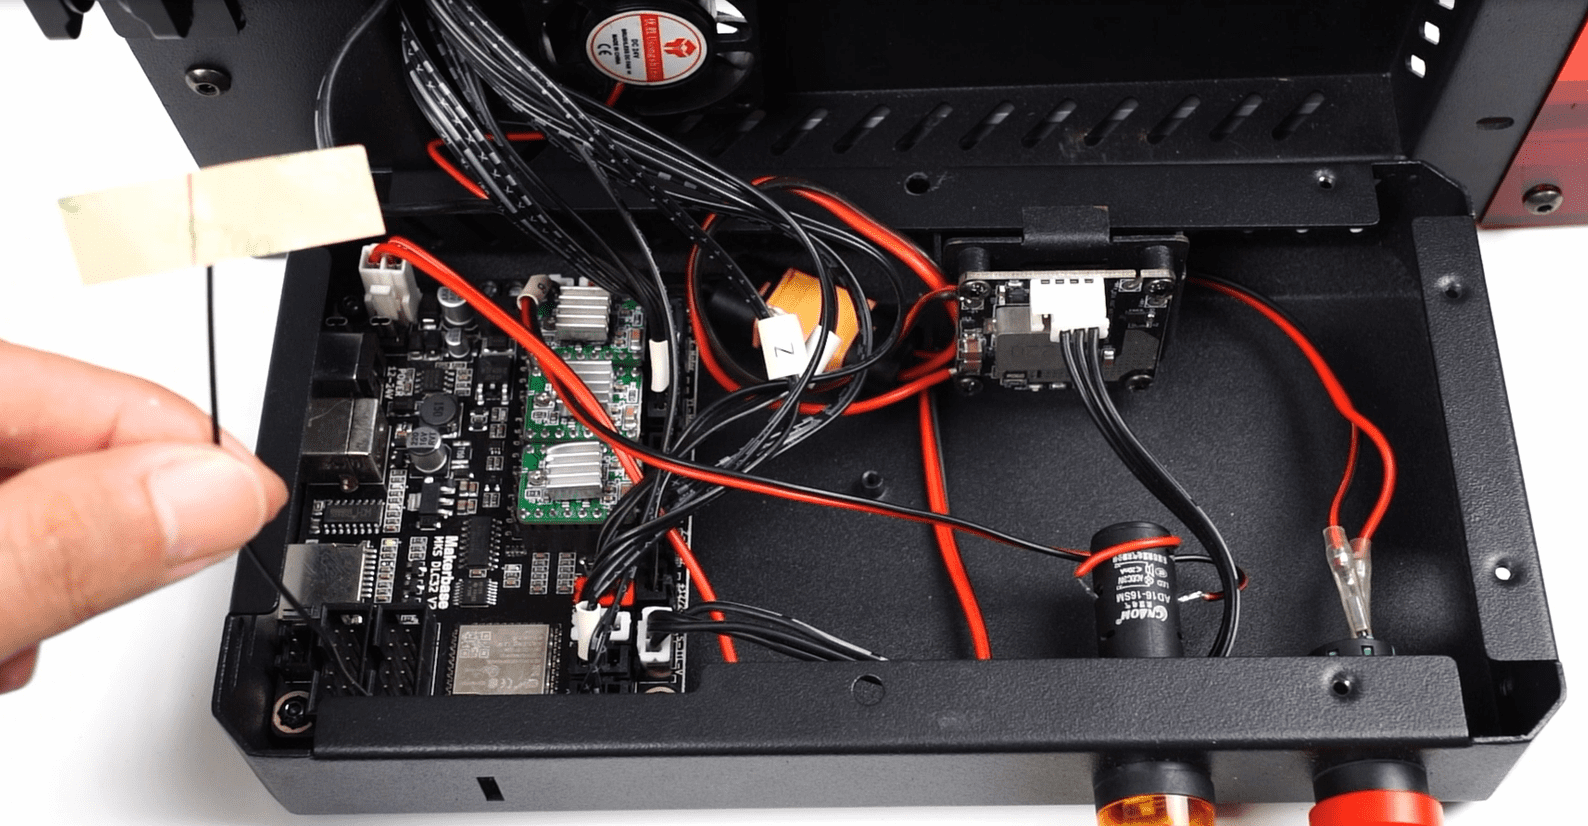
¶ Connecting to Wi-Fi and connecting to the APP.
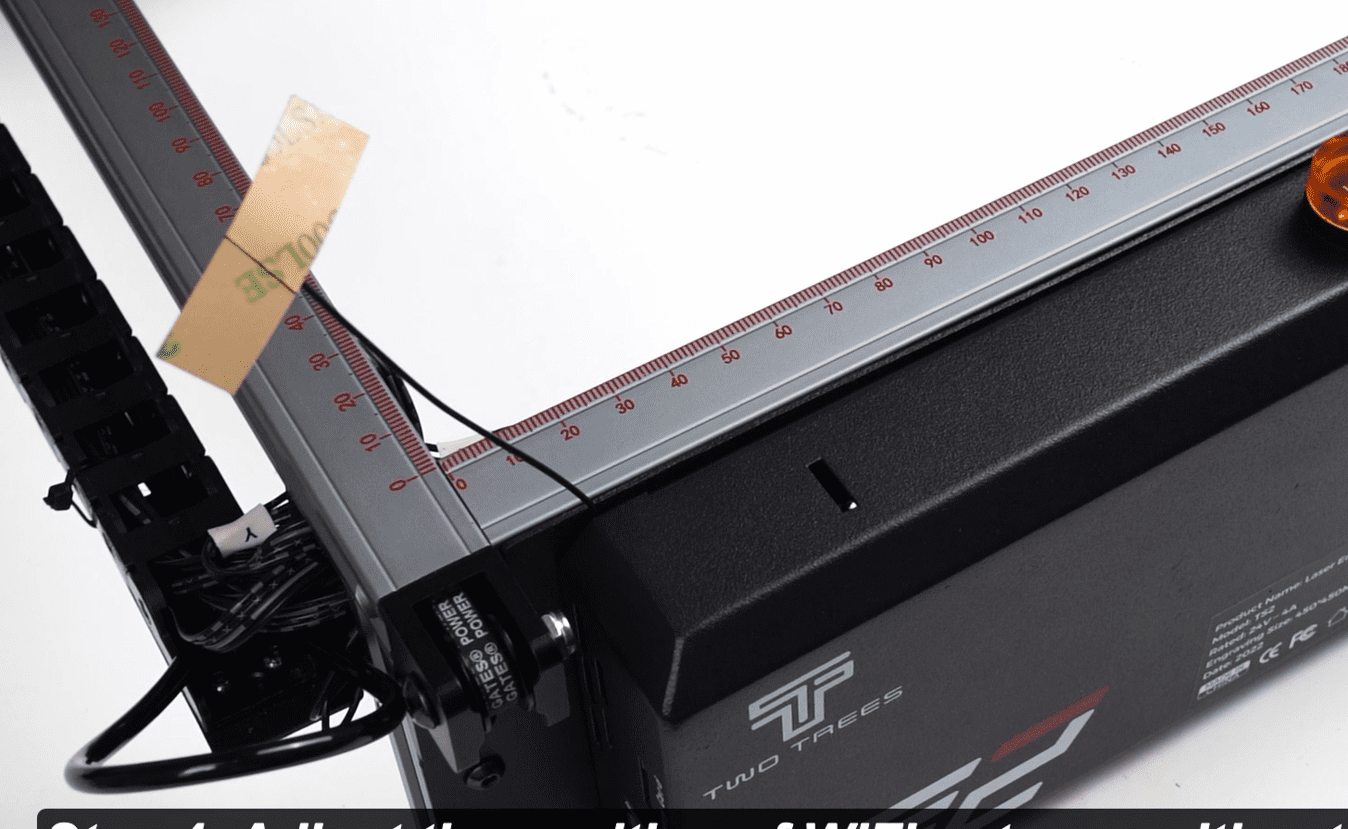
Preparatory work: Take out the Wi-Fi antenna from the mainboard box.
¶ Connect to Wi-Fi.
(Preparatory work: Install the CH340 serial port and the MKSLaserTool software.)
1.Open the MKSLaserTool software, click to connect to Wi-Fi and obtain the Wi-Fi connection.

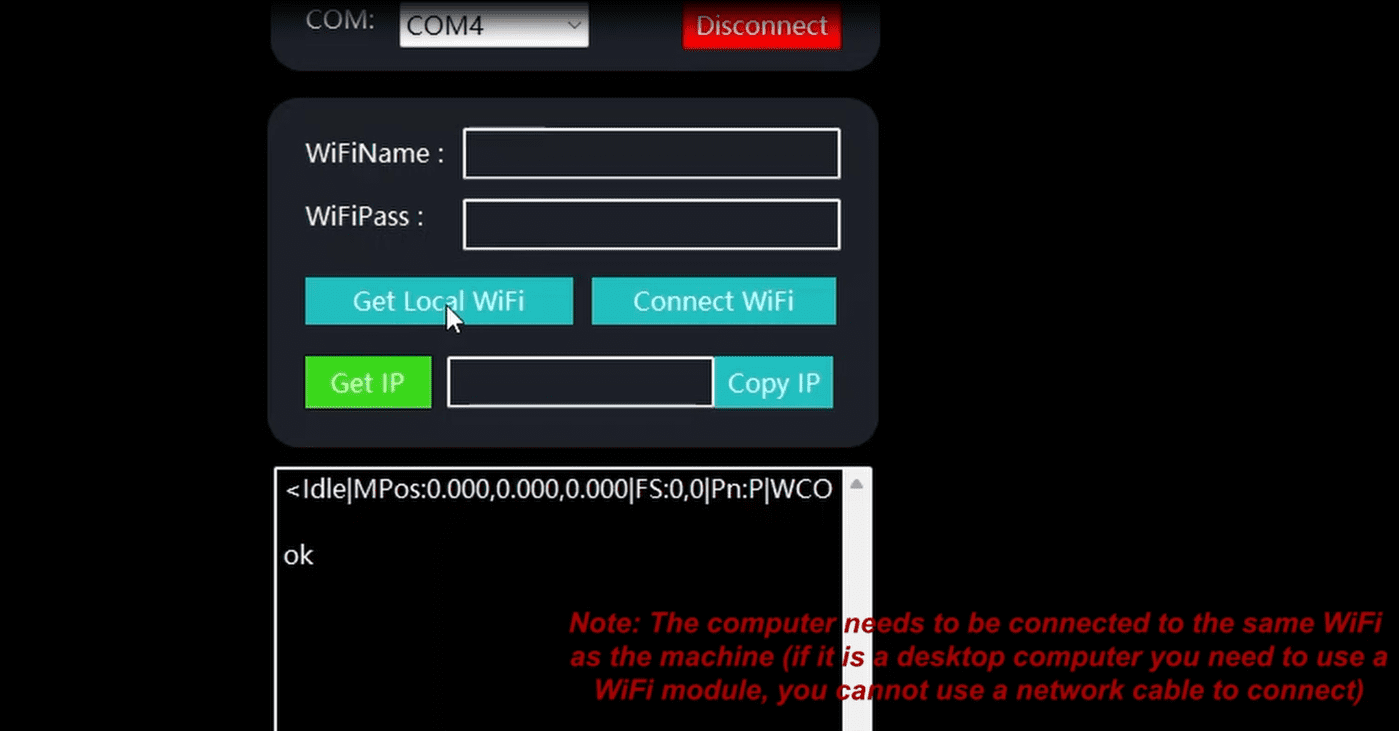
2.Enter the password to connect to the Wi-Fi, and then obtain the IP address.


¶ Connect to the APP.
(Preparatory work: Install the MKSLaser software.)
1.Connect to the same Wi-Fi as the machine, and then open MKSLaser.
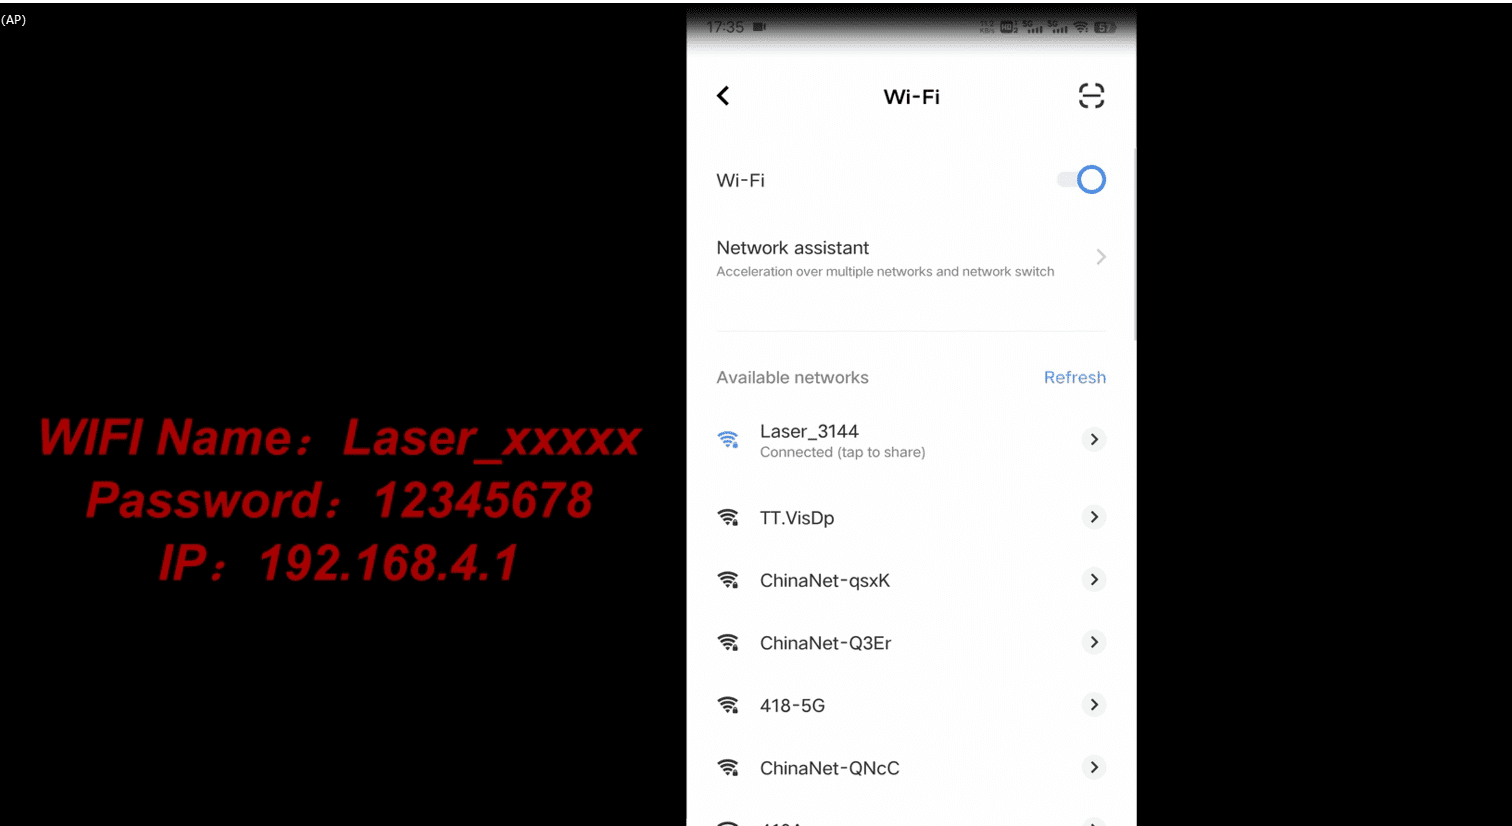
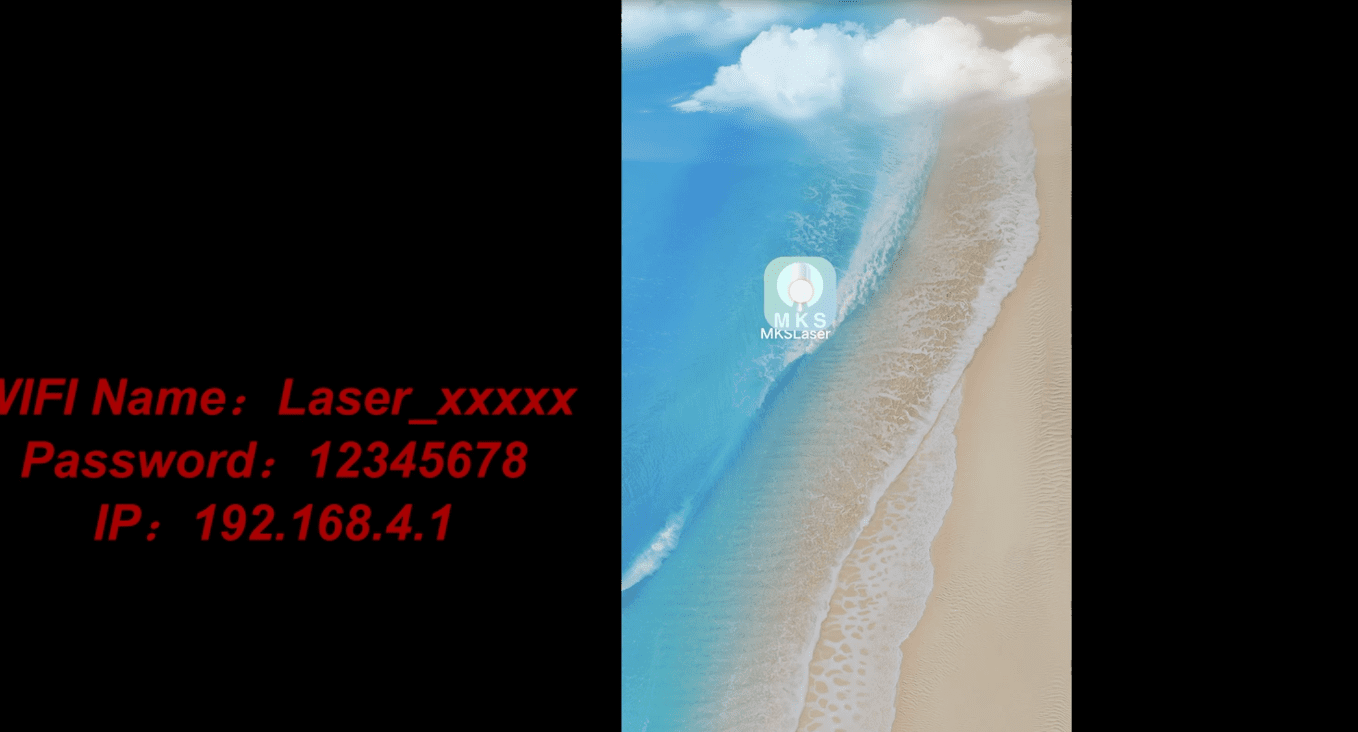
2.Click on the connection option, enter the IP address, and then connect.

|