¶ Beginner Tutorial (Must-see)
Ready to embark on a desktop laser engraving adventure? A set of standardized operation procedures can help you create exquisite works safely and efficiently. This guide will teach you all the techniques from equipment setup to project completion:
¶ Safety protection and equipment inspection (important)
Personal safety protection
- 1.During the carving process, if you are in the same environment as the carving machine, you must wear a mask throughout to prevent dust from entering your mouth and nose.
- 2.If you need to get close to the laser engraving machine, please wear protective sunglasses to prevent eye discomfort caused by the strong light.
- 3.Please ensure that the laser engraving machine is placed in a well-ventilated environment with moderate temperature and humidity. If there is an outer cover, please place it inside the cover.
- 4.Please ensure that the laser engraving machine is kept away from flammable materials. When processing flammable materials, you must keep a close watch throughout the process!!!
Equipment inspection - 1.Make sure the tabletop where the engraving machine is placed is stable enough, or you can use adhesive tape to secure the tabletop and the engraving machine together to prevent any movement during the engraving process.
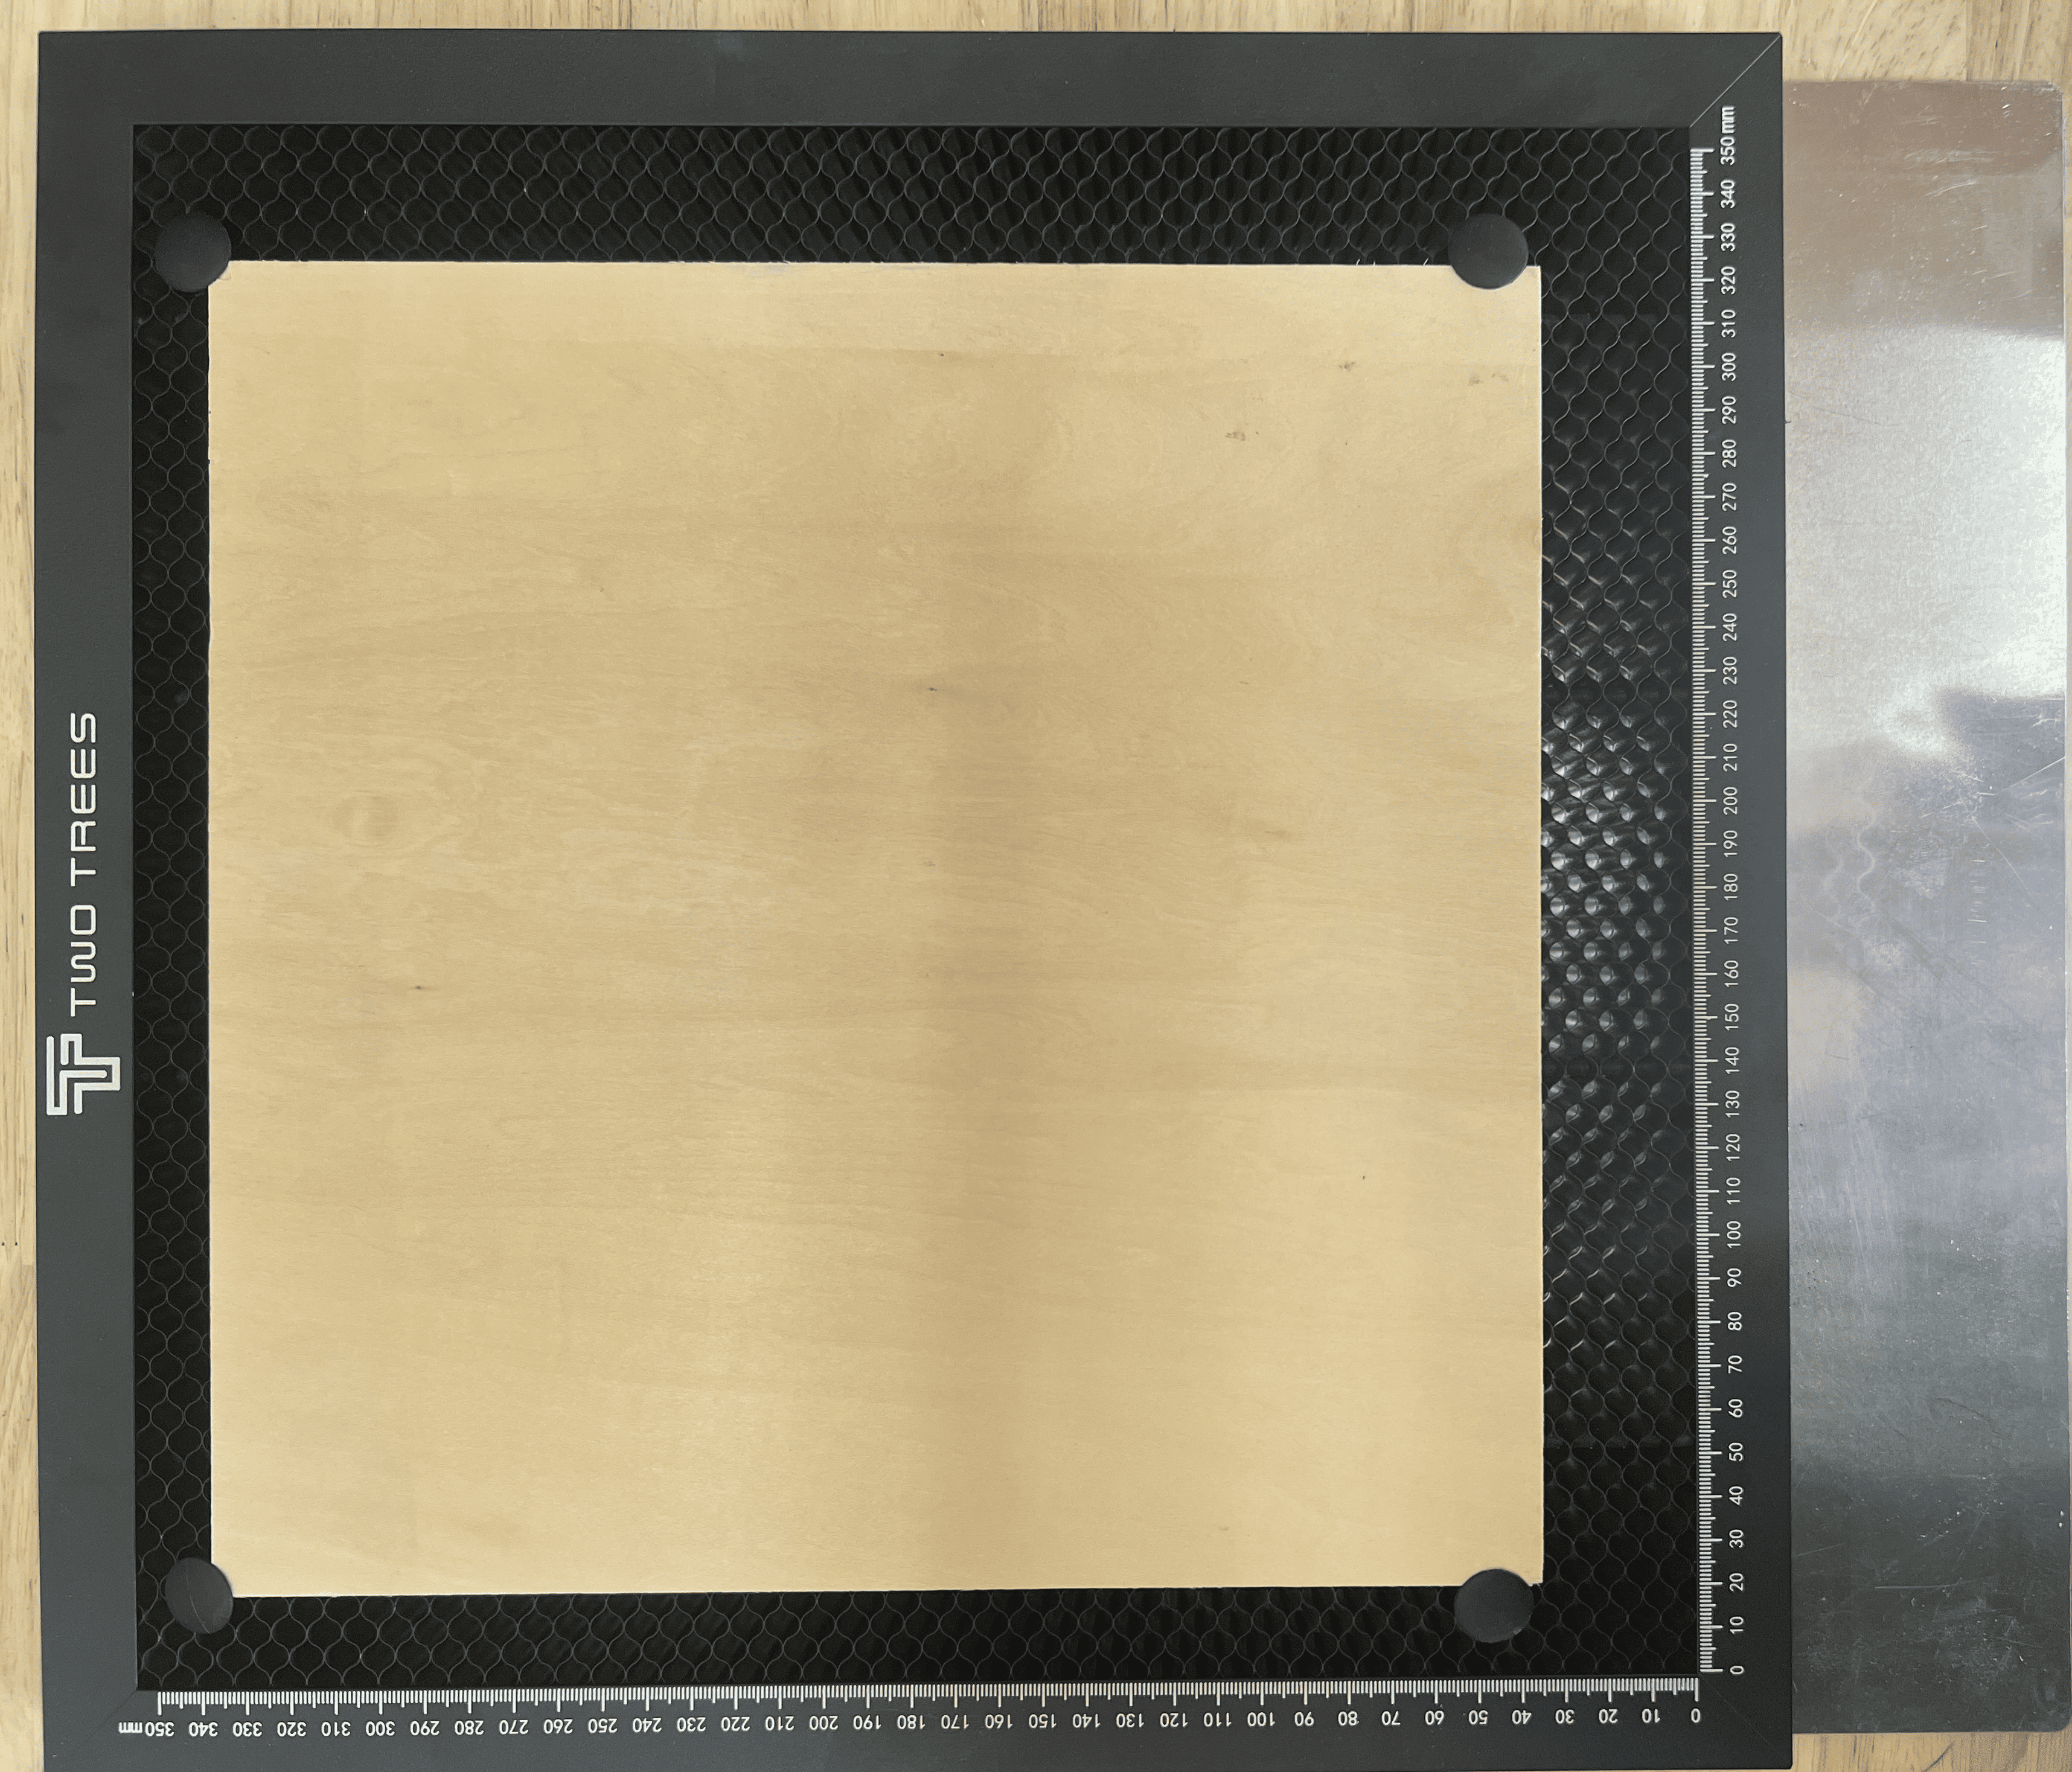
- 2.Make sure that the materials within the machine’s travel are securely fixed. When creating the engraved planar patterns, a honeycomb board and a barrier plate are not necessary. If cutting materials is required, the bottom of the materials must have a honeycomb board and a barrier plate to prevent them from burning onto the tabletop.

¶ Software and file formats
Common laser engraving software
LaserGRBL (Free)
- LaserGRBL is a completely free and open-source laser engraving software. It has a relatively low learning curve and is quite user-friendly for beginners.
Common file formats
- The common file formats used by laserGRBL are graphic files of the types
(jpg)(png)(bmp). If it is a vector file such as DXF or SVG, other software is required to convert it into an NC file or Gcode file before it can be imported into laserGRBL for use.
LightBurn (Subscription Required)
- LightBurn is a highly powerful laser software that is compatible with the majority of laser engraving machines available on the market. It has extremely strong capabilities in terms of detail and editing the layout of laser patterns, and its learning curve is moderate. The first download can be used for free for 30 days.
Common file formats
- LightBurn supports almost all file formats.
Vector format support:.DXF.SVG.AI.EPS(Partial support).PDF
Image format support:.BMP.PNG.JPG/JPEG.GIF.TIF/TIFF
¶ Machine operation procedure
Software connection
- 1.Connect the machine and the computer using the USB cable provided with the machine. Install the CH340 driver on the TF card, and the software and the machine will be successfully connected.
- 2.Import the configuration file corresponding to the machine in the TF card into the software, and then you can configure the software information.
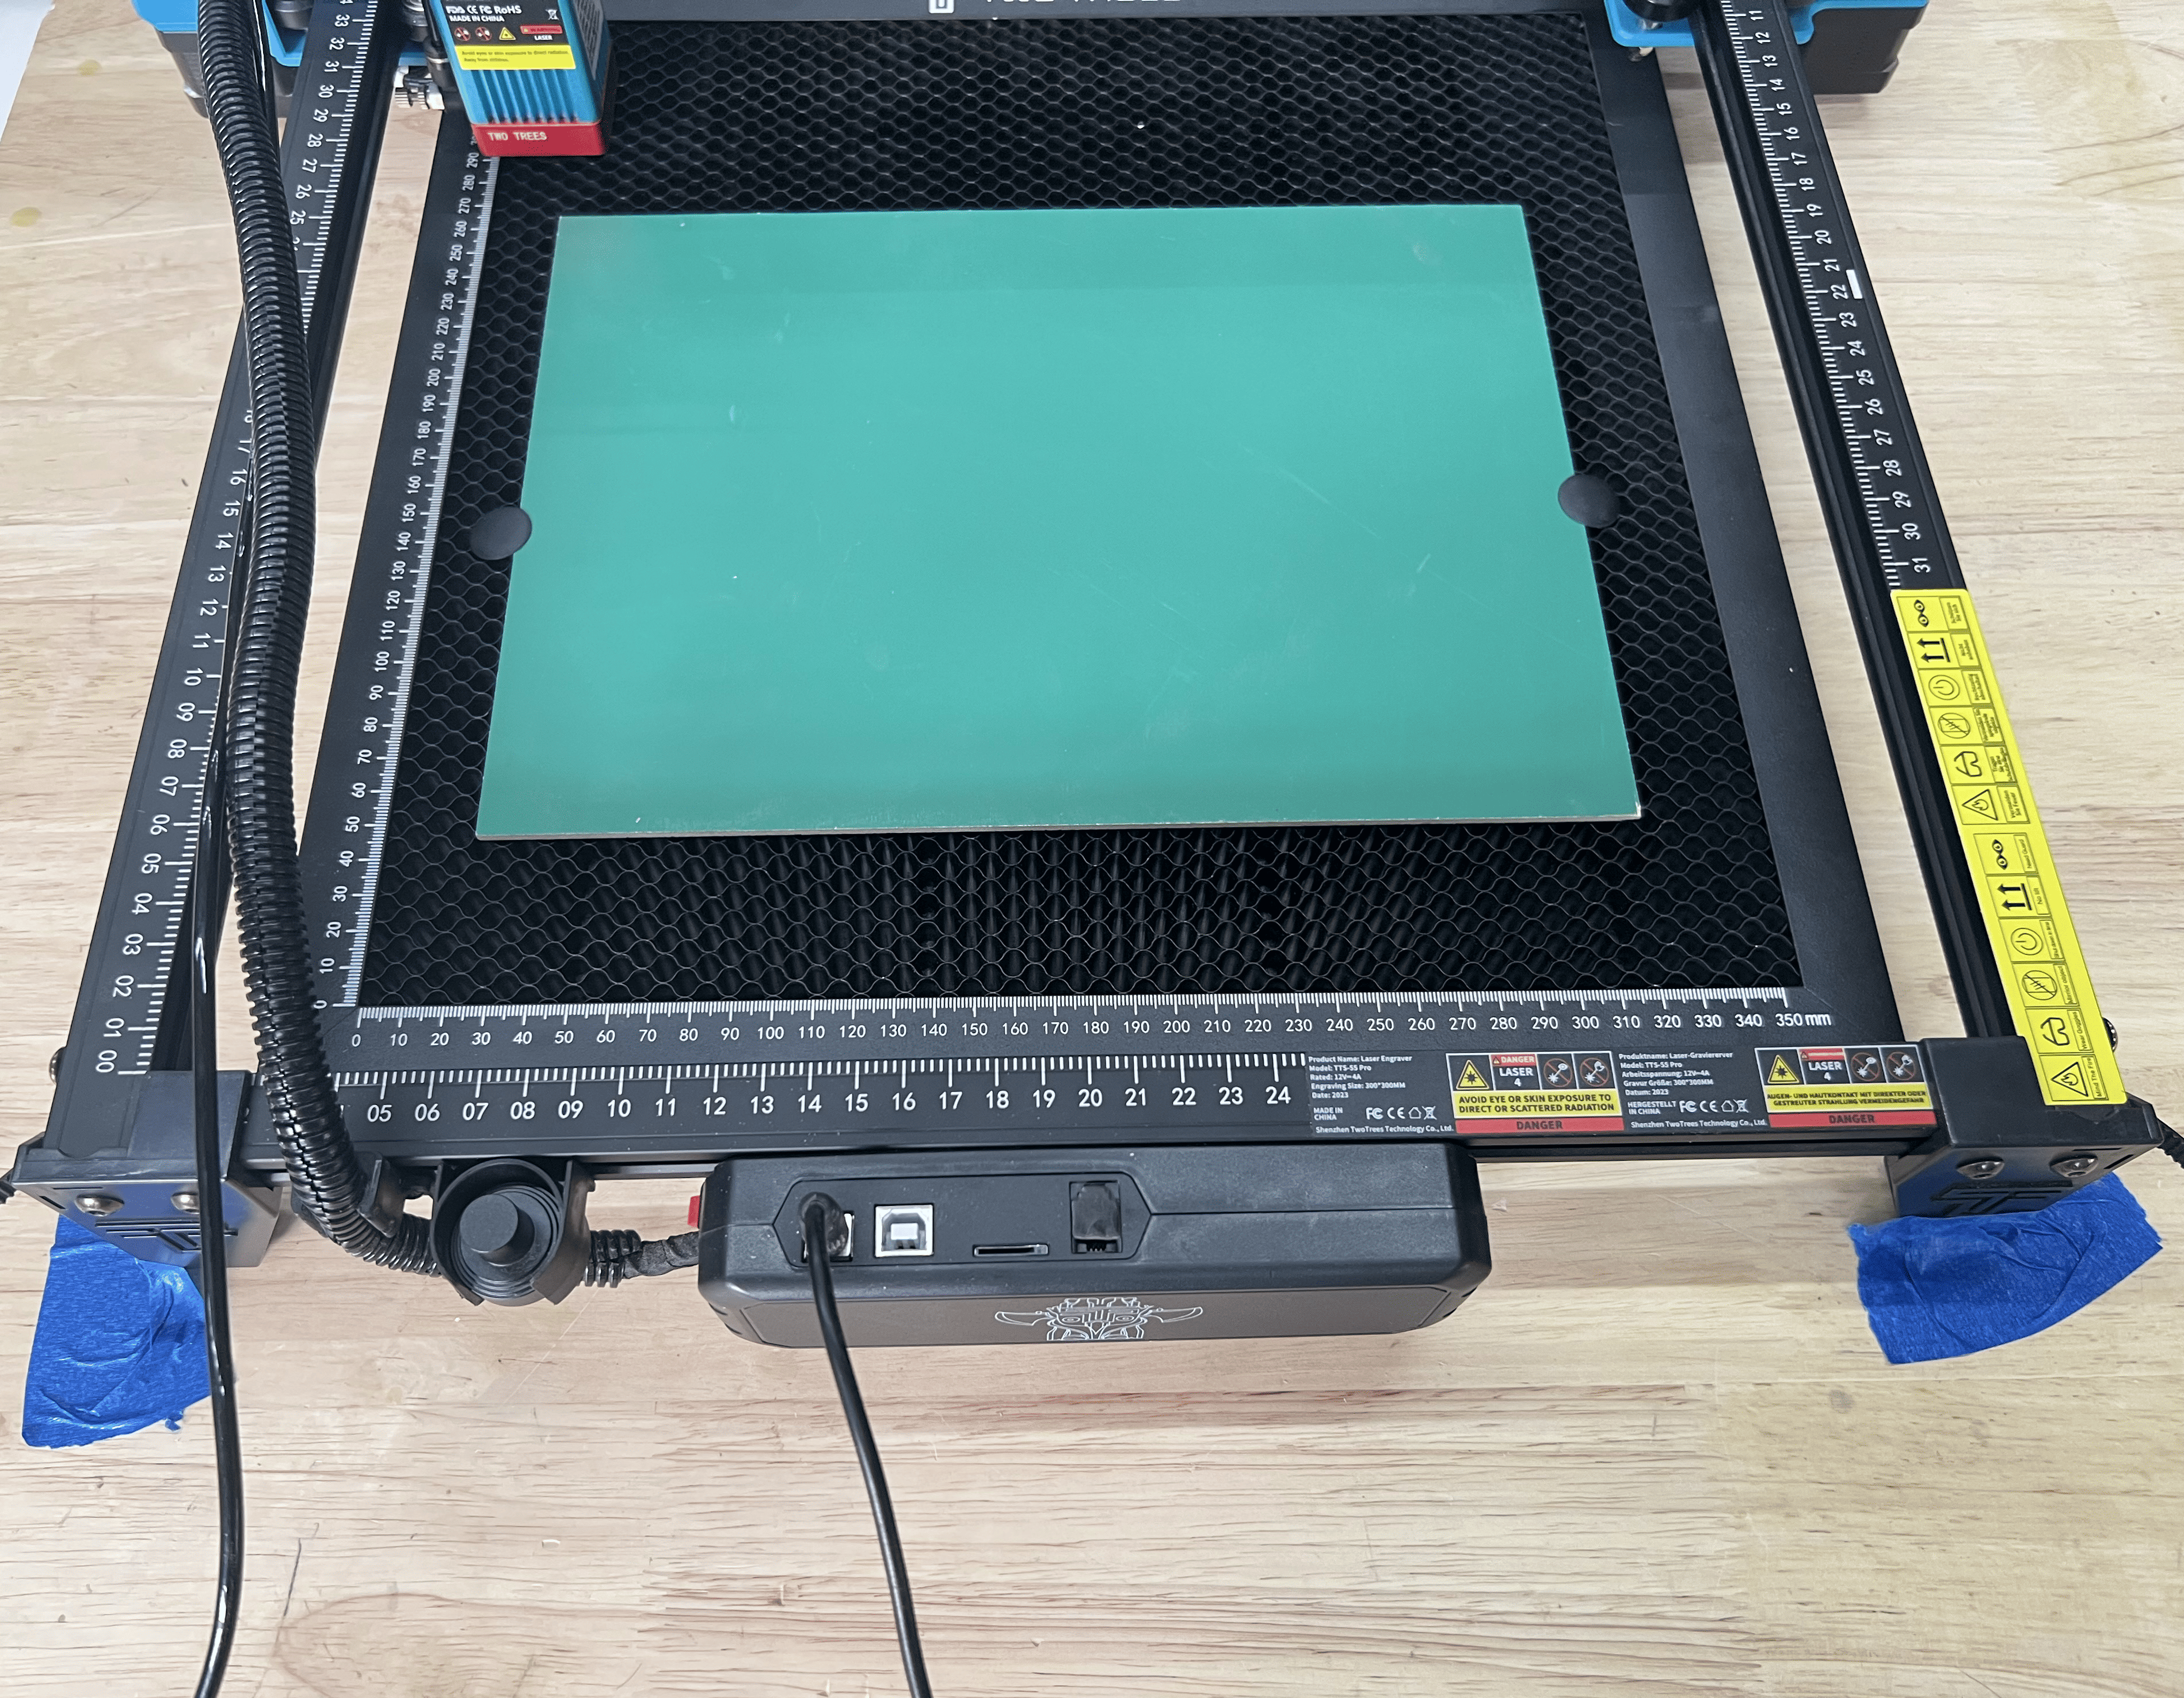
Place the machine - First, place the machine on a relatively flat surface. It is recommended to secure the four corners of the machine to prevent it from shifting during the engraving process due to the machine’s inertia.
|
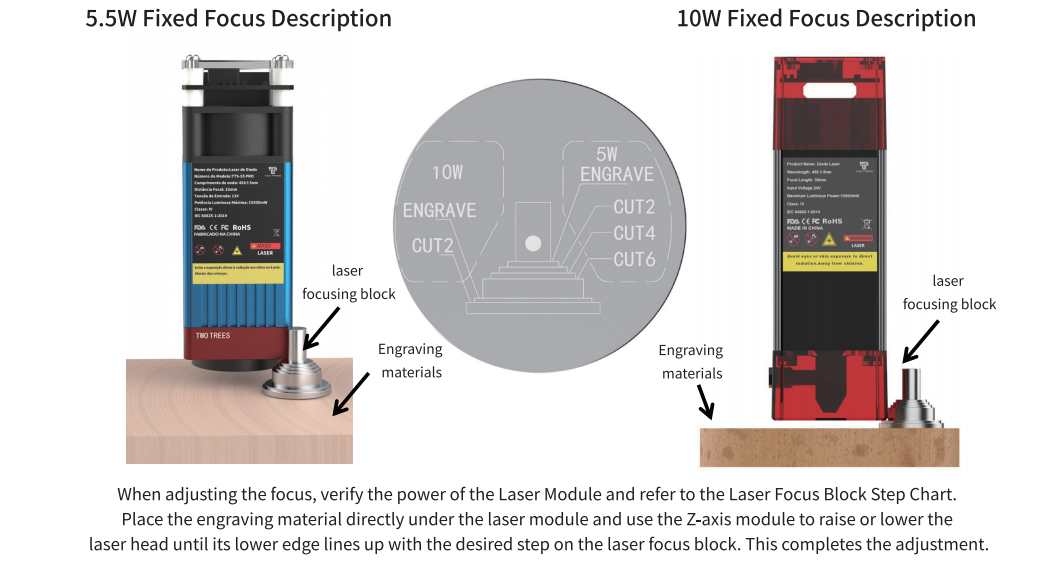
Focusing
- After the machine is prepared, it is necessary to align the laser head with the workpiece. Here, we will demonstrate with the TTS series models (if your machine has automatic focusing, you can find the corresponding tutorials in the corresponding models on the Wiki).
|
Prepare the documents
- 1.Open the DXF or PNG file you want to engrave in the software. Set the required dimensions and ensure that the image is within the travel range of the machine.
- 2.Set the power, speed and graphic style, and then you can start the carving process. Observe the graphic on the board to see if it is centered.
- 3.Click “Send” to start the engraving process.
¶ Common questions
The cutting edges are dark and yellowish.:When cutting the sheet material, smoke and oil will be produced. Without an air pump to assist in smoke removal, the smoke will adhere to the cut surface, causing it to turn black and yellow. Moreover, the smoke is prone to contaminating the lenses, which will lead to frequent need for lens cleaning. If possible, it is best to equip an air pump to assist in smoke removal.
Unable to complete the files that were previously capable of being cut:Please check if there are any stains on the surface of the lens. You can try to remove the lens and clean it with an alcohol cotton swab. After ensuring that the lens is completely dry, try cutting again before reinserting it into the laser head.
The lines cut out are not parallel.:Check if the measurement along the X-axis is parallel. You can first loosen the fixing screws of the crossbeam, level it out, and then re-fix it to see if the problem is solved. If it still doesn’t work, it might be that the installation of the frame is not level. In that case, it is recommended to reinstall it.
The cutting did not completely sever it.:Check if the sheet material is fixed and flat. If there are uneven positions, the focal length will be different. Or try to slow down the speed and increase the power to check if the lens of the laser head is clean.
The carved patterns are blurry and unclear.:Check whether the X-ray slide mechanism and the laser head are securely fixed. If there is any shaking, it will cause the engraving to be unclear.
¶ Beginner practice
Beginner level
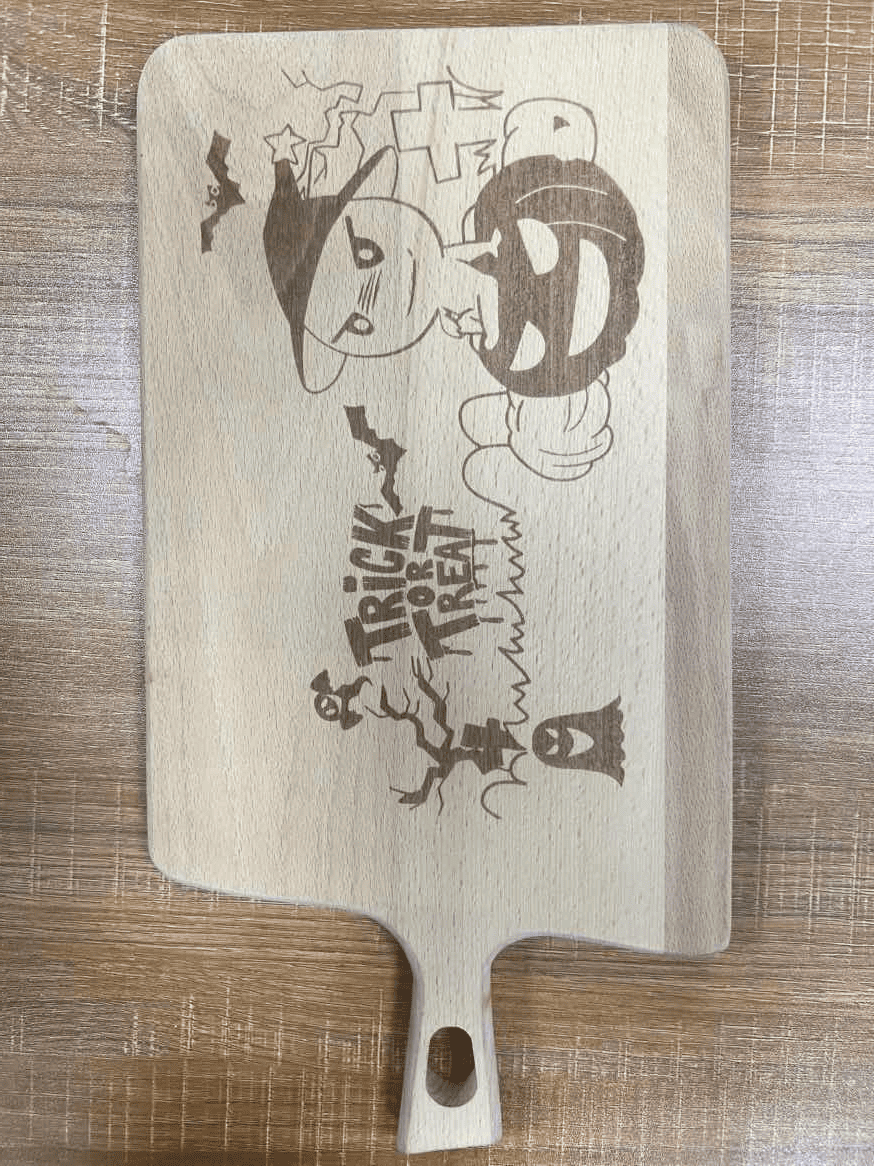
- You can carve your favorite patterns on wooden household items to make them your unique mark for practice. It will give you a great sense of achievement.
|
Advanced level
- After becoming familiar with the carving process, you can try cutting to create some parent-child educational toys that need to be assembled.

|
¶ Conclusion
This manual provides the general operation procedures for the laser engraving machine. For more detailed usage instructions, please refer to the navigation guide for the corresponding model in the Wiki. The “Quick Start” section offers detailed steps for the initial use, helping you efficiently start your first engraving project.

|