¶ Preparation before use
¶ (This tutorial is designed to guide you through the process. Simply follow the arrows to operate accordingly before you start the carving task for the first time.)
¶ Turn on the machine
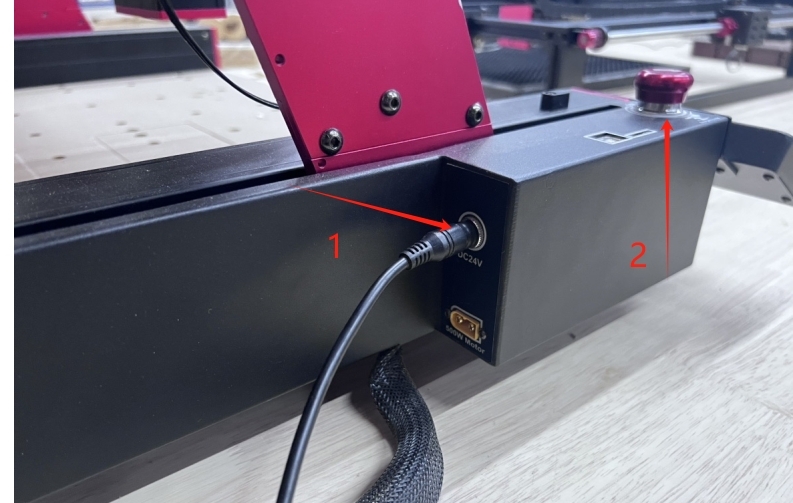
1,Connect the power adapter to the machine and turn it on.
2,Check whether the emergency stop switch on the top of the control box is in the open position (if it is closed, please open it)
|
¶ Prepare the documents
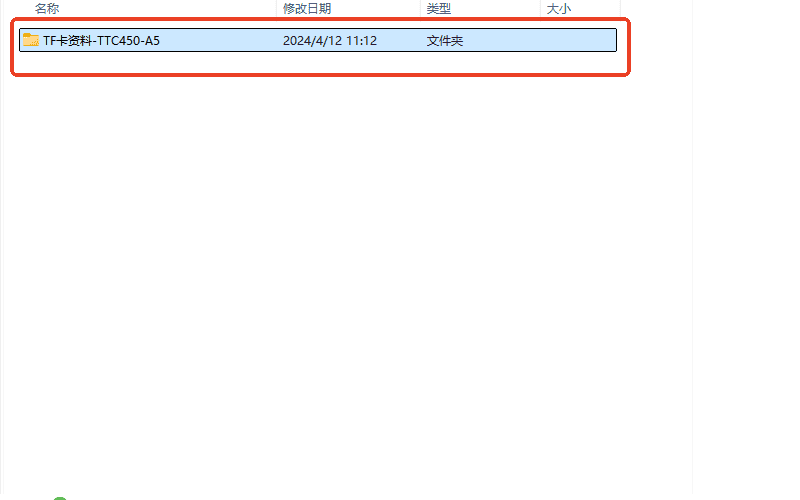
**1,Back up the files on the TF card to the computer to prevent loss.
|
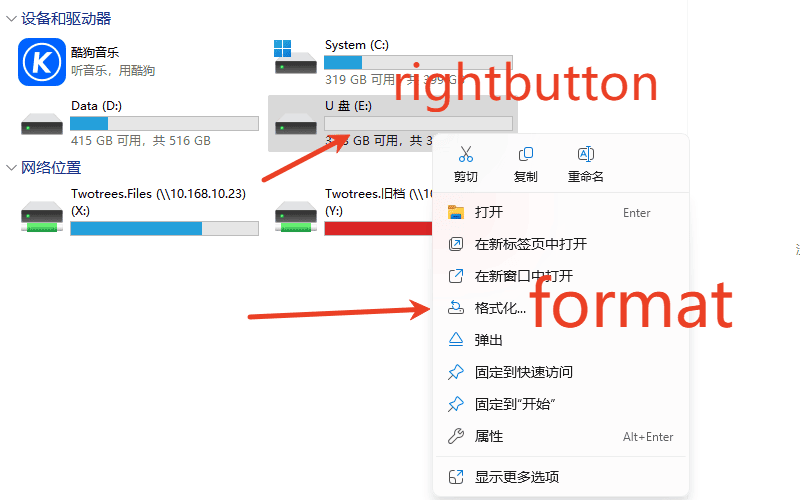
2,Right-click on the backup-completed USB drive and select “Format” to clear the contents of the TF card.
|
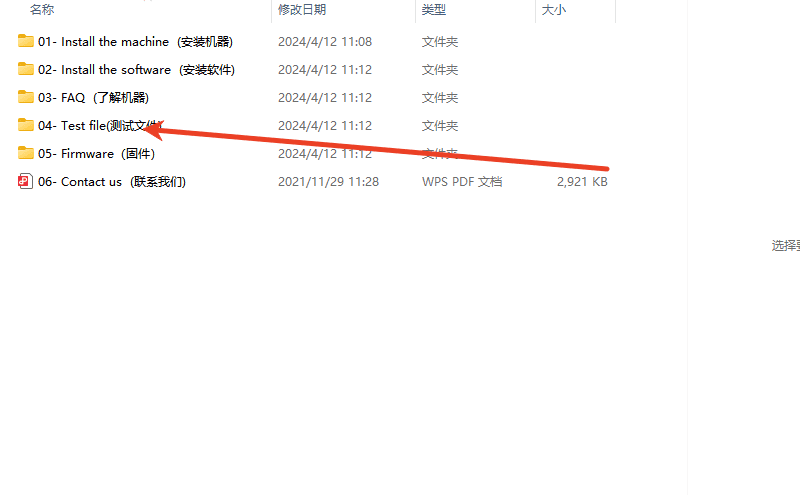
3,Open the backup folder again and locate the test file.
|
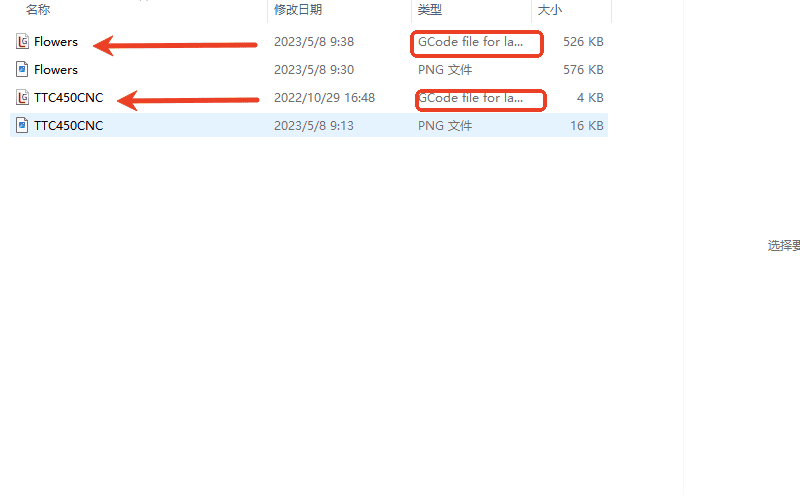
4,Find two test NC files with the suffix “Gcode” and copy them.
|
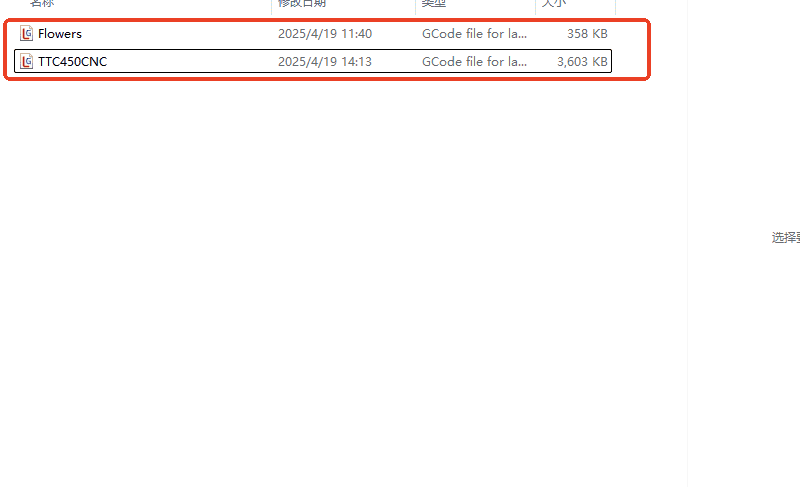
5,Switch back to the USB drive and save the two test files separately onto the USB drive.
|
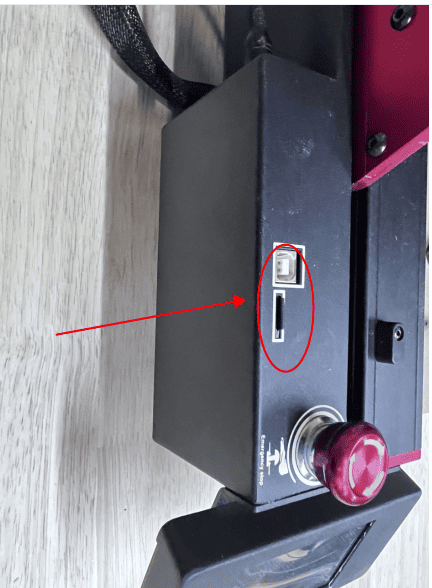
6,Remove the TF card that has stored the test files and insert it into the card slot on the right side of the control box.
|
¶ Fix the workpiece
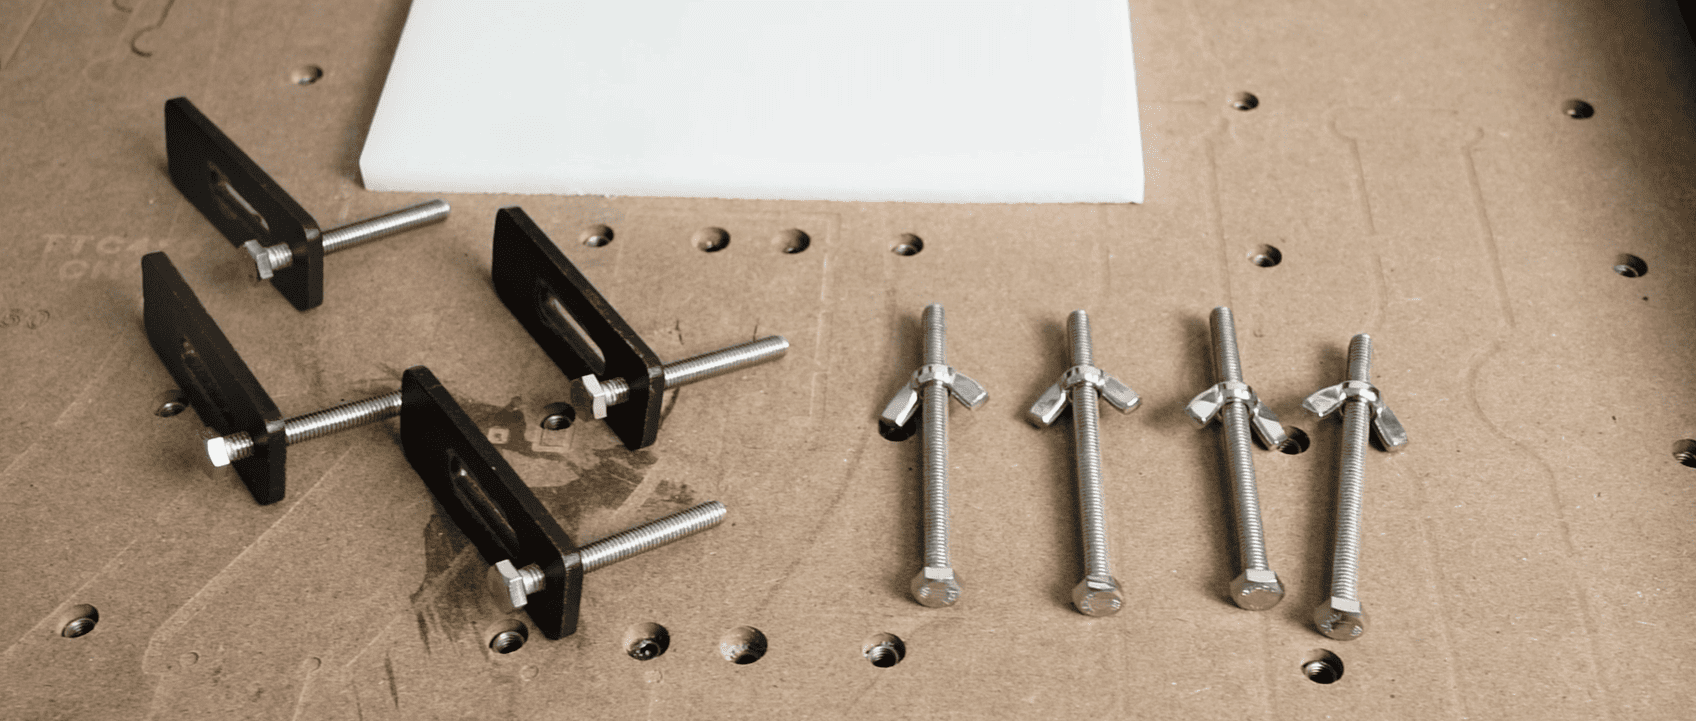
1.First, screw the screws into the sheet metal and the butterfly nut.
|
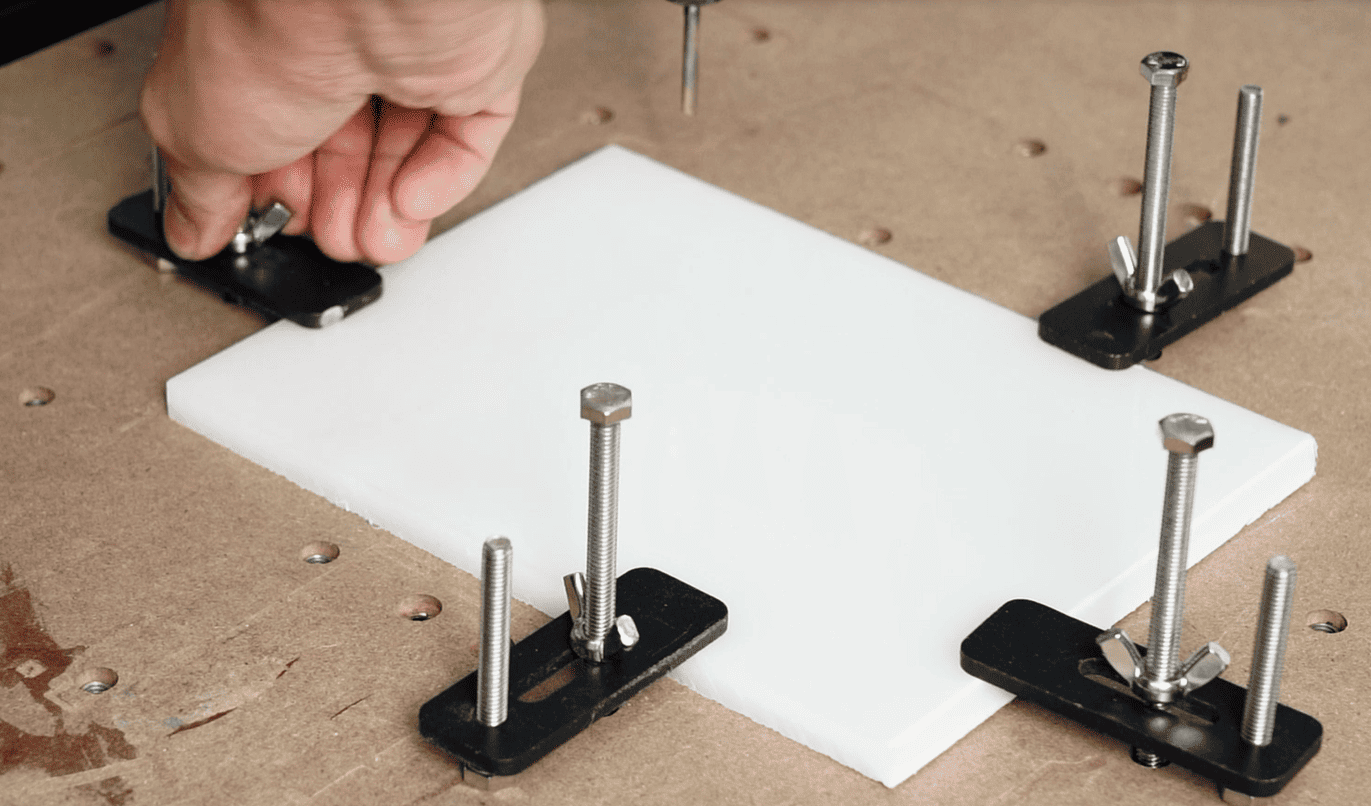
2.Then it is pressed onto the workpiece that needs to be carved.
|
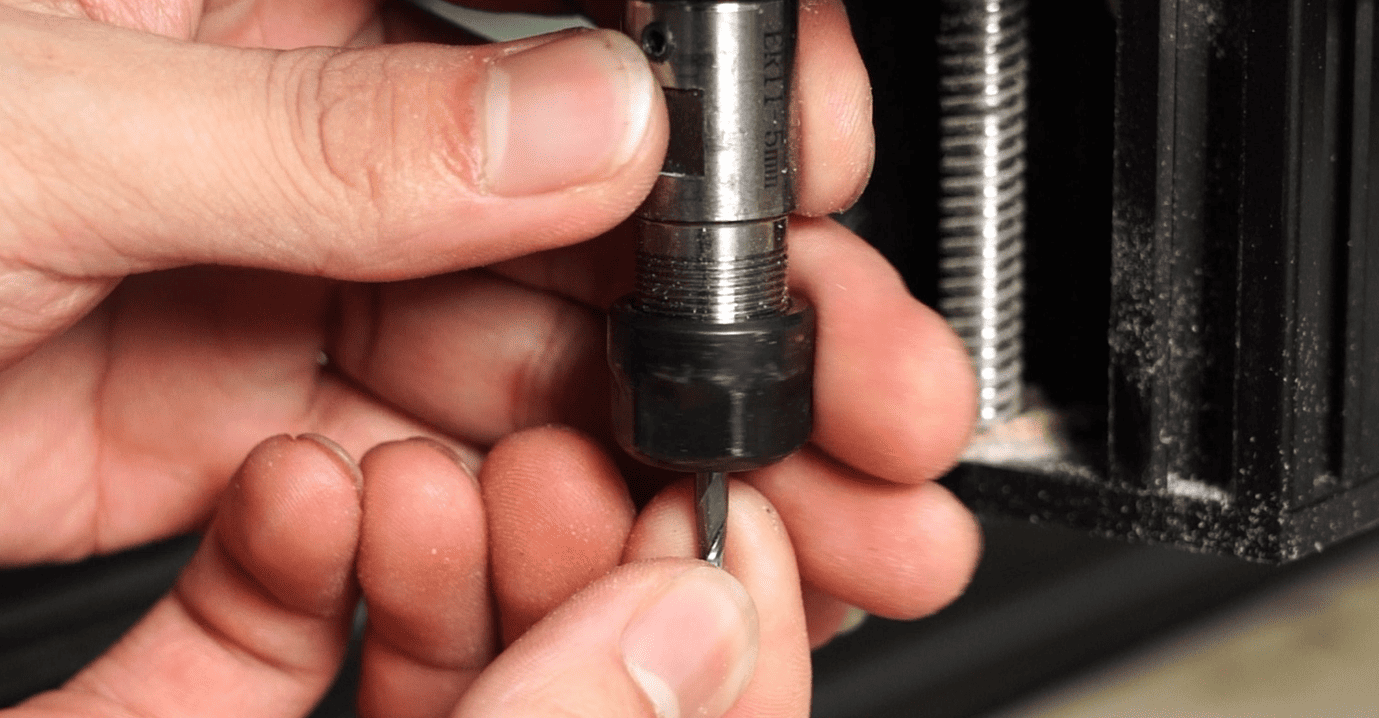
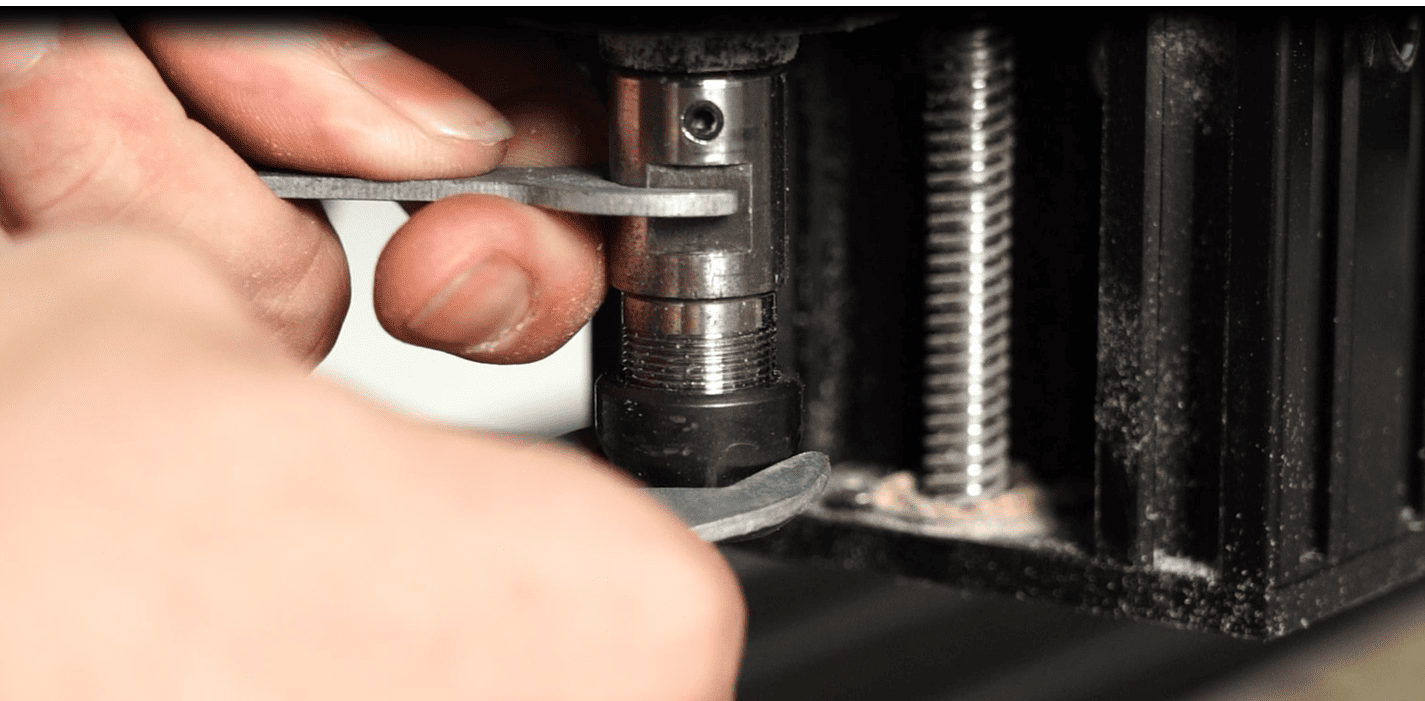
¶ Install the milling cutter
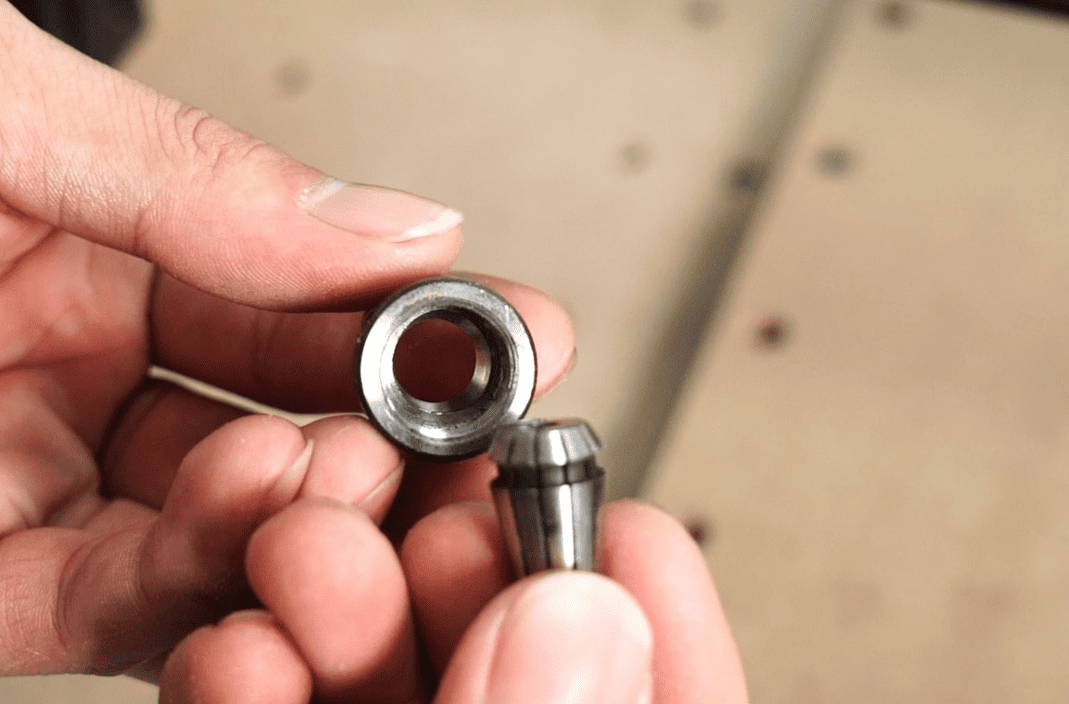
1.Insert the chuck into the nut, and then screw a portion onto the rotating shaft.
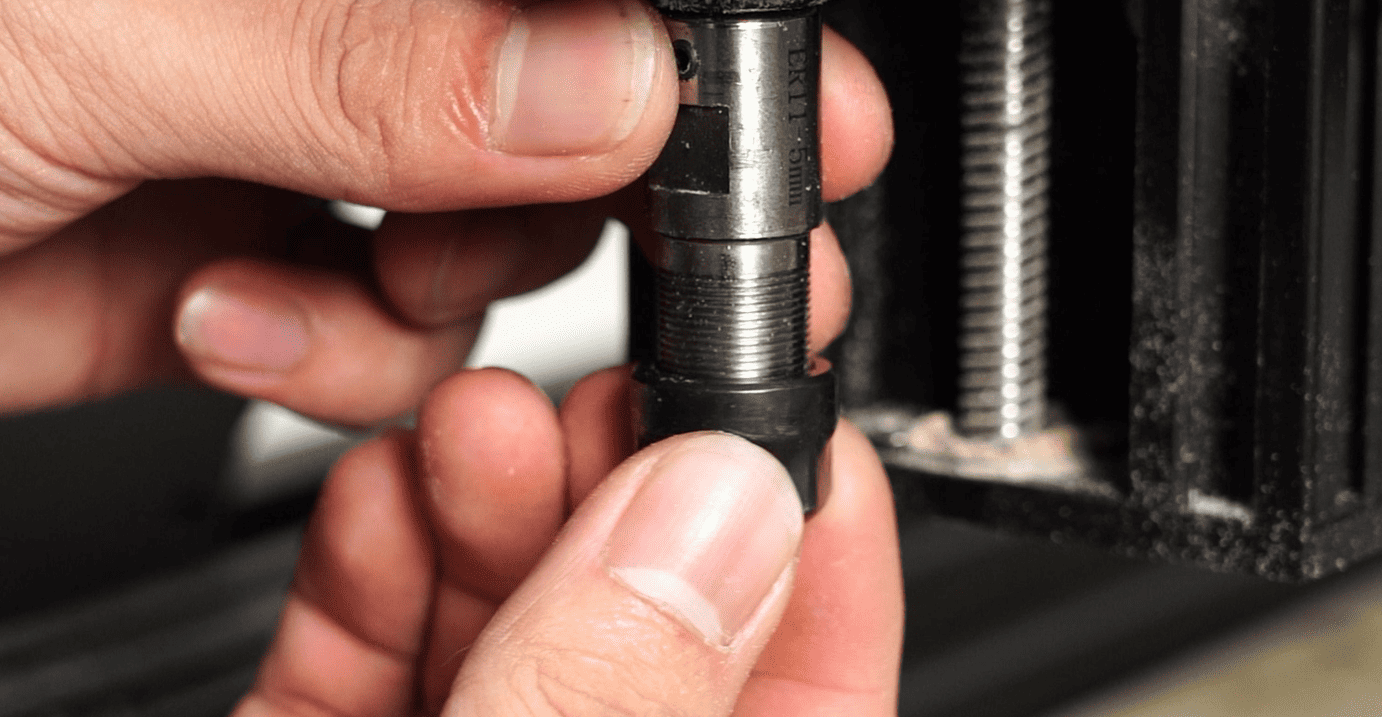
2.Then, after inserting the milling cutter into the chuck, tighten the nut with a wrench.