¶ Switch to Circular Laser Module
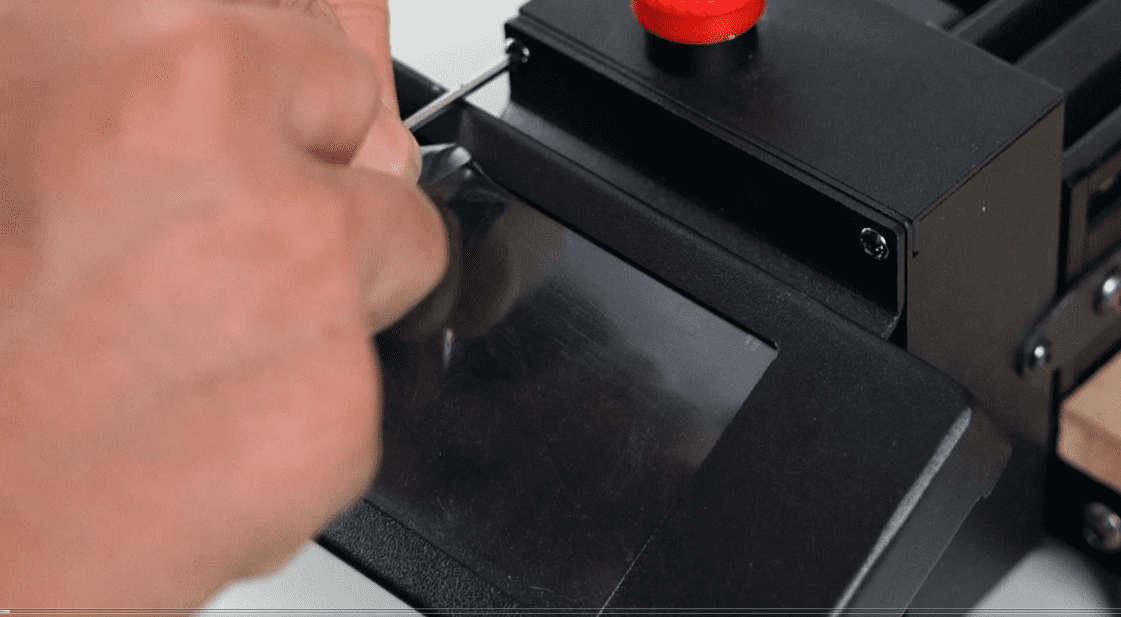
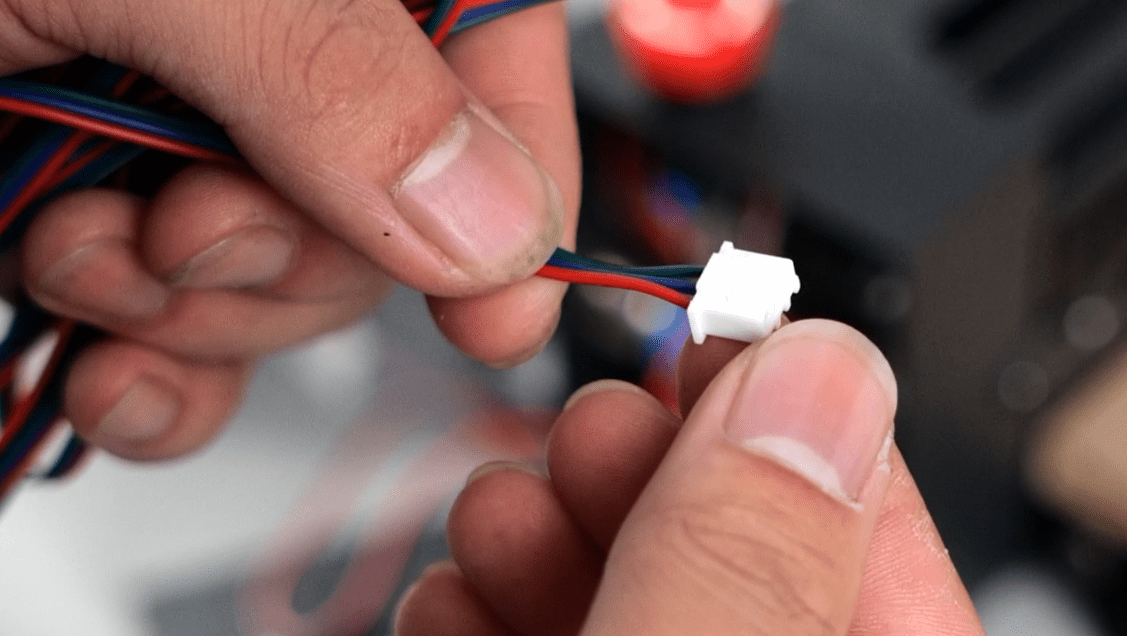
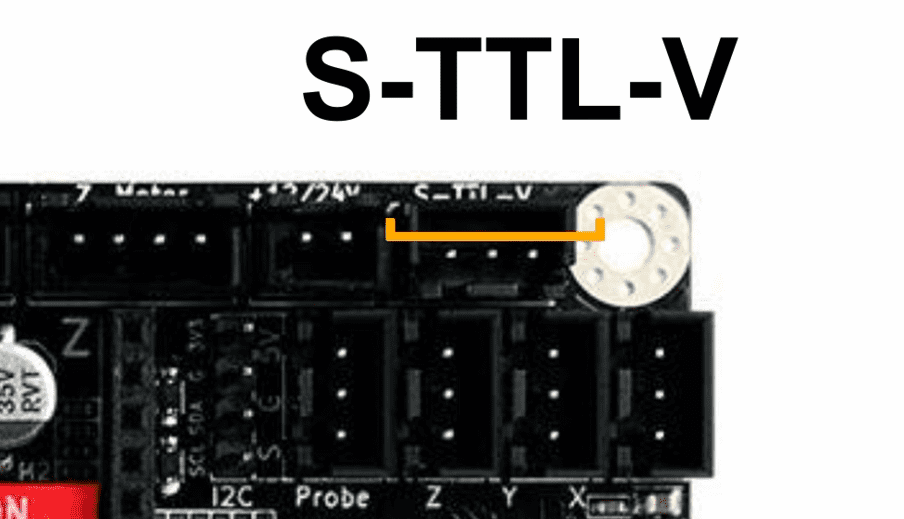
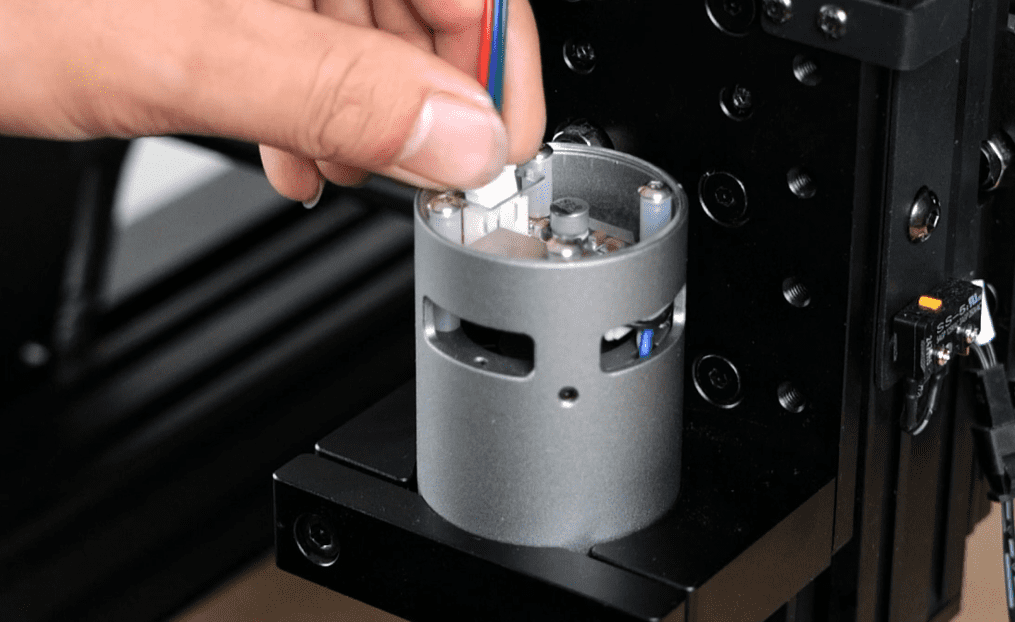
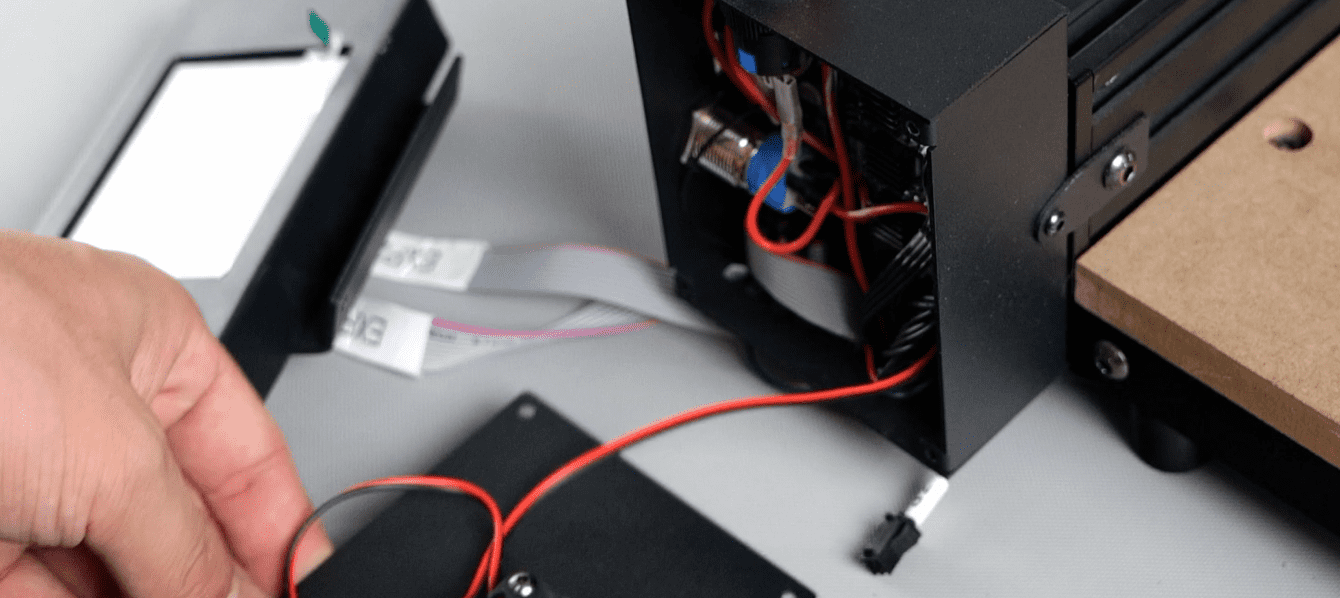
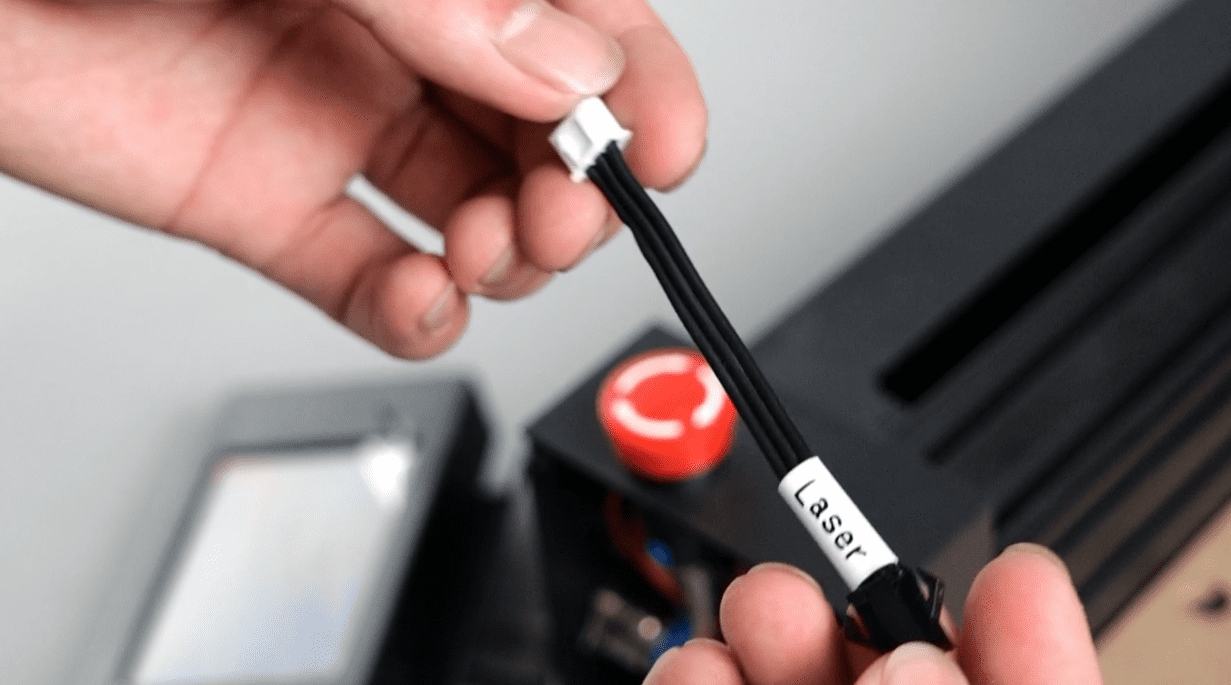
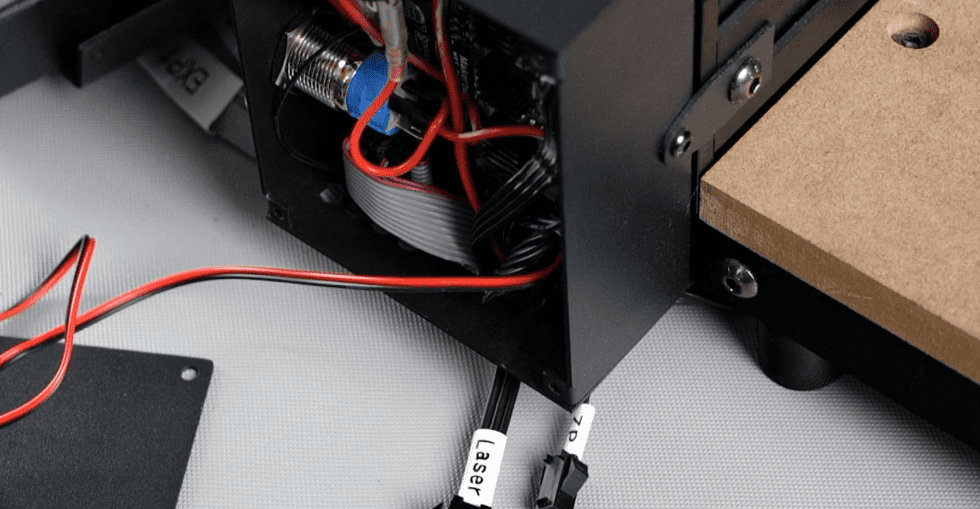
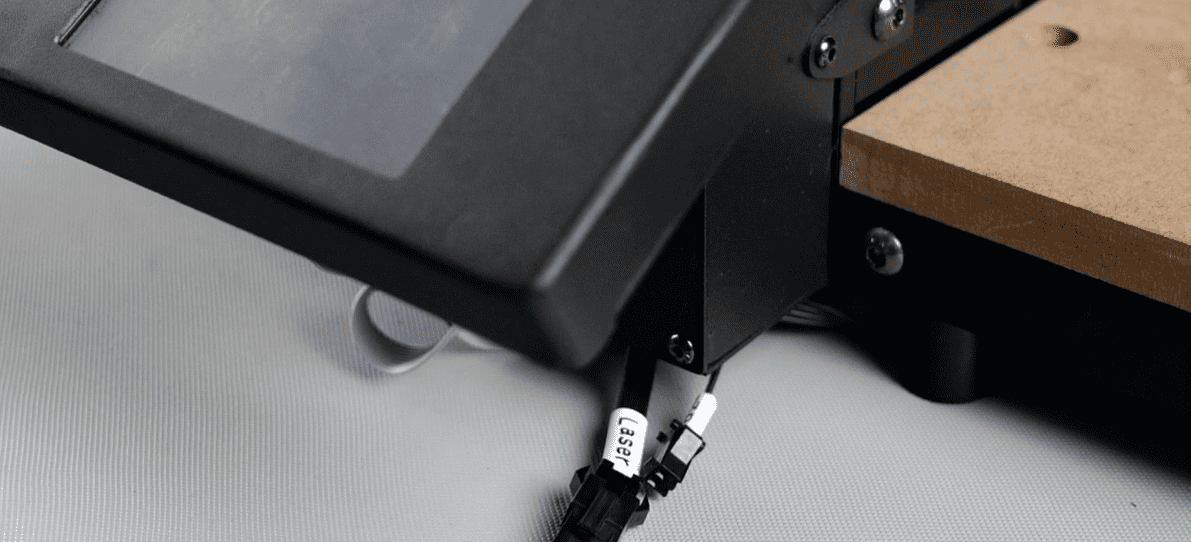
1.Remove the screen and the front cover of the motherboard box, and plug the laser cable into the S-TTL-V end of the motherboard
2.Remove the screen and the front cover of the motherboard box, and plug the laser cable into the S-TTL-V end of the motherboard
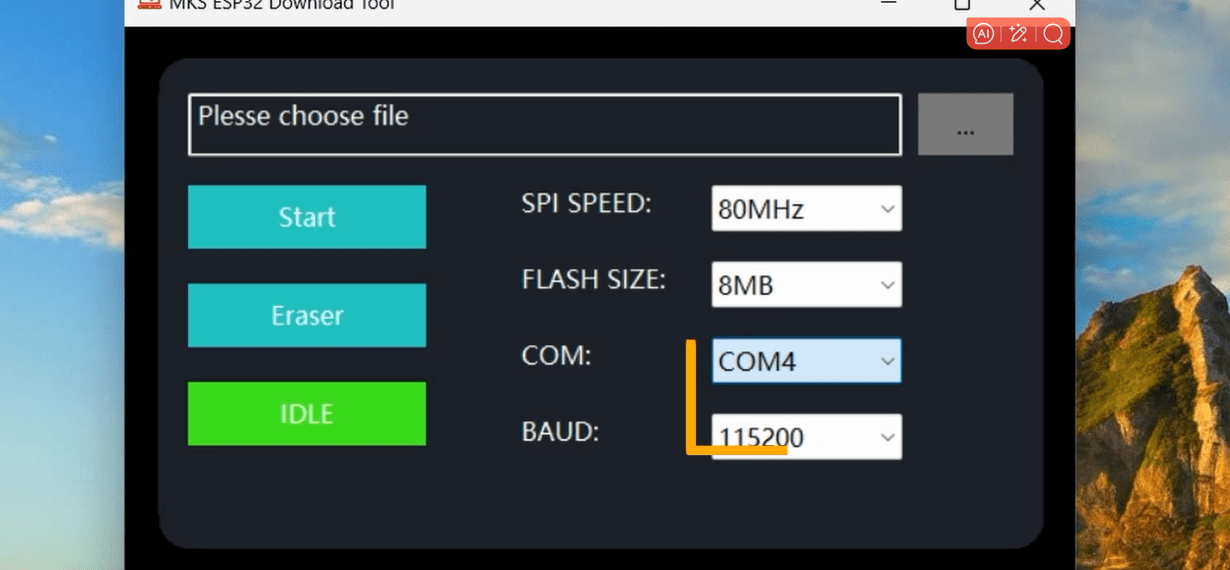
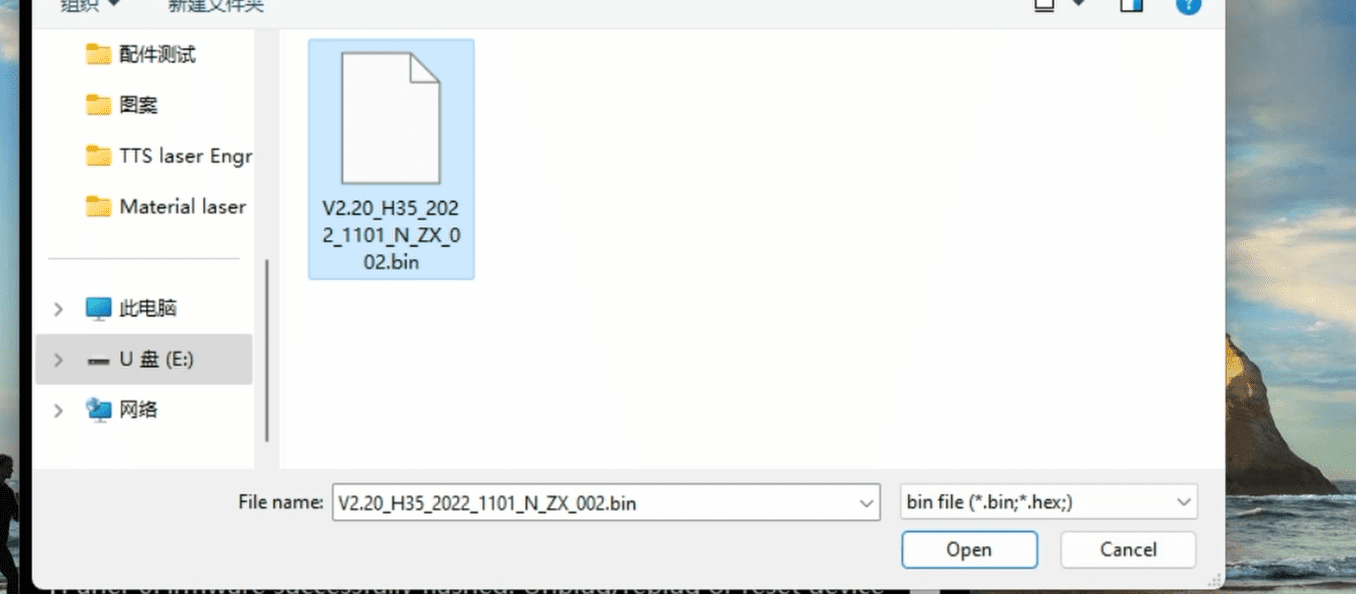
3.Connect the machine and computer with the blue link line, open the MKSLaserTool software to erase the firmware first, and then select Firmware to brush in
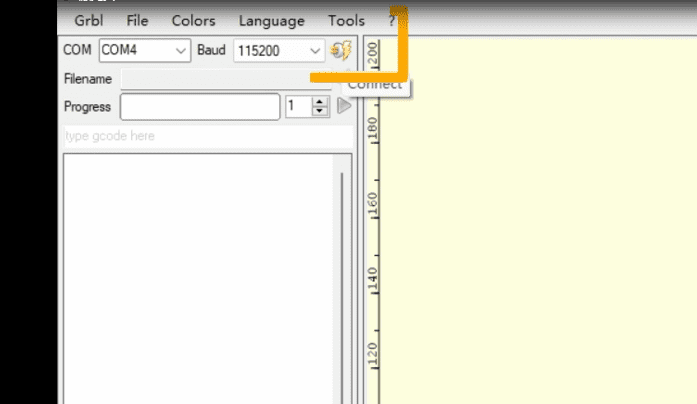
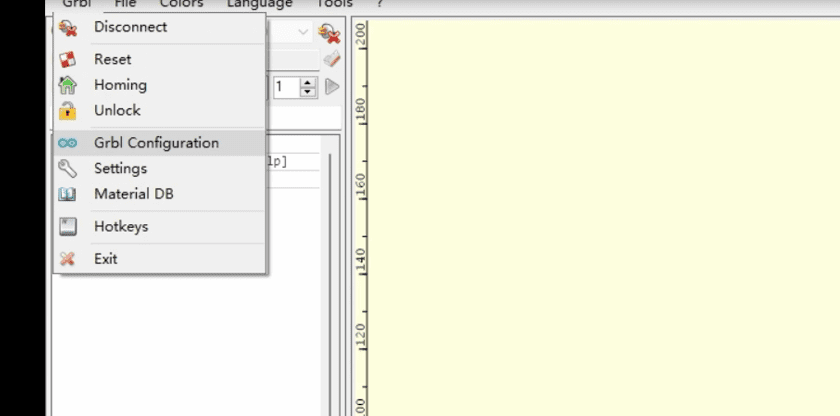
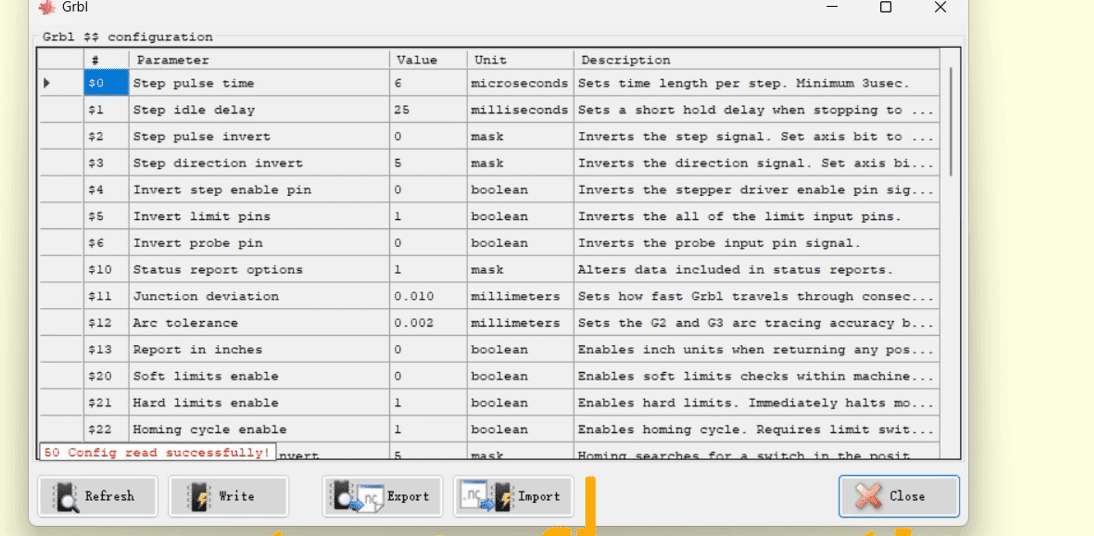
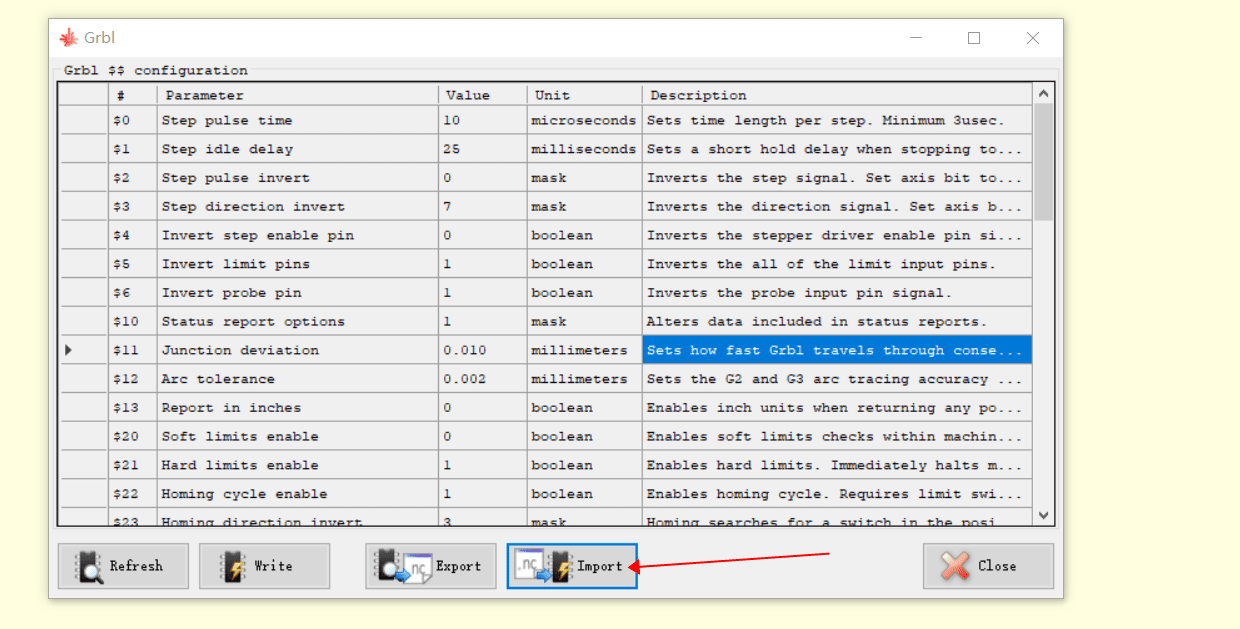
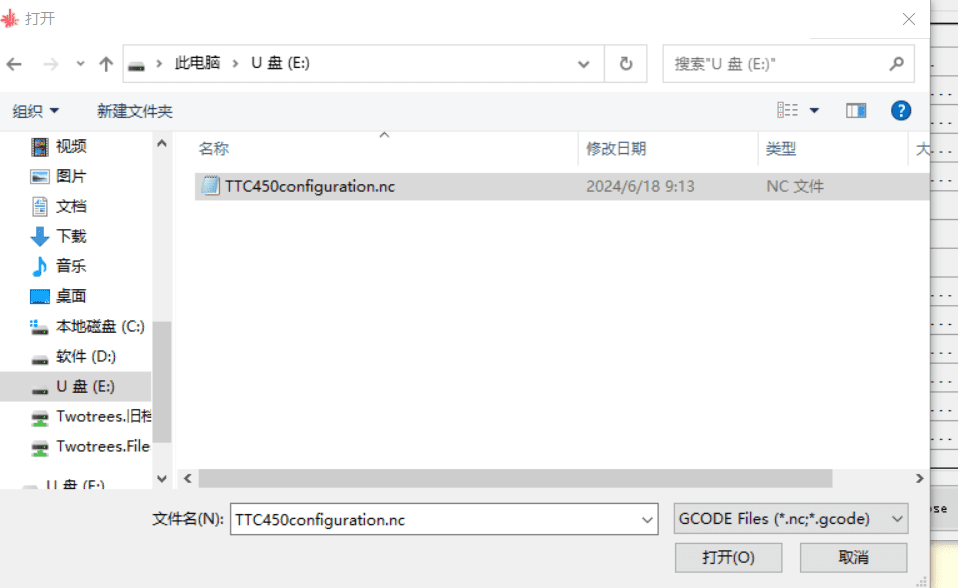
4.Open the laserGRBL software and connect the CH340 driver to import the laser configuration. After the import, test the engraving
¶ Switch the 20W laser head
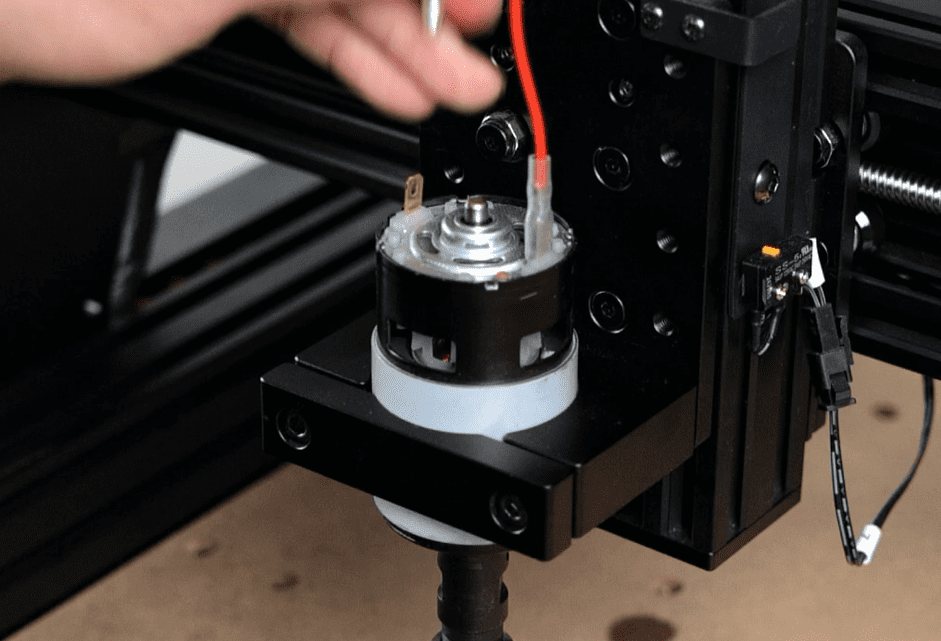
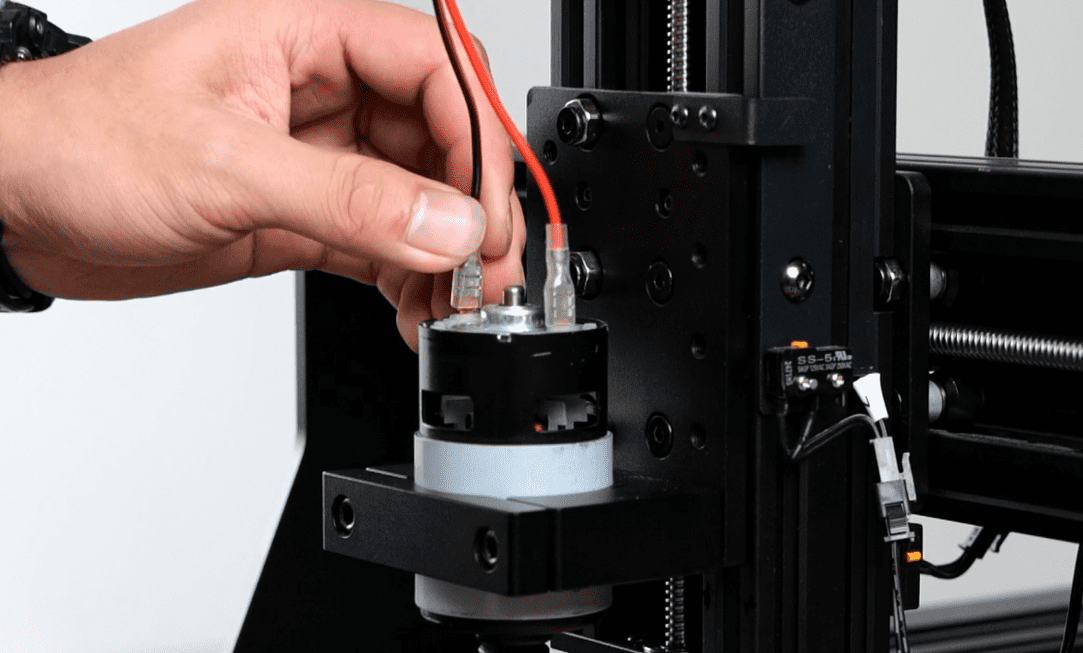
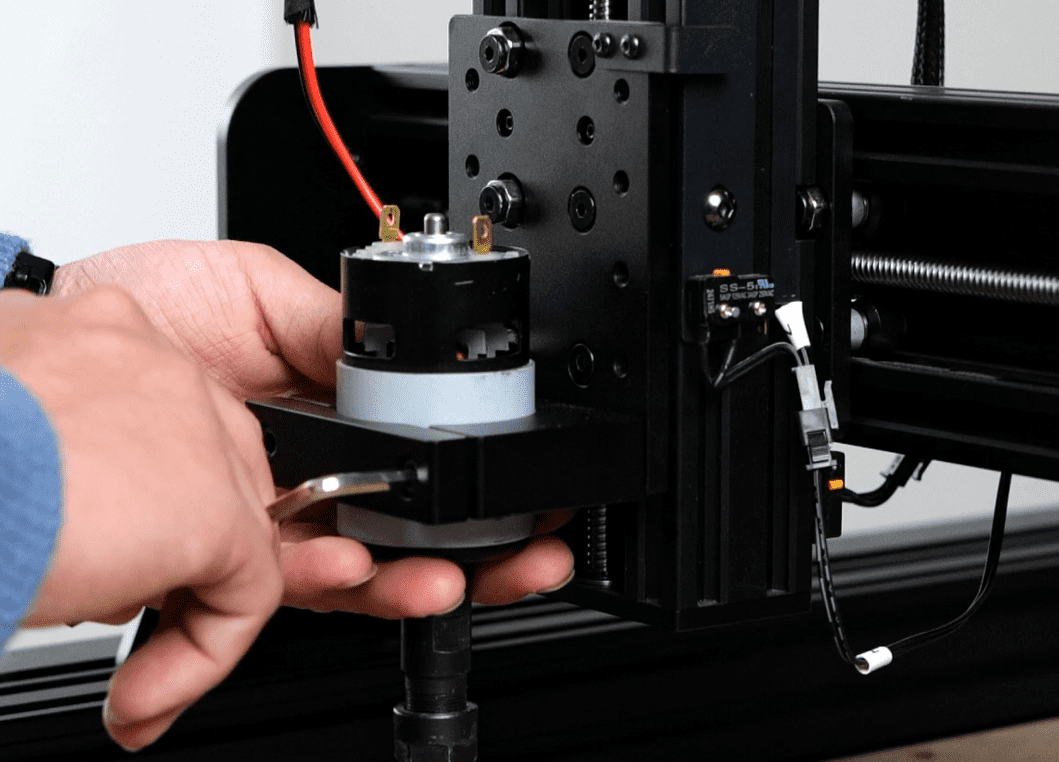
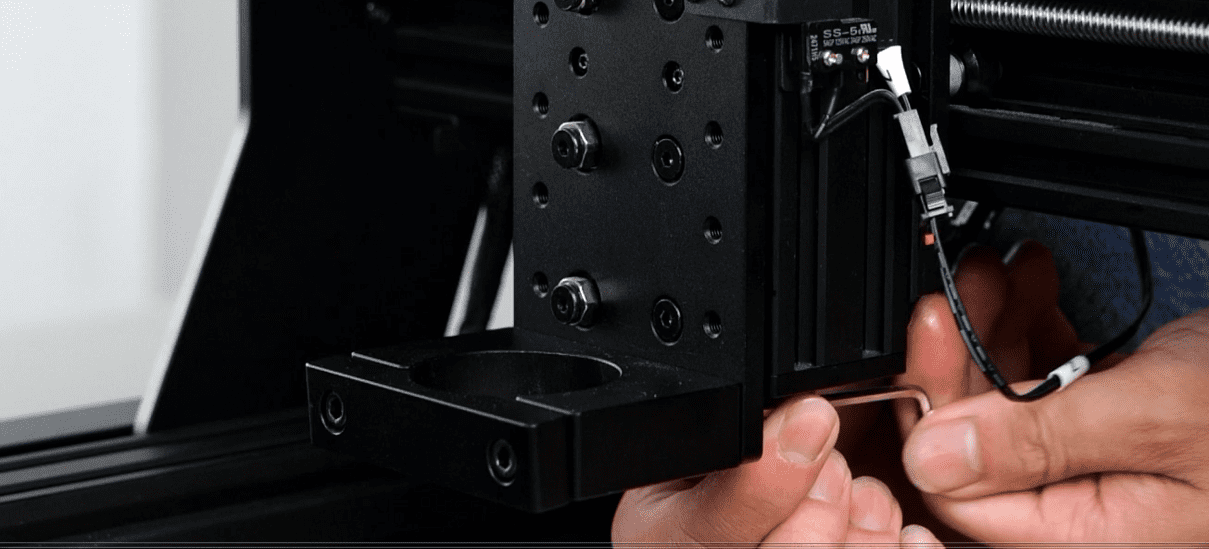
1.Remove the wiring on the spindle motor, and remove the spindle motor and fixed base
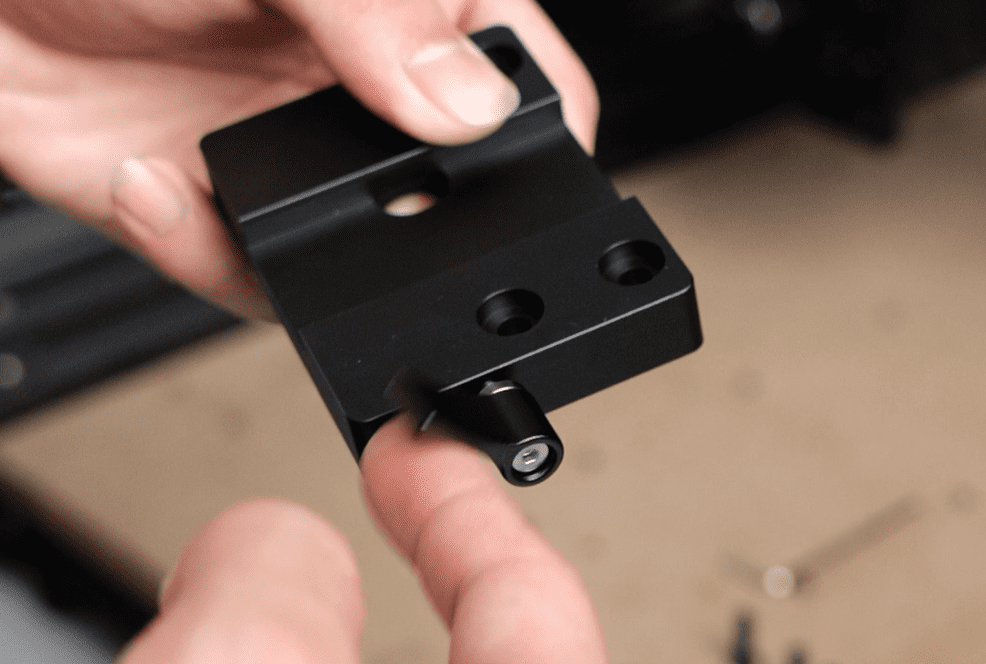
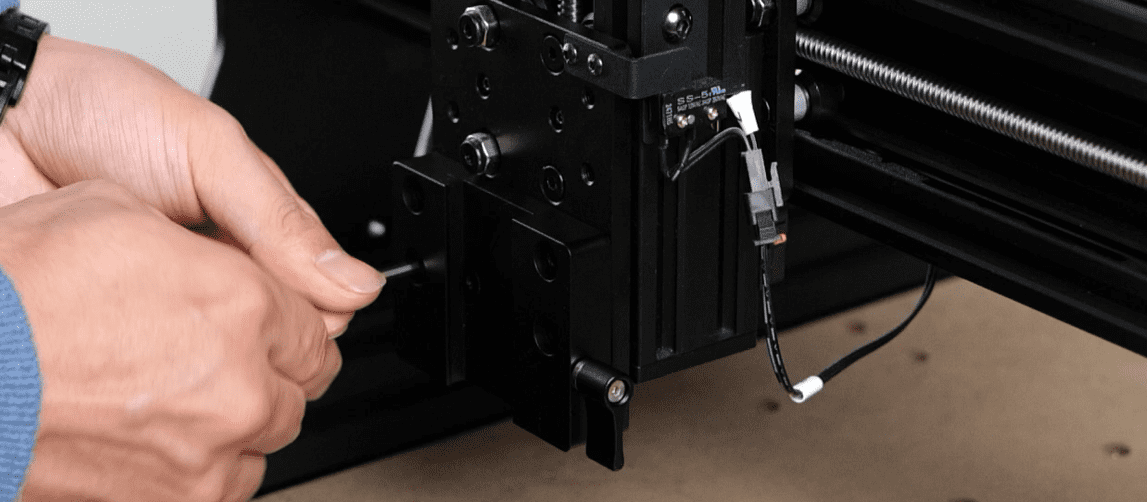
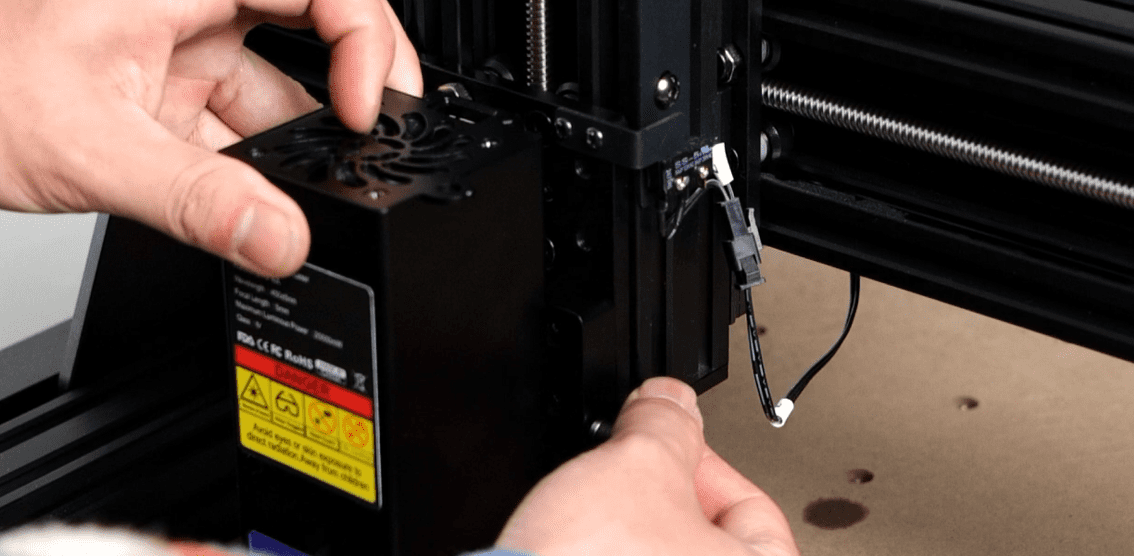
2.Take out the 20W laser head fixing base and install the 20W laser head on the fixing base
3.Remove the screen and the front cover of the motherboard box, connect the laser cable to the S-TTL-V port on the motherboard, reinstall the front cover and screen, and connect the extension cable to the laser head
4.Connect the machine and computer with the blue link line, open the MKSLaserTool software to erase the firmware first, and then select Firmware to brush in
5.Open the laserGRBL software and connect the CH340 driver to import the laser configuration. After the import, test the engraving
¶ How to enable the laser, how to solve the problem of incorrect movement distance in Lightburn?
After importing the NC file of TTC450 into laserGRBL, you can start engraving.
Regarding the issue of incorrect movement distance when engraving with Lightburn.
To resolve the issue of incorrect movement distance when engraving with Lightburn, you should first import the NC file for TTC450 using laserGRBL according to the steps mentioned. After that, restart the engraving machine, close laserGRBL, and then reopen Lightburn. This should fix the problem.
¶ Adjusting the Drive Pulley
- Remove the outer casing on both sides of the Y-axis.
- Adjust the eccentric nuts on both sides.
Note: The optimal tightness should allow the pulley to rotate easily by hand while still feeling some friction.
¶ Adjusting Parallel Y-axis Motors
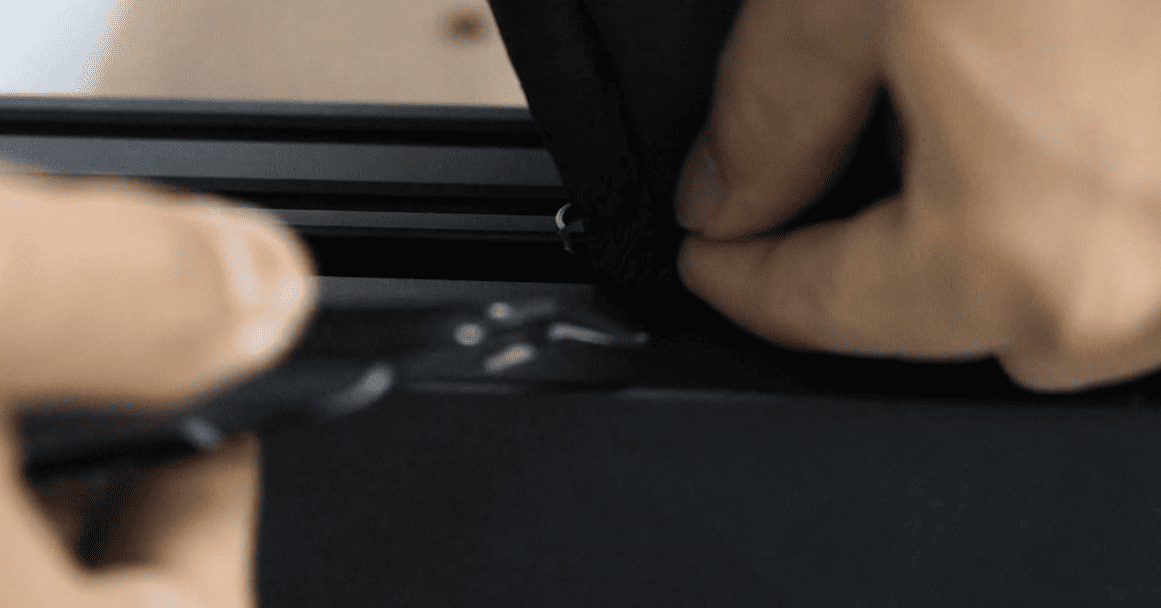
1.Cut the cable tie on the Y-axis sheet metal
|
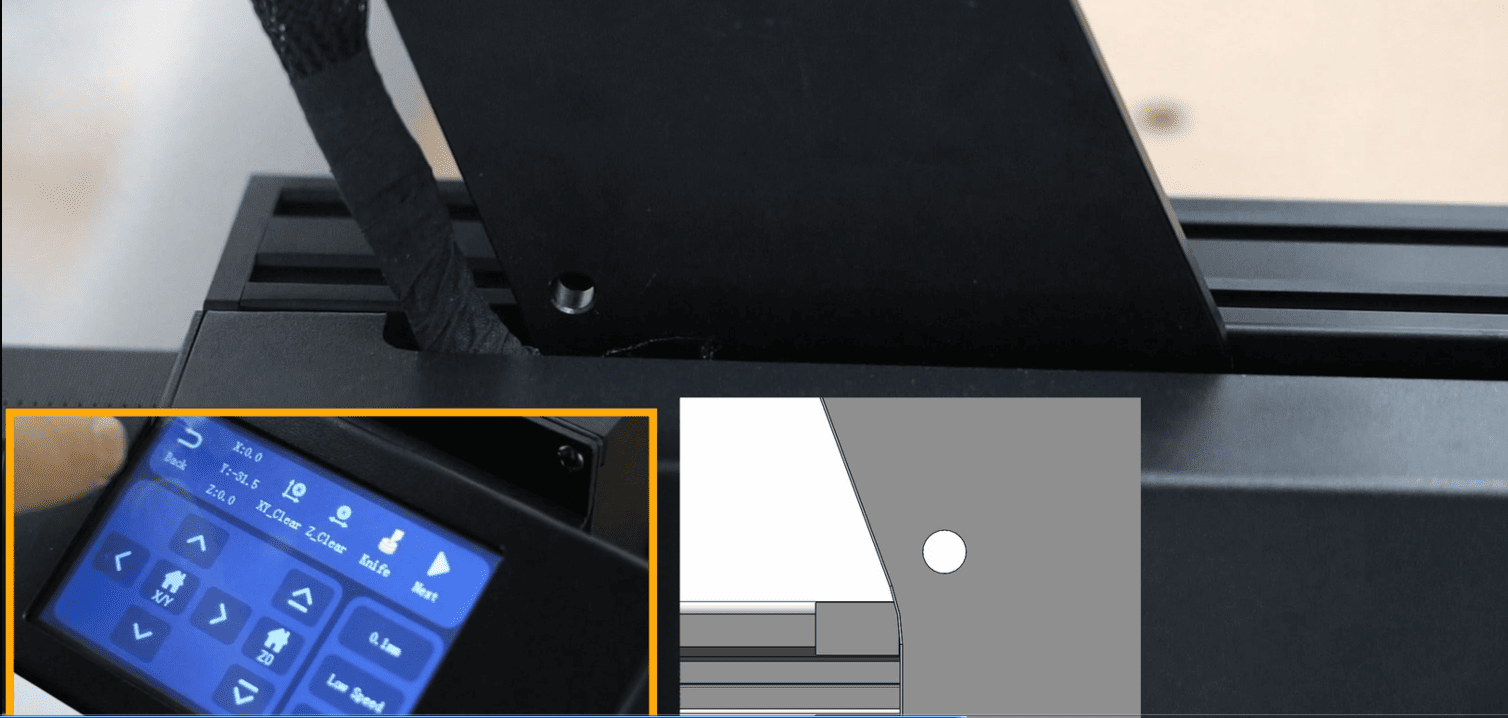
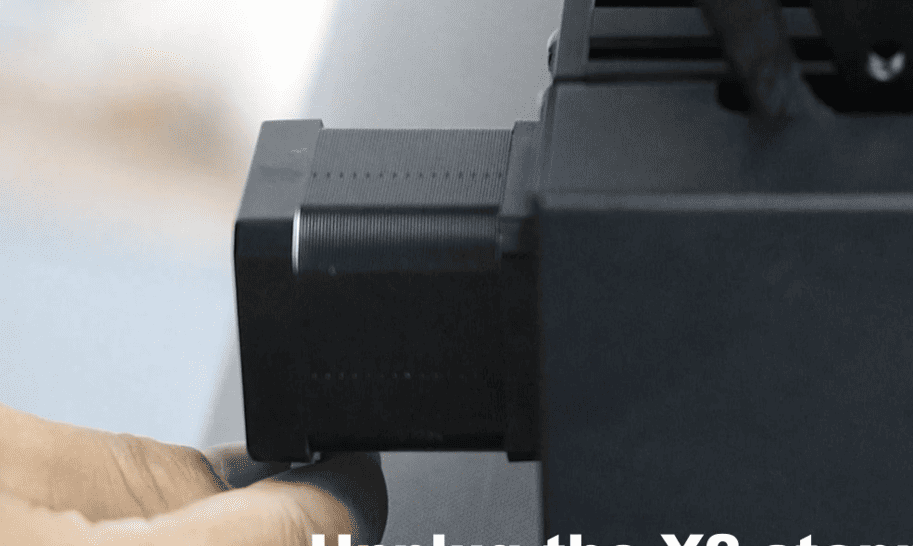
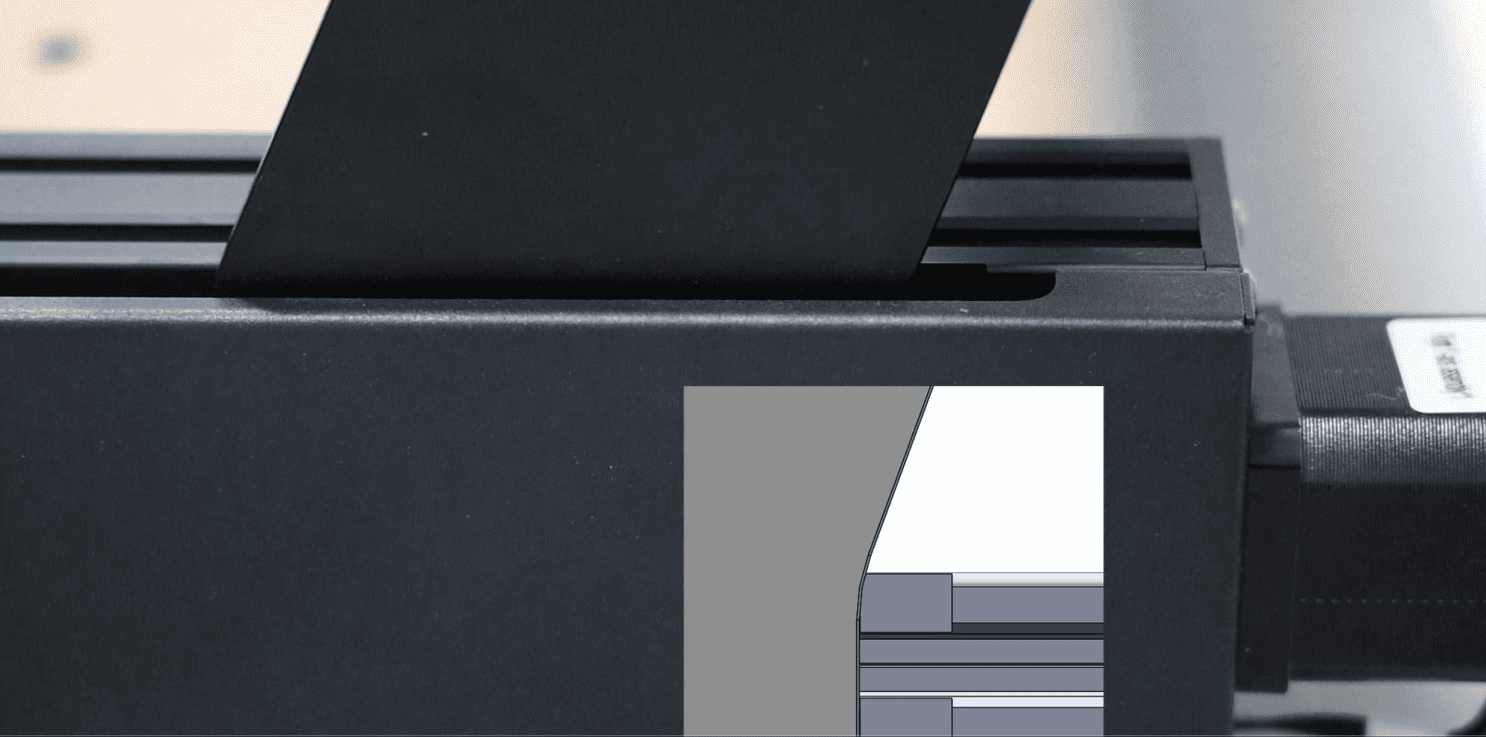
2.Move the Y axis to the origin of the compression, unplug the Y axis
3.The other side of the Y axis can be leveled in the same way
|
¶ Adjusting Mainboard Drive Voltage
- Open the machine’s mainboard control box and locate the drive.
- Power on the machine.
- Use a multimeter to connect the positive probe to one side of the drive’s cross screw and the negative probe to the USB port, then check the value.
- The normal value should be around 0.96V. If the value is inaccurate, adjust the voltage by adjusting that cross screw.
- After adjustment, reinstall the mainboard control box. The linked video only demonstrates the measurement value; please refer to the above instructions for specific voltage adjustment operations.
¶ How to manually adjust the focal length
1.5.5W Circular Laser Head

|
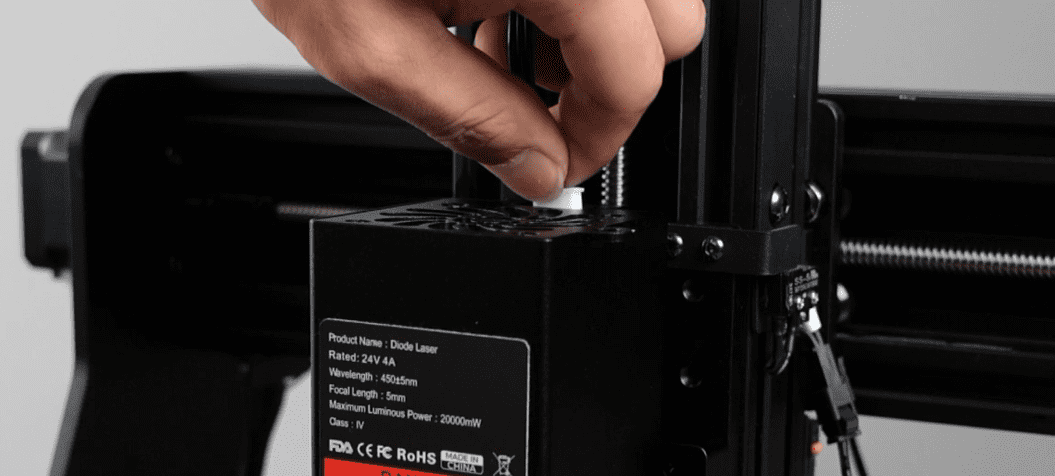
2.20W laser head

|
