¶ Tool Alignment Calibration
¶ Screen cutter
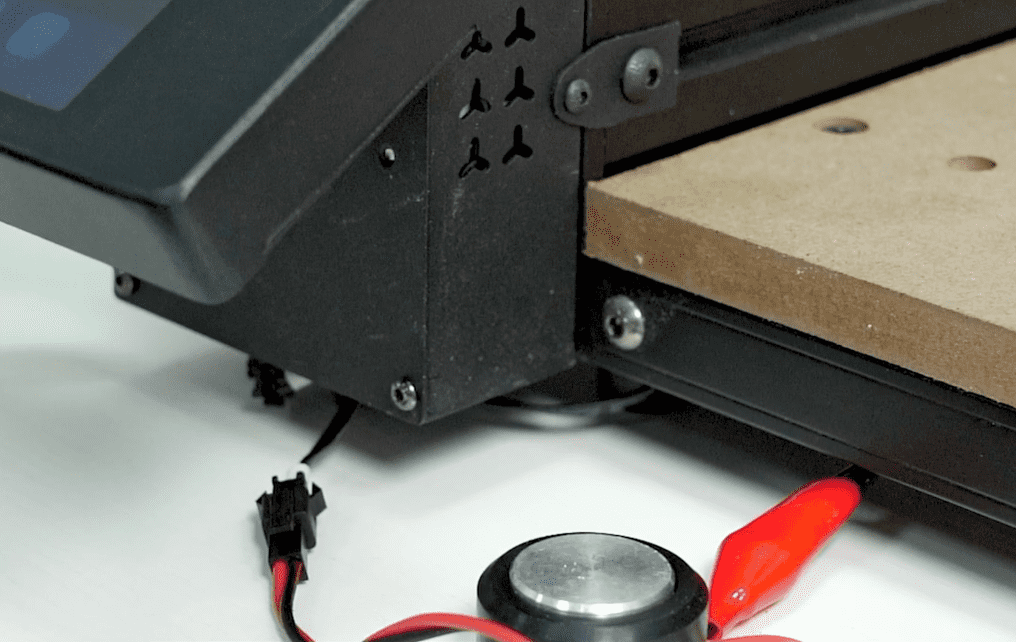
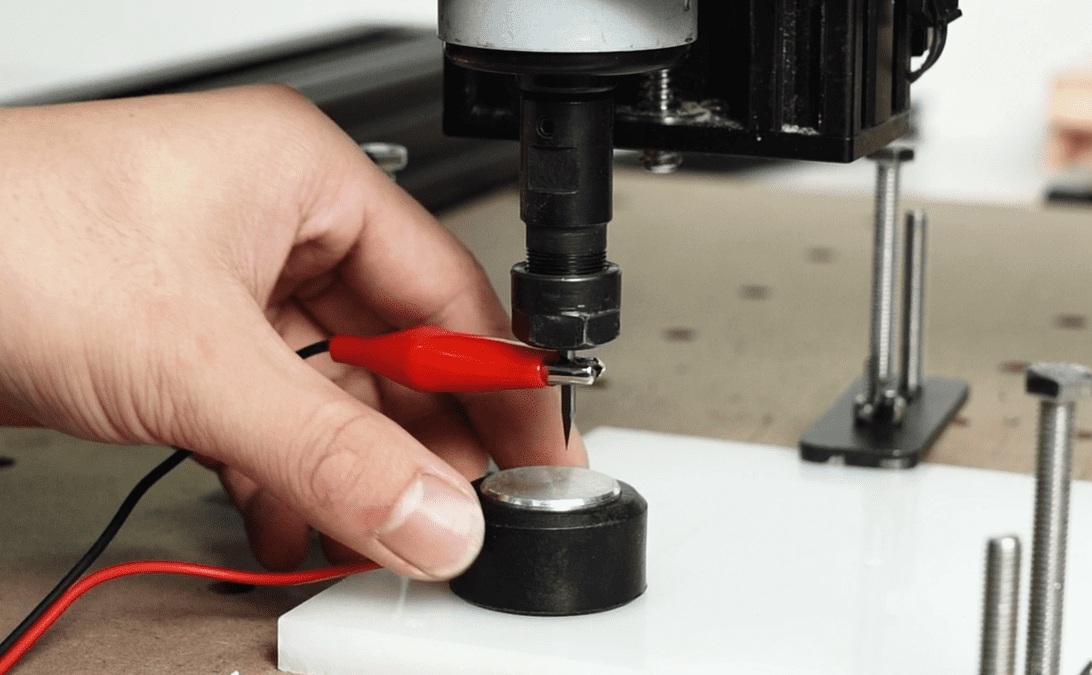
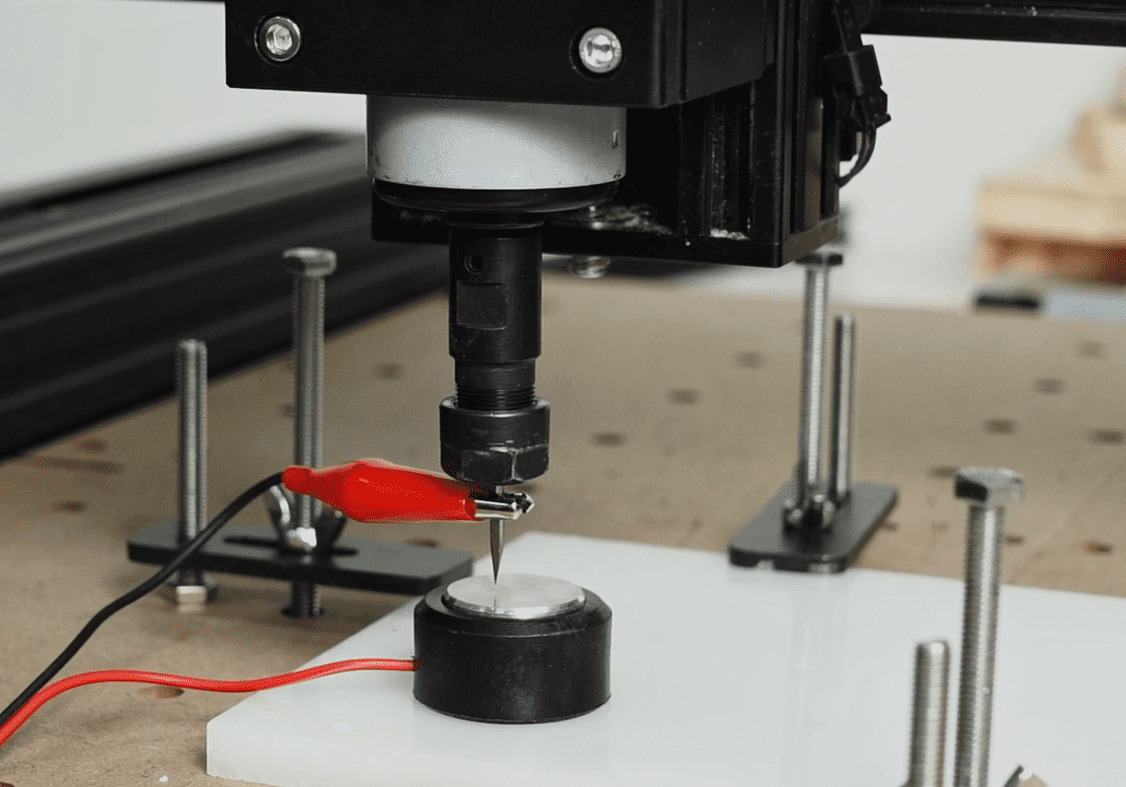
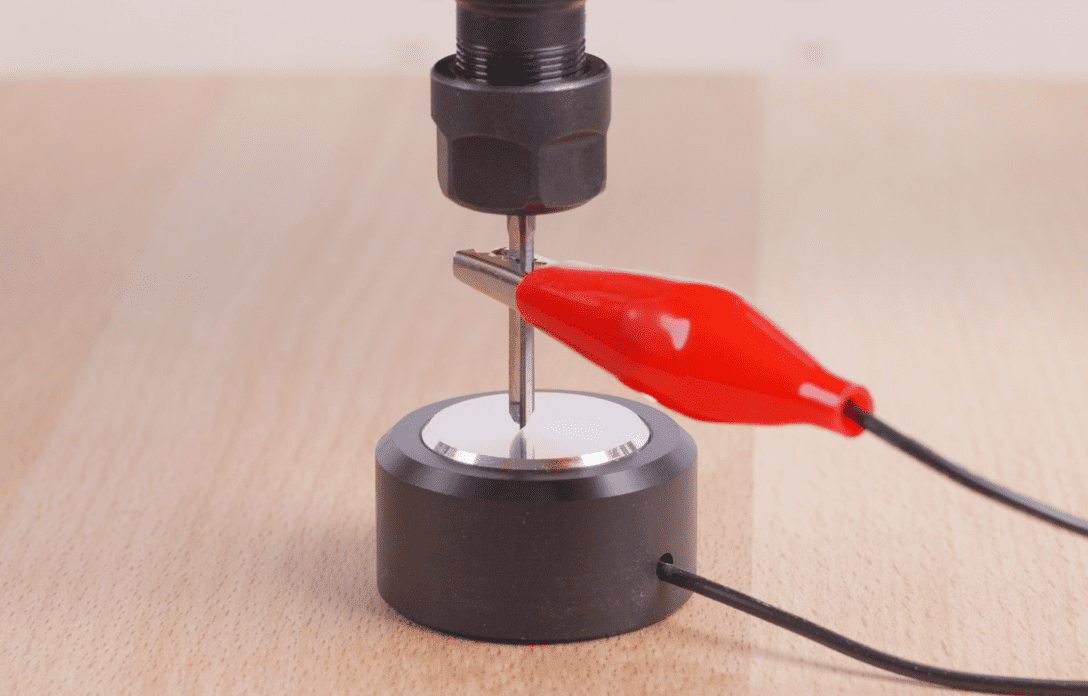
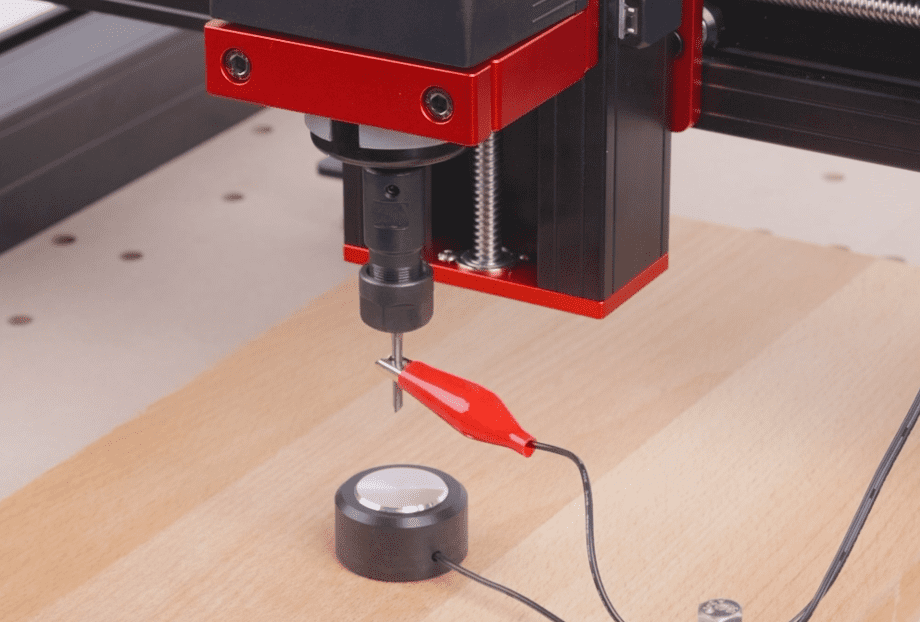
1.Insert the TF card with the NC file into the machine, connect the straight end line of the cutting block properly, then clamp the cutting block with the clip onto the milling cutter and place the cutting block correctly for tool setting.
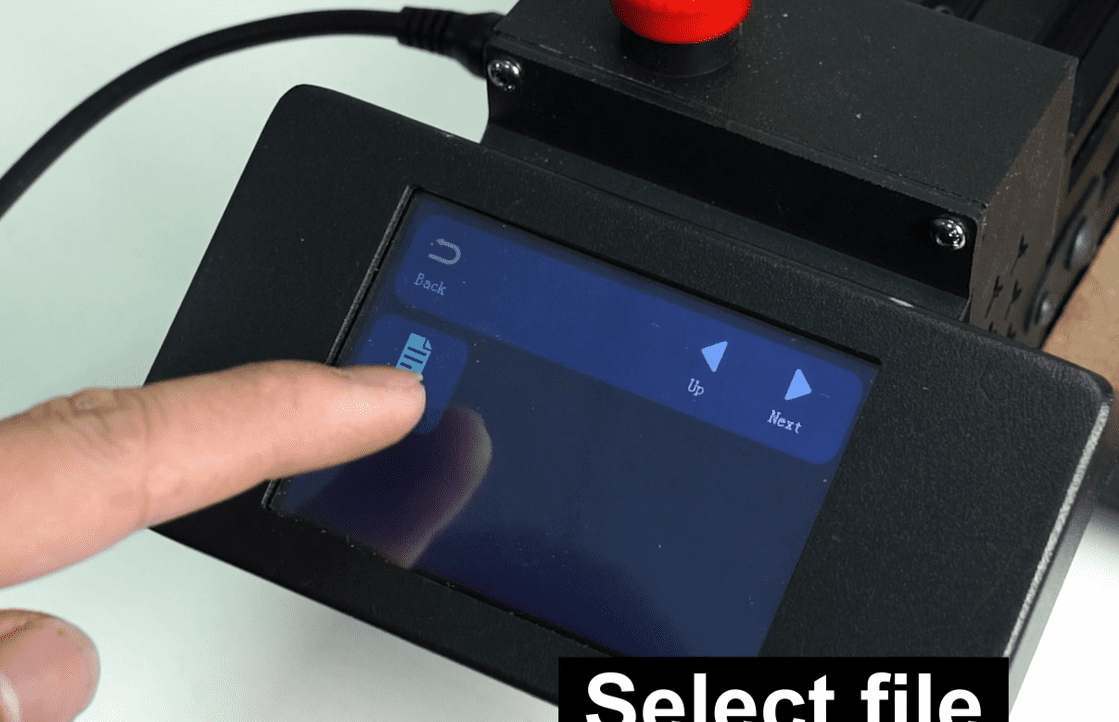
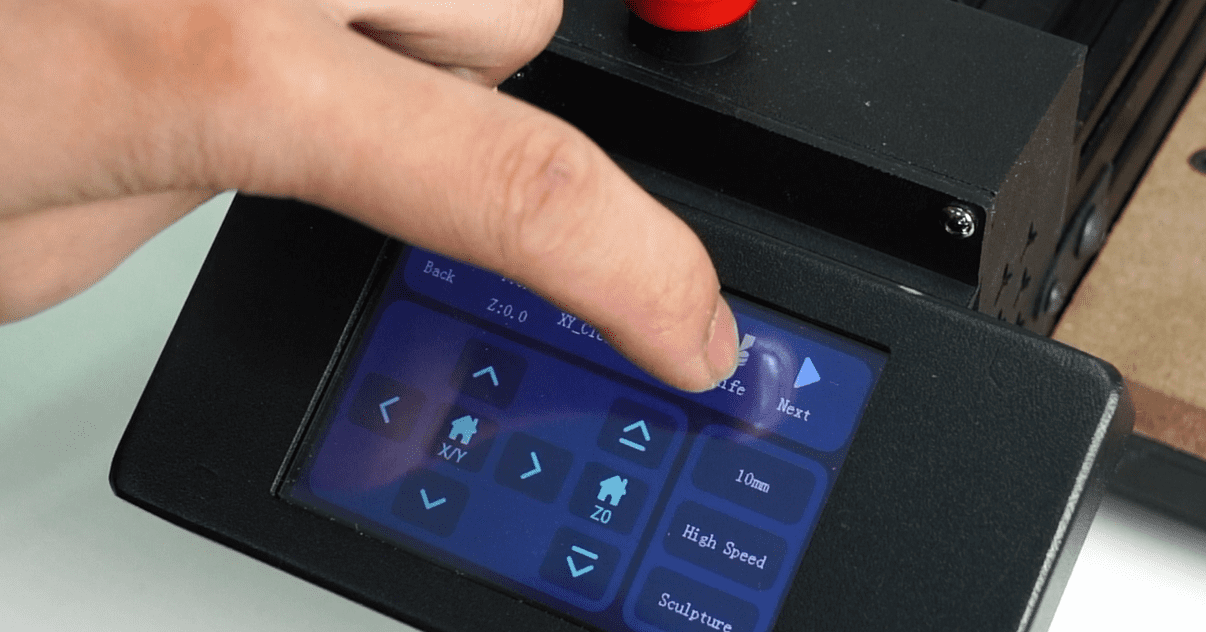
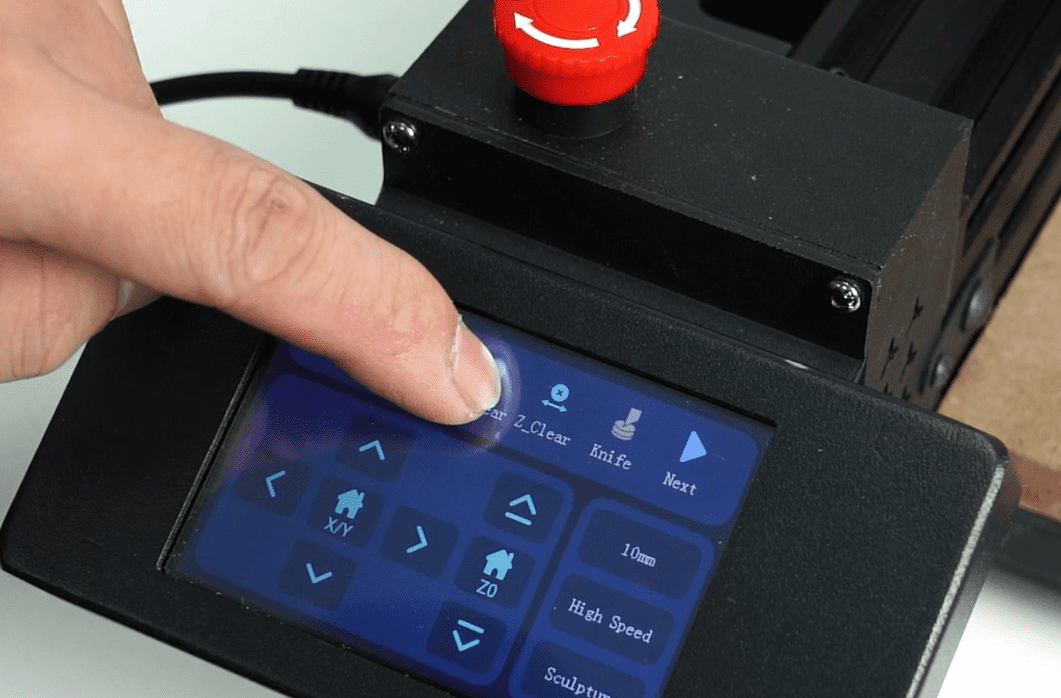
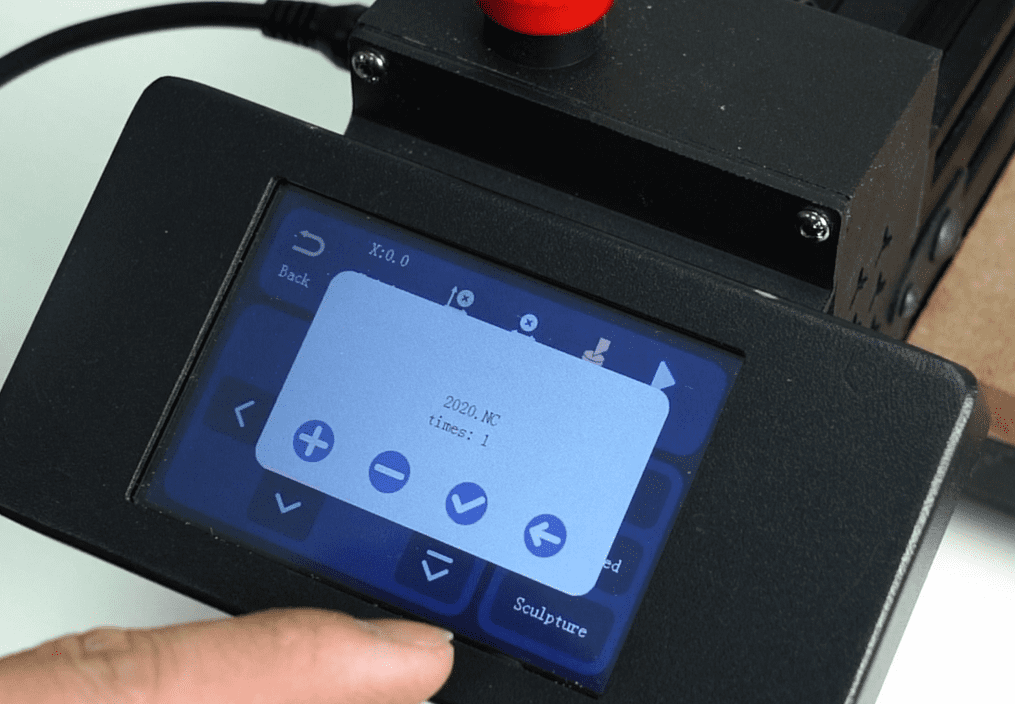
2.After opening the NC file on the screen, click on “Tool Setting”.
3.After the tool setting is completed, click on “Clear XY Zero” and then start the engraving.
¶ Software tool matching
¶ candle
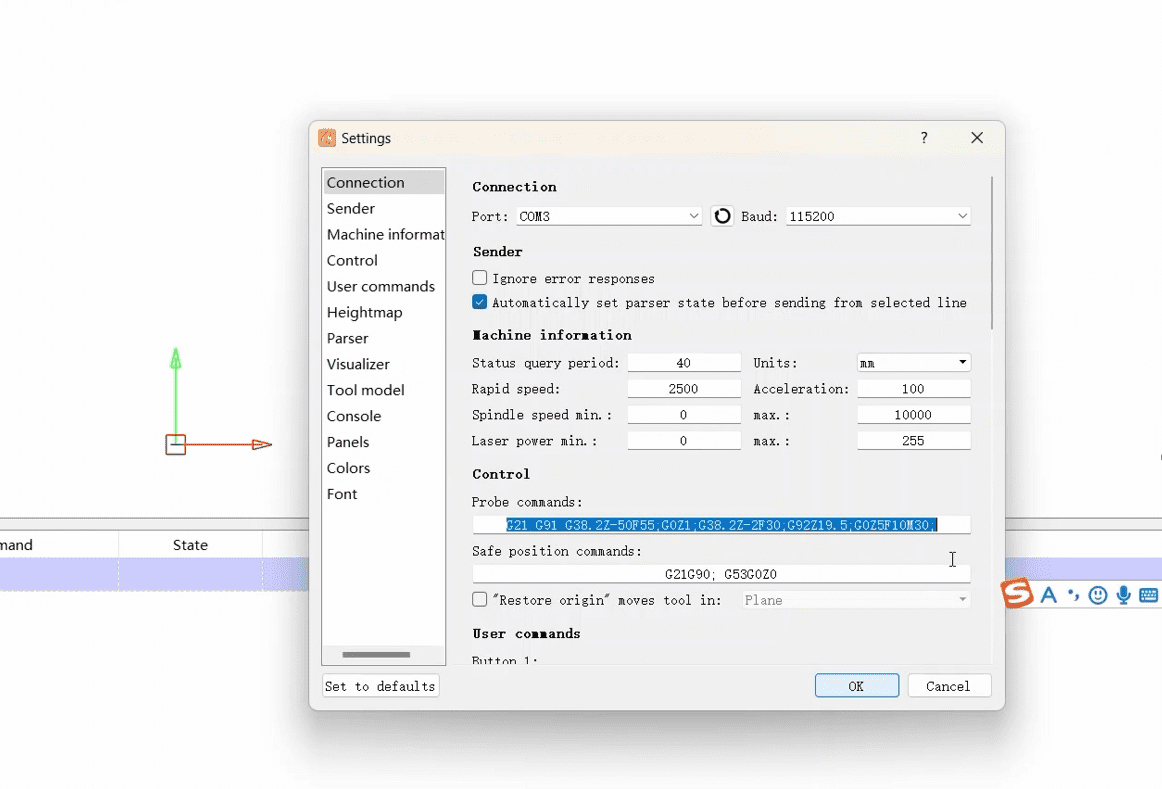
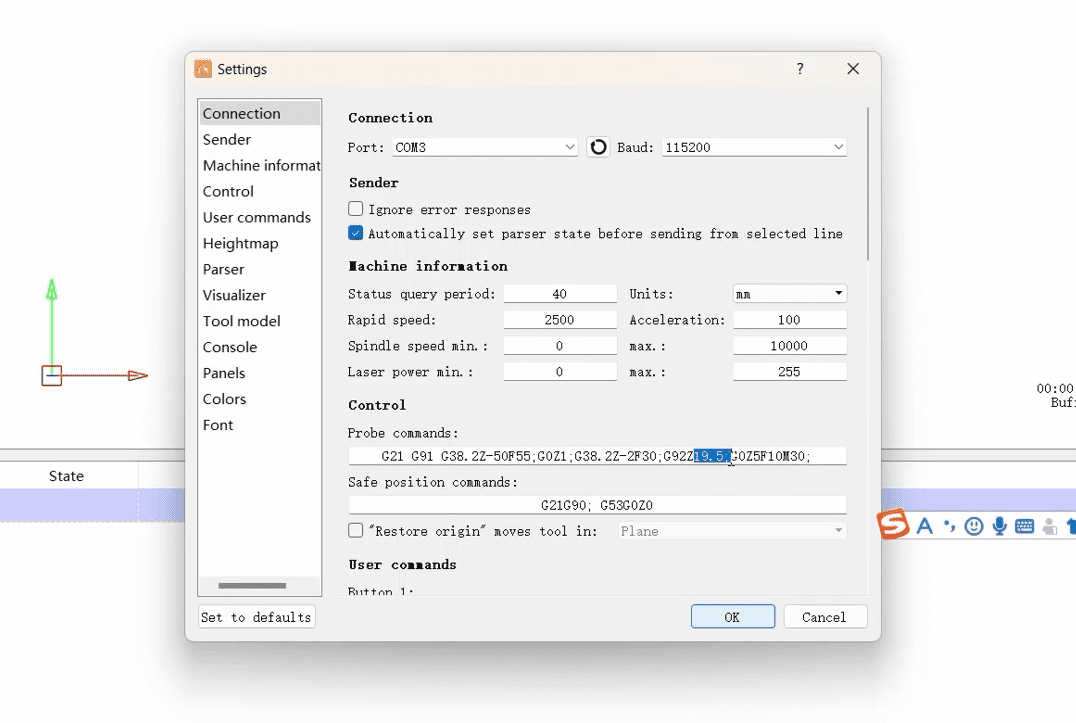
1.Click on the software to connect the machine and set the tool setting command (G21 G91 G38.2Z-50F55; G0Z1; G38.2 Z - 2 f30; G92Z19. 5; G0Z5F10M30;) Where Z19.5 is the thickness of the tool block (if there is an error in the tool can be adjusted here)
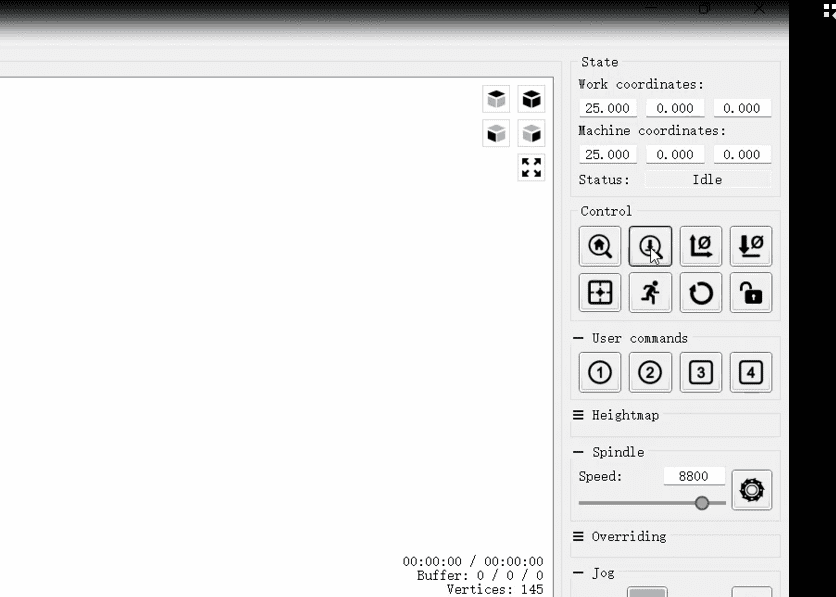
2.Then click Z Probe and wait for the knife to complete
¶ OpenBuildsCONTROL
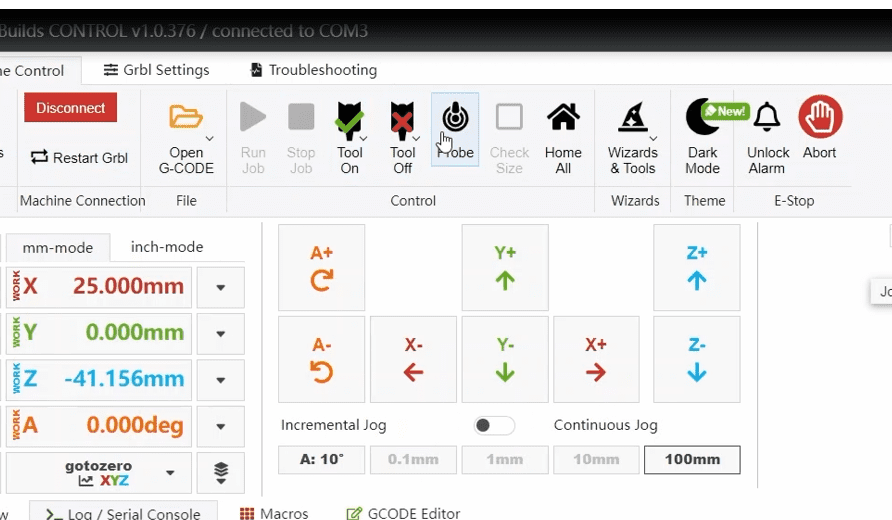
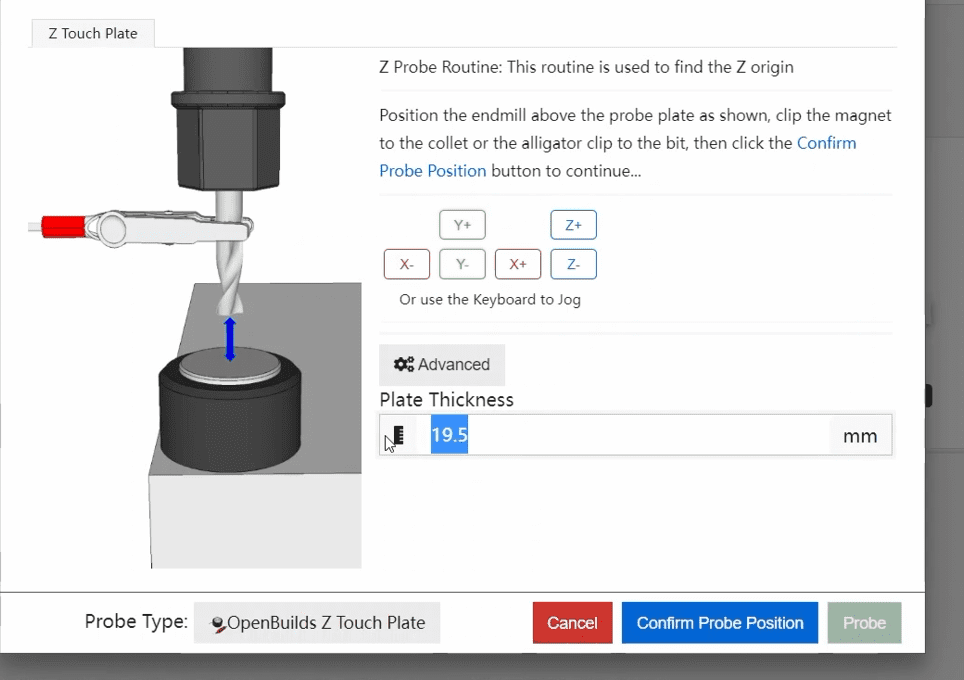
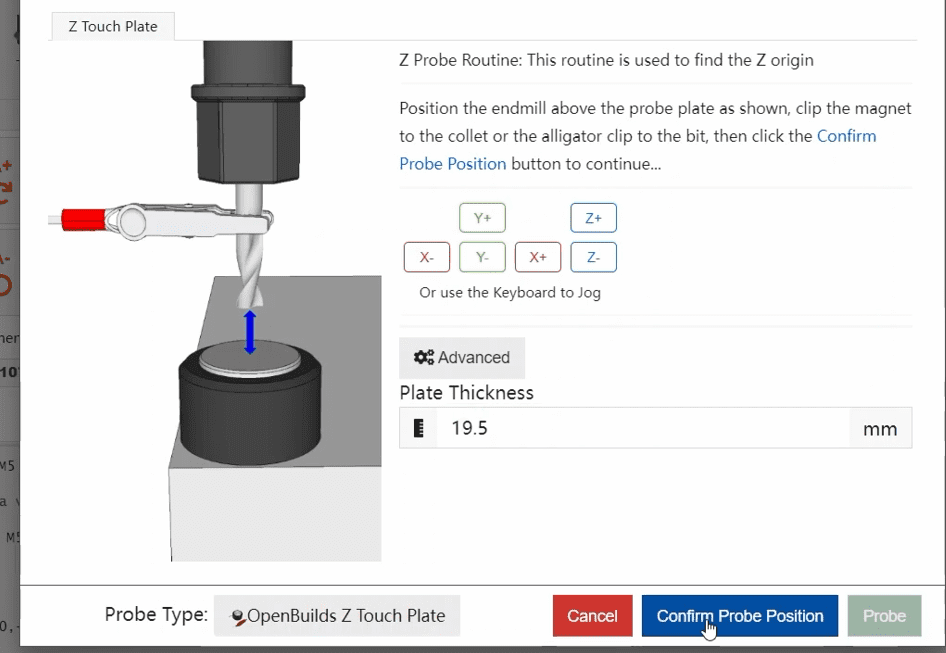
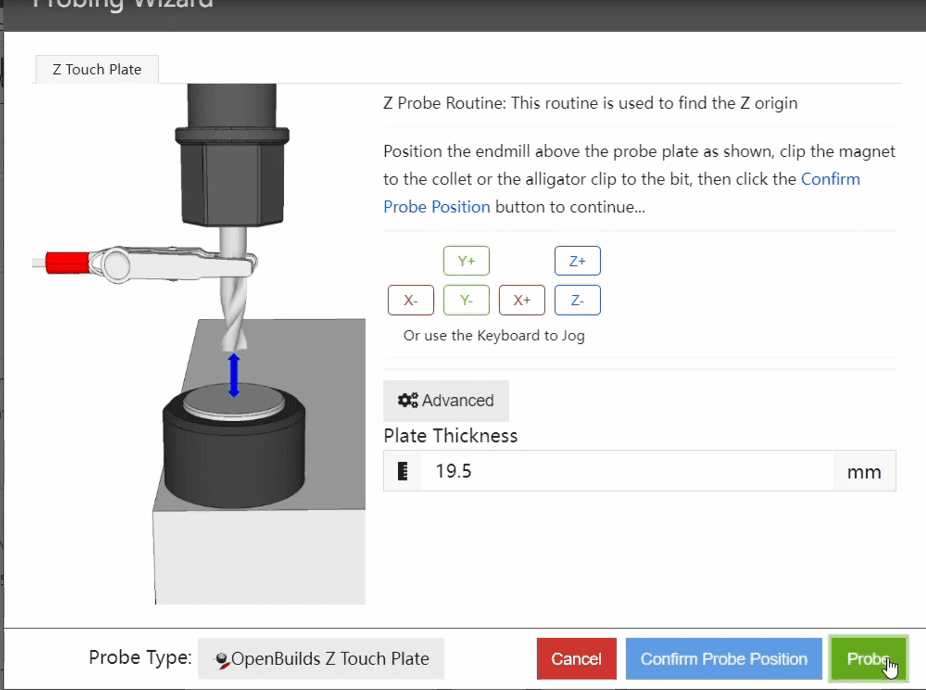
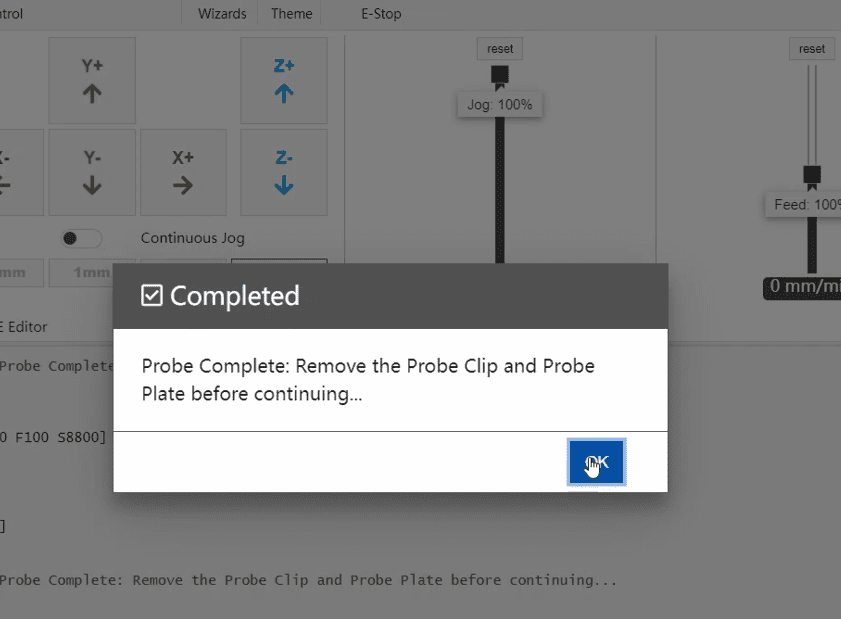
1.Open OpenBuildsCONTROL and click the Z probe. 19.5 in the pop-up interface is the thickness of the cutter block (if the cutter is deviated, you can adjust the thickness here).
2.Then click Save and wait for the knife set to complete before clicking Probe
3.Click OK when the knife is finished
¶ Software installation
¶ How to install USB drivers?
Driver program name: CH340SER.EXE
Where can you find this program?
- It is included on the manufacturer’s TF card.
- Search on a browser: CH340SER or CH340 official website.
Note: Failure to install the driver program may result in the computer being unable to connect to the machine. The driver files for Windows and macOS are different.
¶ How to quickly use Candle?
- You can search the attached link to learn the basic usage of this software.
- Explore more features through the official website of the software.
https://lasergrbl.com/usage/
¶ Generating G-code Program Files in EASEL
- Open the website: https://www.inventables.com/technologies/easel
- Log in with your personal account credentials (If you don’t have one, you can register temporarily).
- Familiarize yourself with the basic settings according to the video.
- Create a new model.
- Configure the parameters of the model (size, cutting depth, etc.).
- Export the file and save it.
¶ Machine operation
¶ Executing Home and Movement Using Touch Screen
¶ Secure the Workpiece
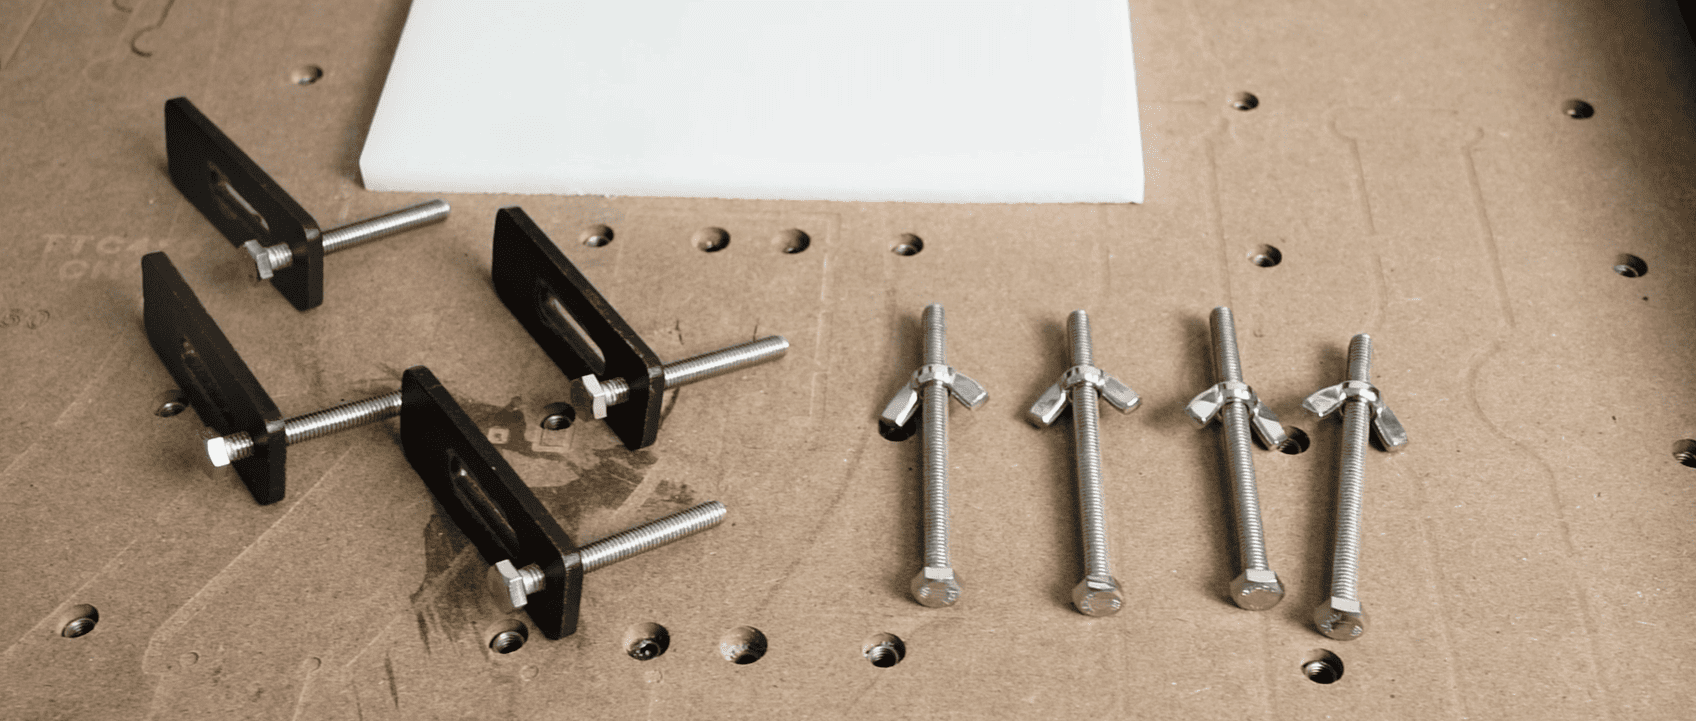
1.Tighten the screw partially into the sheet metal and the wing nut.
|
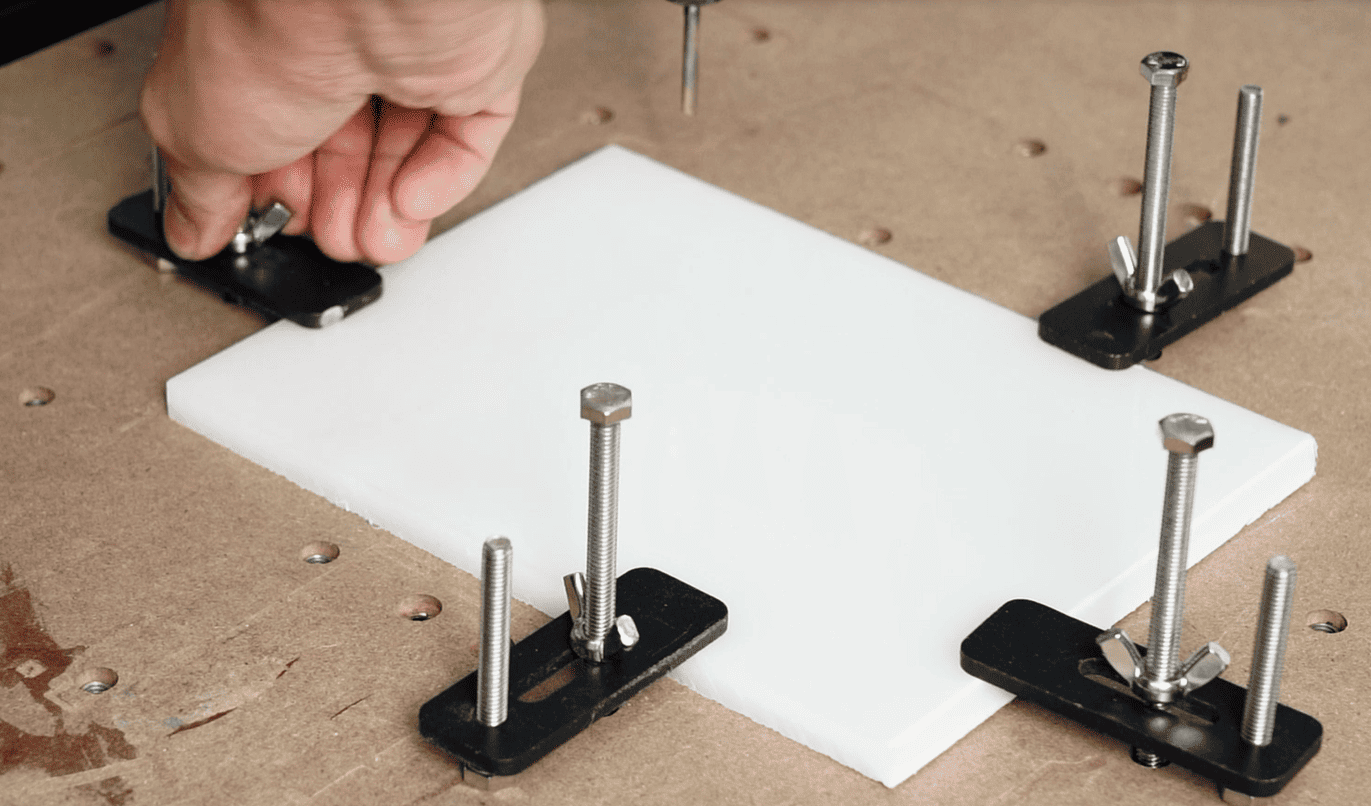
2.Then press it onto the workpiece that needs to be engraved.
|
¶ Install the cutting tool
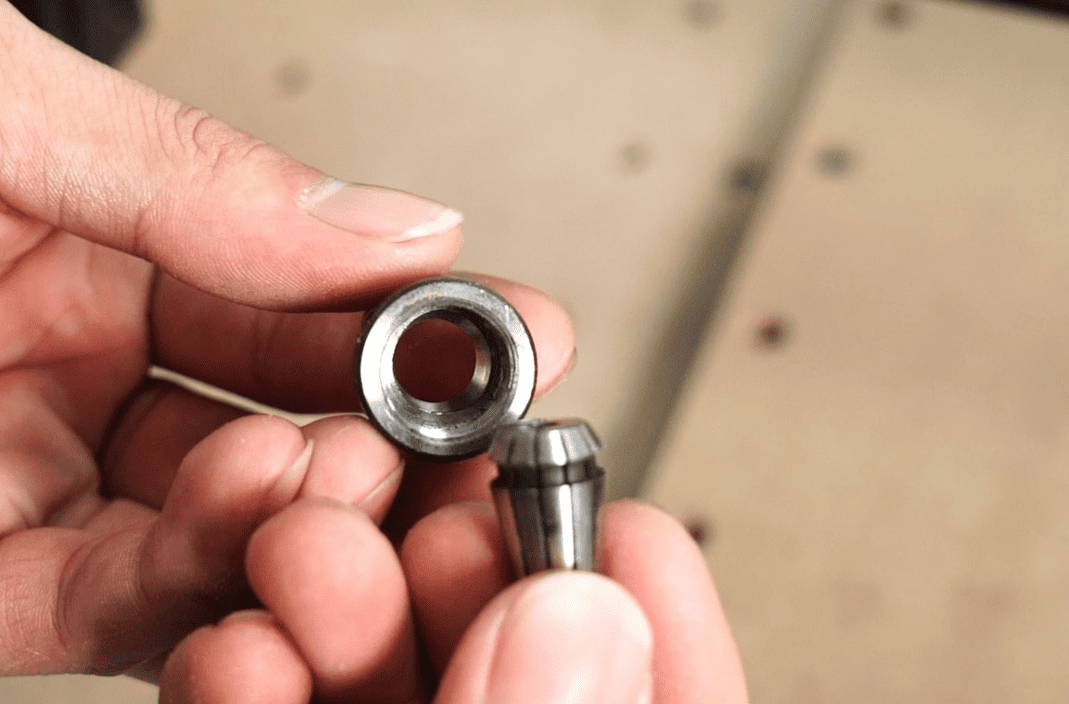
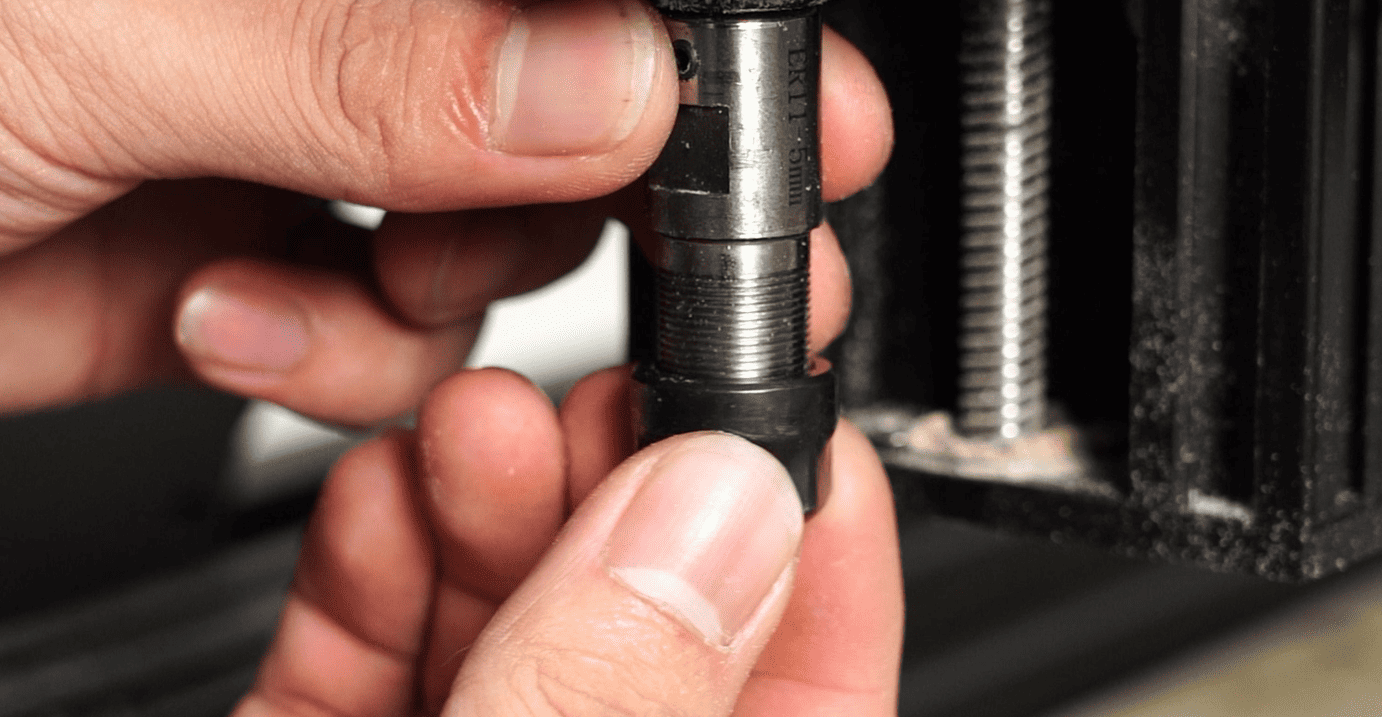
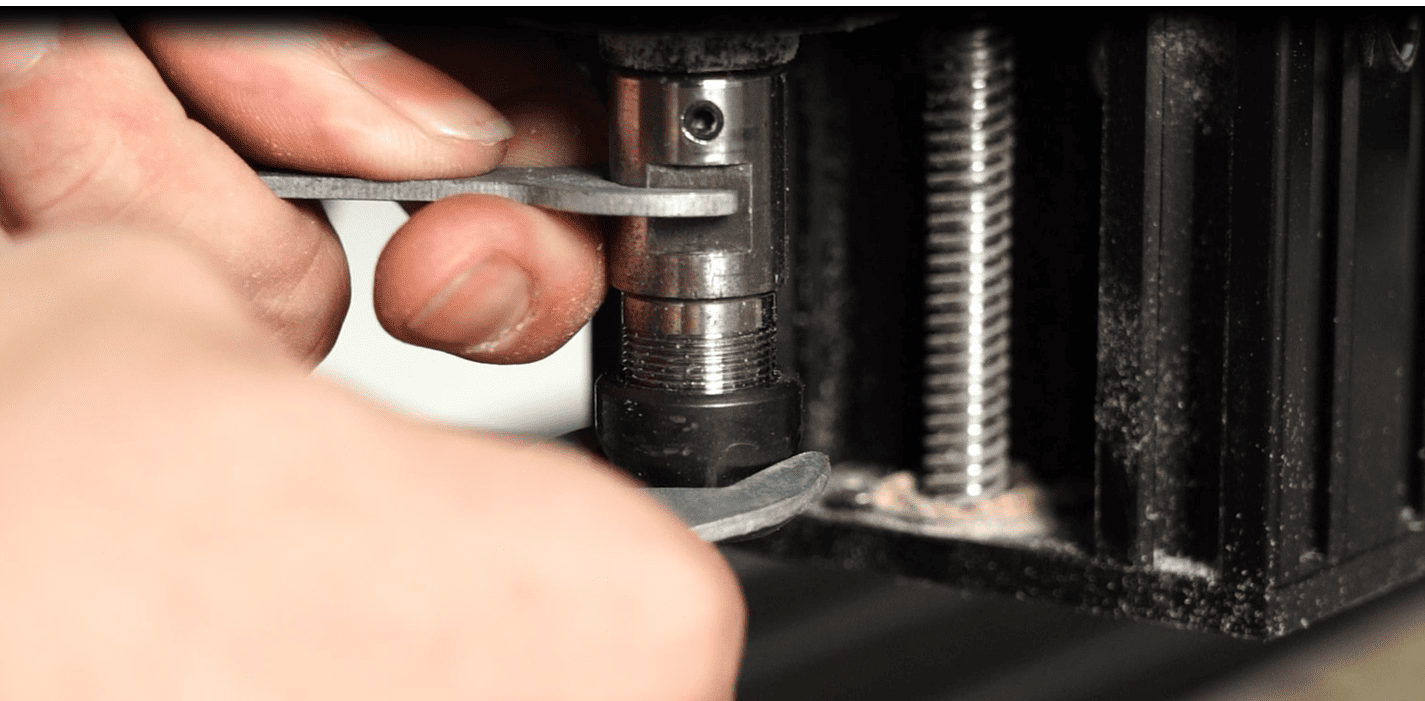
1.Place the collet into the nut, then screw it partially onto the rotating shaft.
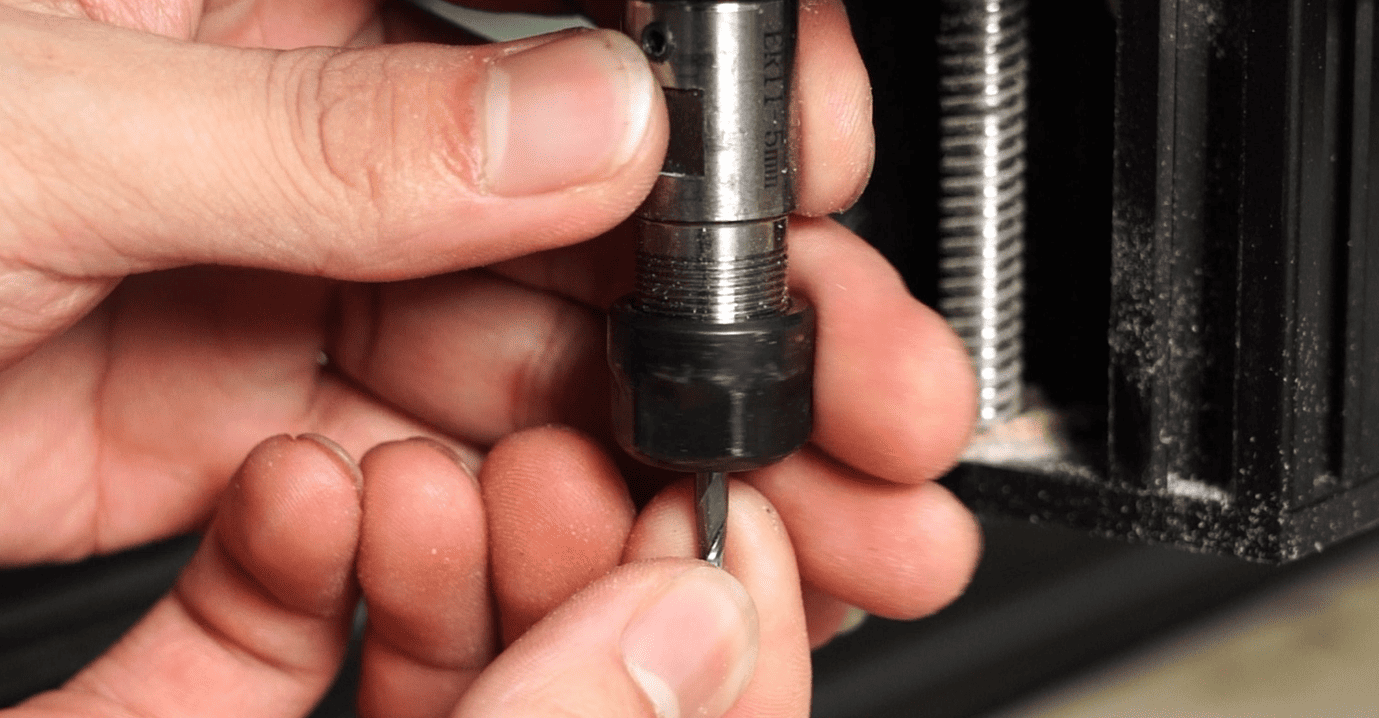
2.Then, after placing the milling cutter into the collet, use a wrench to tighten the nut.
