¶ Beginner’s Guide (Must-Read)
If you are preparing to get started with consumer-grade CNC equipment - whether it is a desktop engraving machine or a small milling machine - it is crucial to master a clear set of operation procedures and basic skills. It can help you avoid detours and create satisfactory works under the premise of safety and efficiency. The following is a systematic beginner learning process, covering the entire process from safety preparation to independently completing the project:
¶ Safety protection and equipment inspection(It must be mastered first.)
Personal safety protection
-
1.When operating the equipment, goggles must always be worn to prevent wood shavings from splashing into the eyes
-
2.Long hair should be tied up. Avoid wearing loose clothing or gloves to prevent it from getting caught in the main shaft
-
3.Place the equipment in a well-ventilated room to prevent dust accumulation (especially from plastics such as wood or acrylic).
Equipment inspection
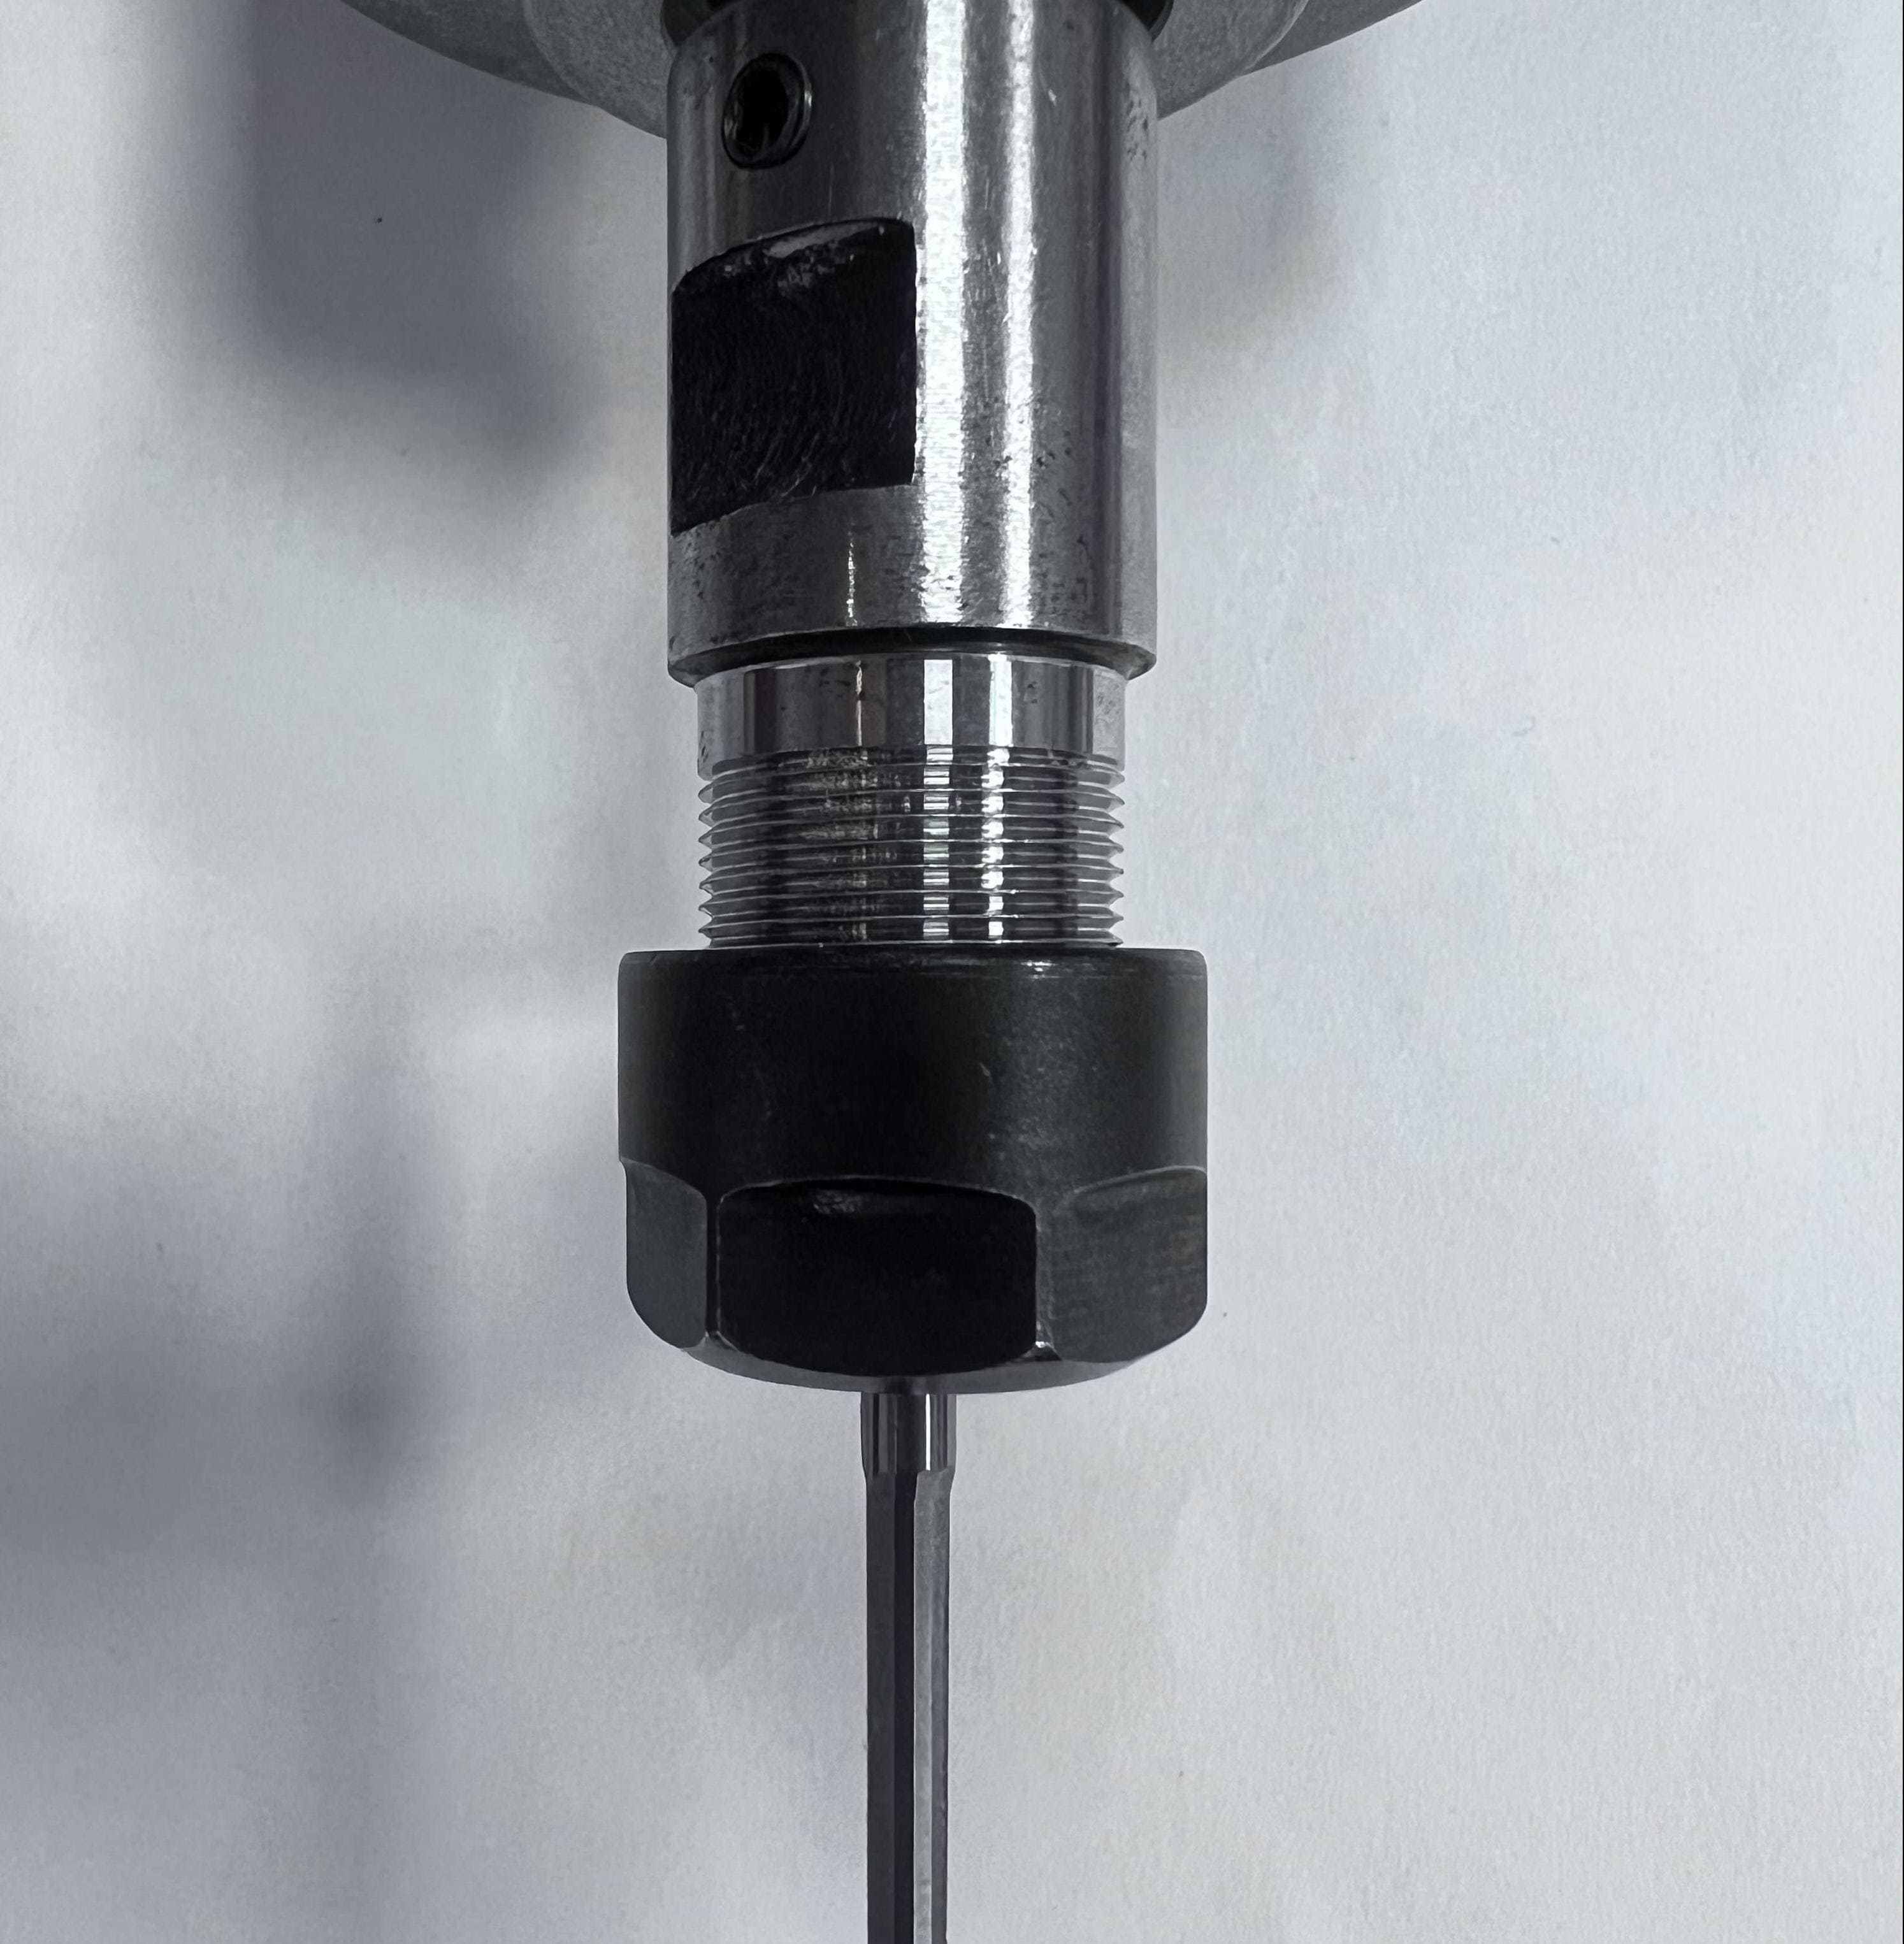
- 1.Before performing the engraving task, it is necessary to check whether the tool holder is tightened and whether the material is firmly fixed to prevent risks such as tool breakage caused by tool loosening or plate displacement during the processing
-
2.Perform the zeroing operation of the equipment through the control panel to test whether the limit switches of each axis can be triggered normally. Manually start the main shaft and test whether its operating status is normal
-
3.It is necessary to ensure that there are no foreign objects within the travel range of the equipment to avoid damage to the equipment due to collision during operation
¶ Software and file post-processing
Programming software and file formats
-
1.The commonly used file formats in cnc are: SVG (Vector graphics), DXF (CAD), and STL (three-dimensional graphics).`
-
2.Common programming software:
Free: Kiri Moto, FreeCAD (CAM), etc
Paid services: Easel, Fusion360 (Education Edition), Carveco, etc -
3.Recommended free tool combinations: Inkscape (vector design), FreeCAD (3D modeling +CAM)
-
4.The selection of the post-processor
When processing files, simply select GRBL post-processor or Easel’s G-code in the post-processor library
Generate G-code
- It is recommended to import the model using the supporting software (such as FreeCAD, Easel). When setting parameters, the principle of coordinated matching of the spindle speed, the engraving speed of the equipment and the type of tool must be followed. The following are the commonly used parameter Settings for wood carving on the standard model:
¶ Machine operation steps
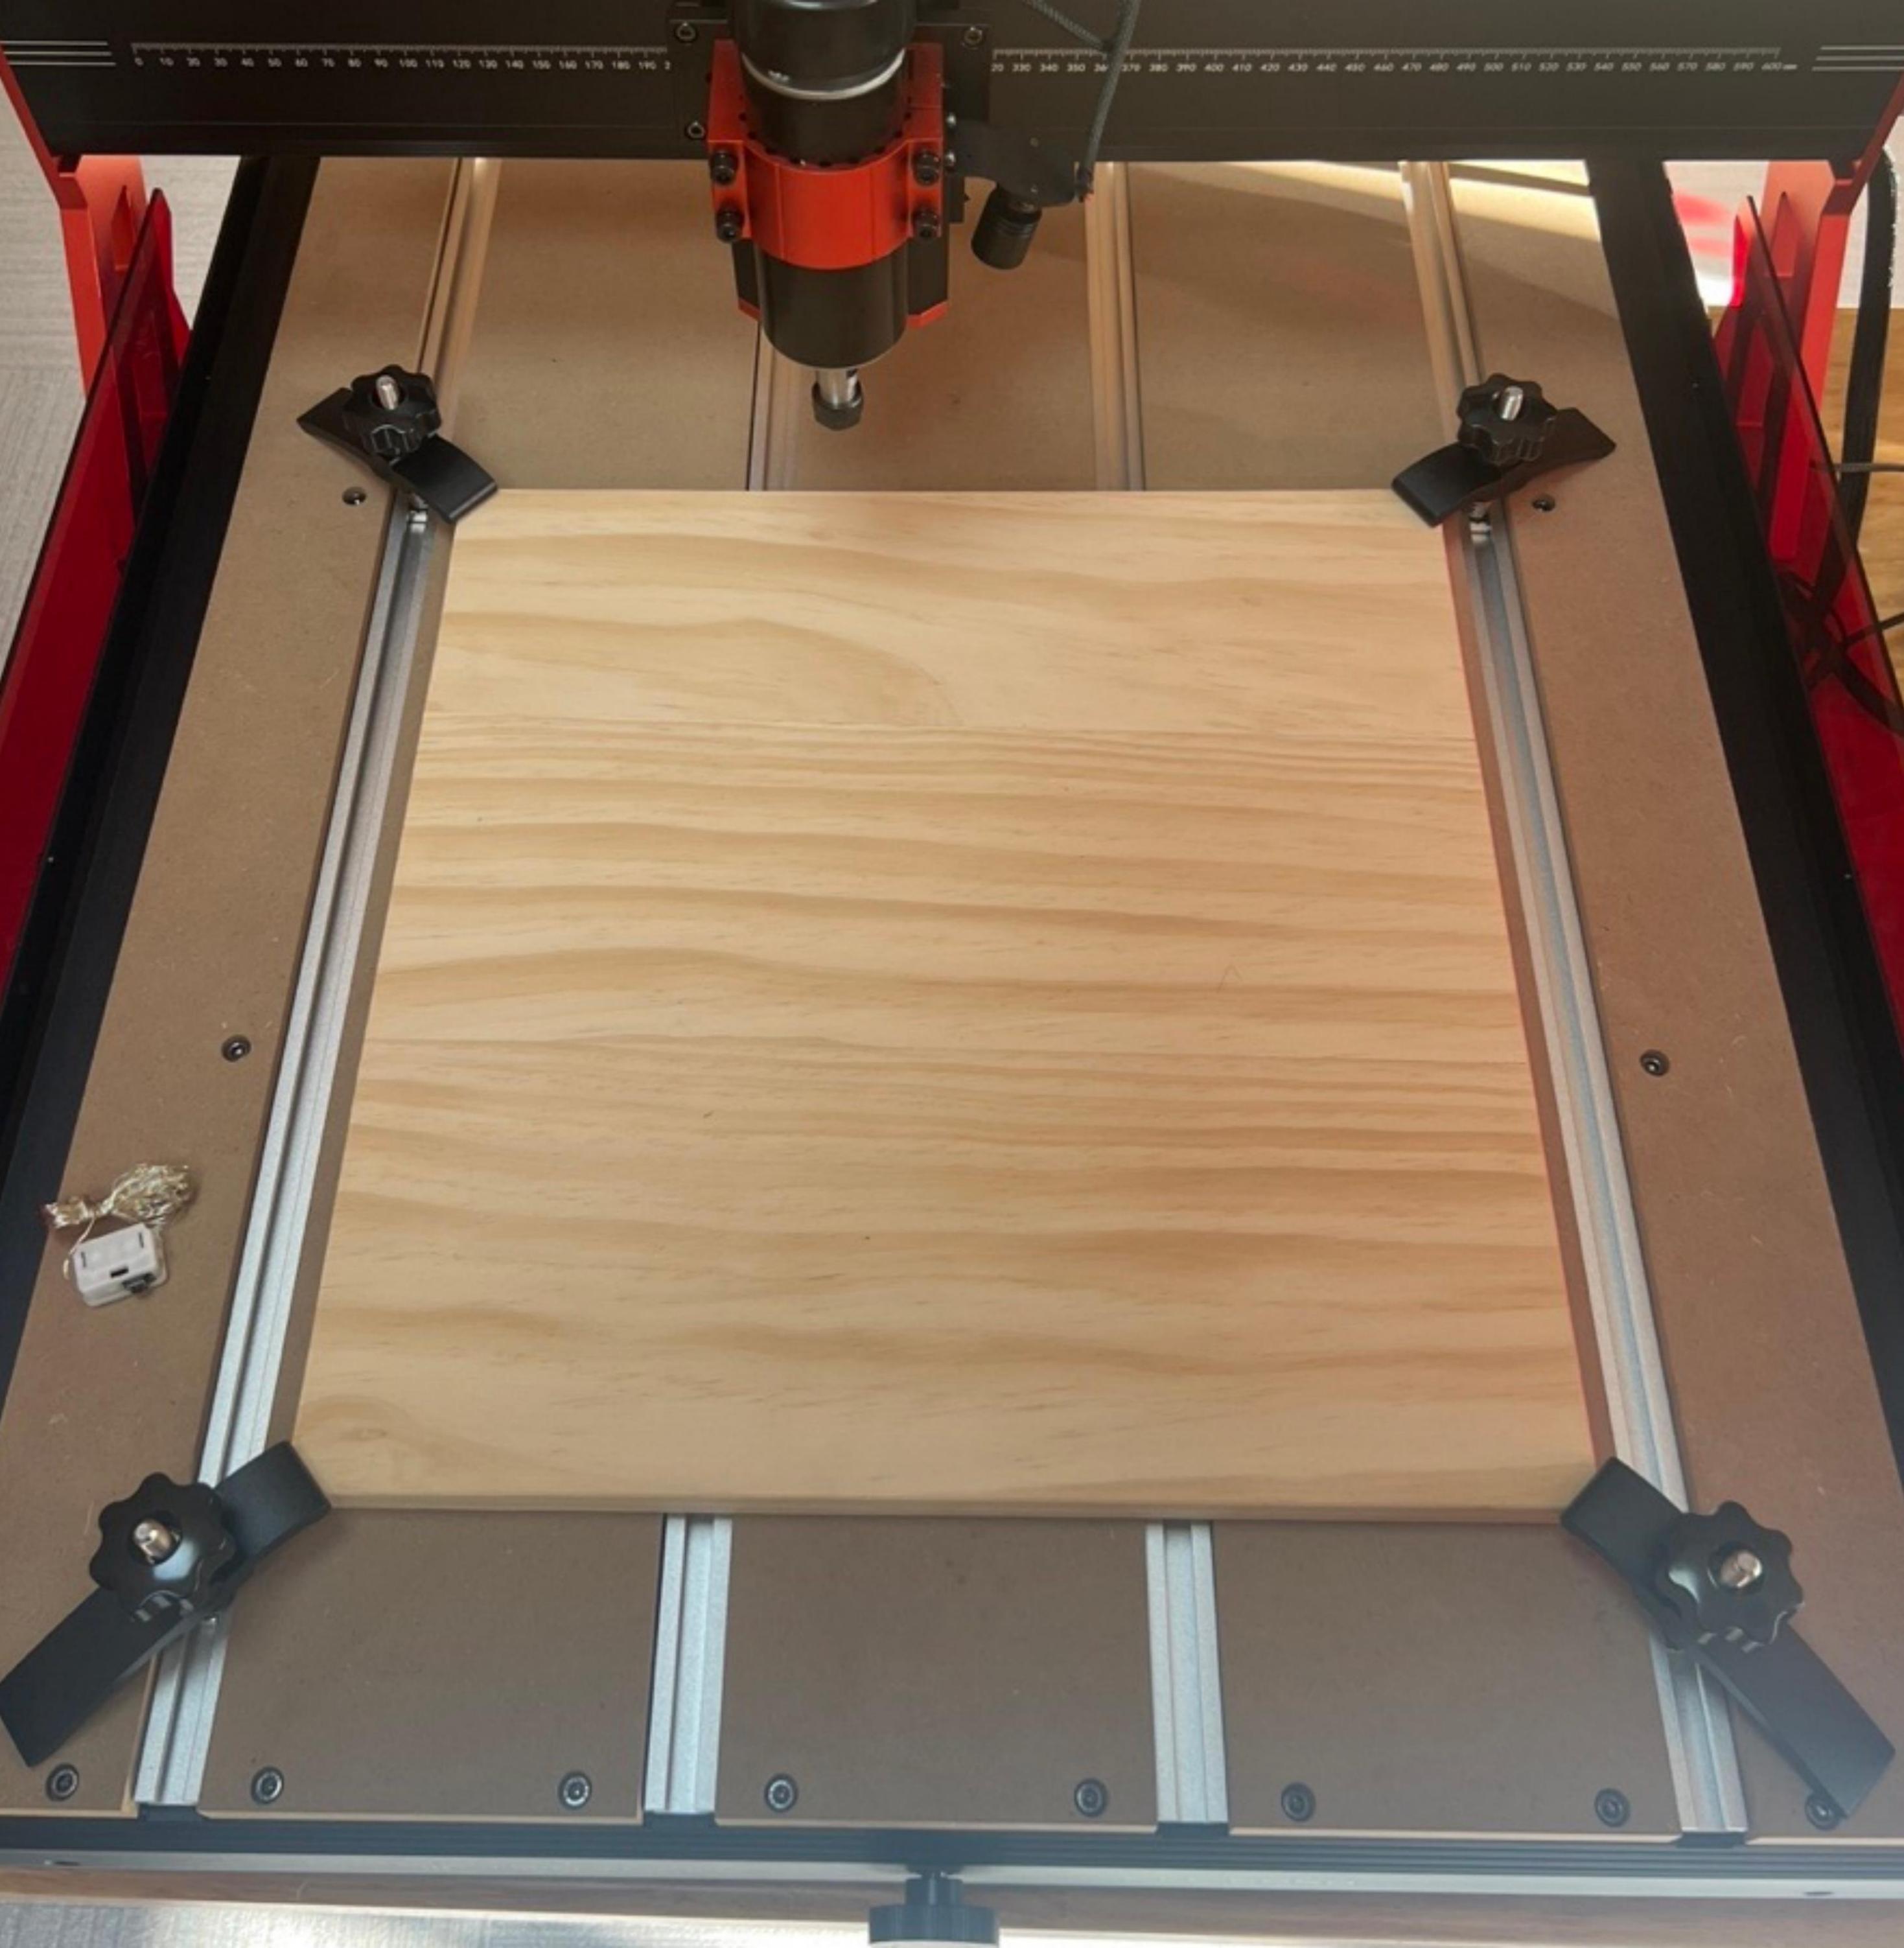
Coordinate setting (workpiece zero point)
- Dividing the middle:
- After installing and fixing the rectangular plates horizontally
- Move the cutting tool to one edge of the sheet。
- Perform the zeroing operation of the current position coordinates.
- Move the tool in the opposite direction until it touches the edge on the other side of the sheet。
- Record the current coordinate values。
- The coordinate of the center point of the sheet = recorded value / 2 - tool radius
Unilateral positioning method
- Just move the tool to the lower left corner for positioning. It is suitable for using irregular materials or plates with sufficient material surplus
Tool setting (Z-axis zero point)
- Automatic tool setting
Use the tool setting block to move the XY of the machine to the position where it needs to work. Place the tool setting block under the tool, reset the XY coordinates, then click Z-Probe in the tool options on the screen. After the tool setting is automatically completed, remove the tool setting block and click File to start engraving - Manual tool setting
Manually move the machine on the screen to the point where you want to start working. Then, manually operate the Z-axis to make the tool tip touch the material surface. After clicking to reset the coordinates, the positioning is completed. Click on the file engraving to finish
Trial operation and first-piece testing
- Trial operation
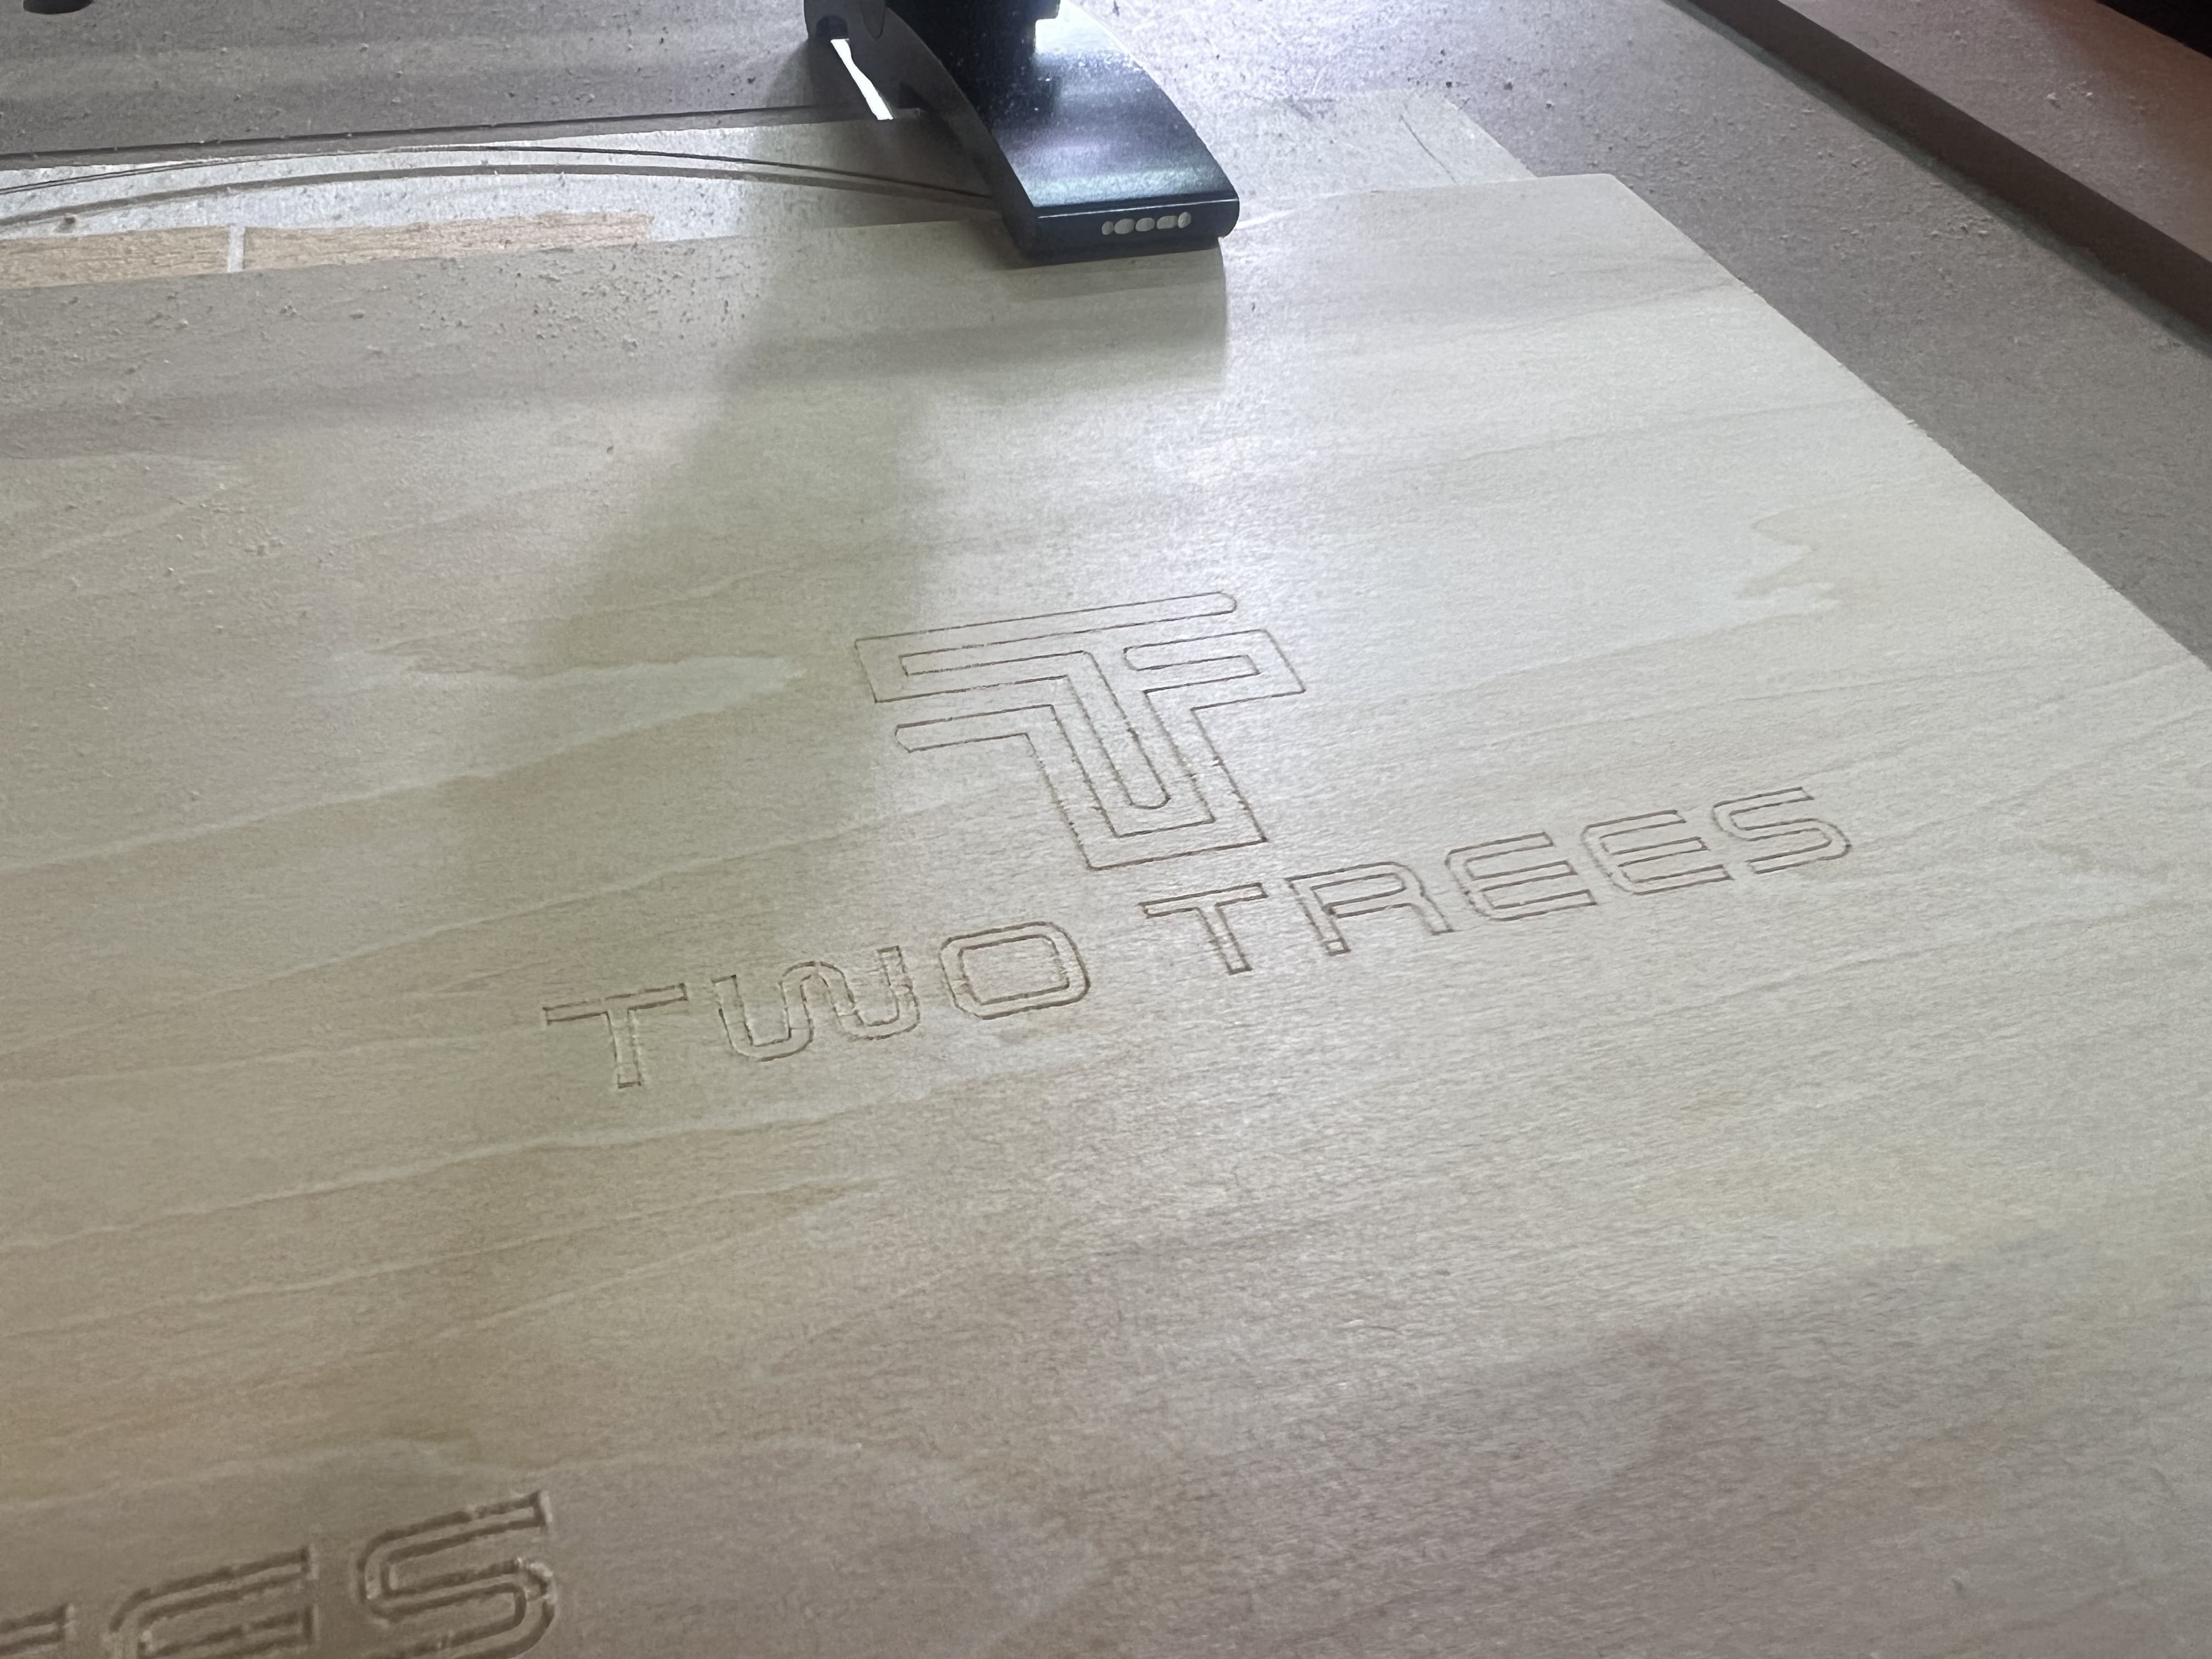
You can raise the Z-axis of the machine so that it does not touch the wood and run the file idle for a period of time to see if it operates normally - First piece test
You can first find a piece of leftover material and run the engraving part to observe the cutting effect. If the effect is not ideal, it indicates that the parameters may not be suitable and need to be reset in the programming software
¶ Parameter setting and tool selection principles
1.The selection of cutting tools
- Roughening: Use a flat-bottom milling cutter (such as with a diameter of 6mm) to quickly remove the allowance
- Fine finishing: Use ball-end cutters to process curved surfaces and small-diameter end mills to clear corners (such as 2mm in diameter)
- Shearing: A 3.175 double-edge or three-edge milling cutter works better
- Hollowing out the groove: Using a 4-6mm double-edge or 3-edge milling cutter will be more efficient
- Engraving: The best effect is achieved with a 3.175 sharp knife or a V-shaped milling cutter
- For plastics such as acrylic: Single-edge helical milling cutters are less likely to stick to the tool, and at the same time, pay attention to heat dissipation
- Soft metals (copper/aluminum) : Use three-edge helical milling cutters with coating or quenched cutting edges
2.Common problems
- 1.If the cutting noise is high and the tool trembles, it indicates that the undercut is too deep and the depth of each undercut and the feed rate need to be reduced
- 2.The material has a burnt smell or marks of friction. It is necessary to increase the feed rate or enhance the cooling
- 3.If there are too many burrs at the cut of the material, it is necessary to check whether the cutting edge of the milling cutter is worn, which makes it impossible to cut effectively
3.Equipment maintenance
- Daily:When the engraving task is completed and there is no next project running, you can clean the scattered dust on the machine and the wood chips on each lead screw to ensure the good operating condition of the machine
- Every month:Check every month whether there are any signs of loosening on the fixing screws of the couplings of each shaft motor and whether the fixing screws at the connection points of the profiles are firm
¶ Novice practice
Note: The precision of consumer-grade CNC is usually within ±0.1mm. Avoid designing overly complex details. The first processing must be supervised throughout the process and the difficulty should be gradually increased
1. Novice: Engrave text/simple 2D patterns (such as name tags), and use materials that are easy to operate, such as pine wood or PVC board。
|
2. Proficiency: Curved surface relief (such as badges, pictures, etc.), practice the process of rough machining and fine machining
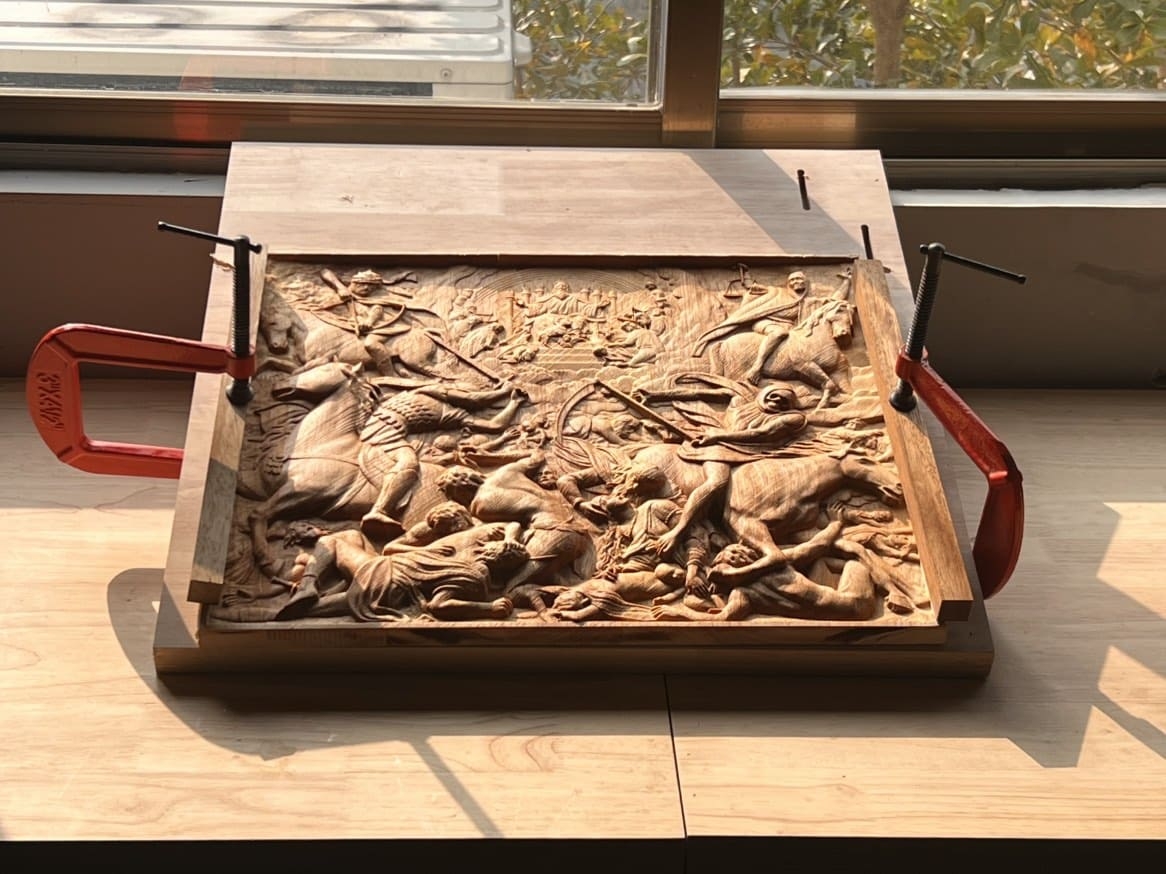
|
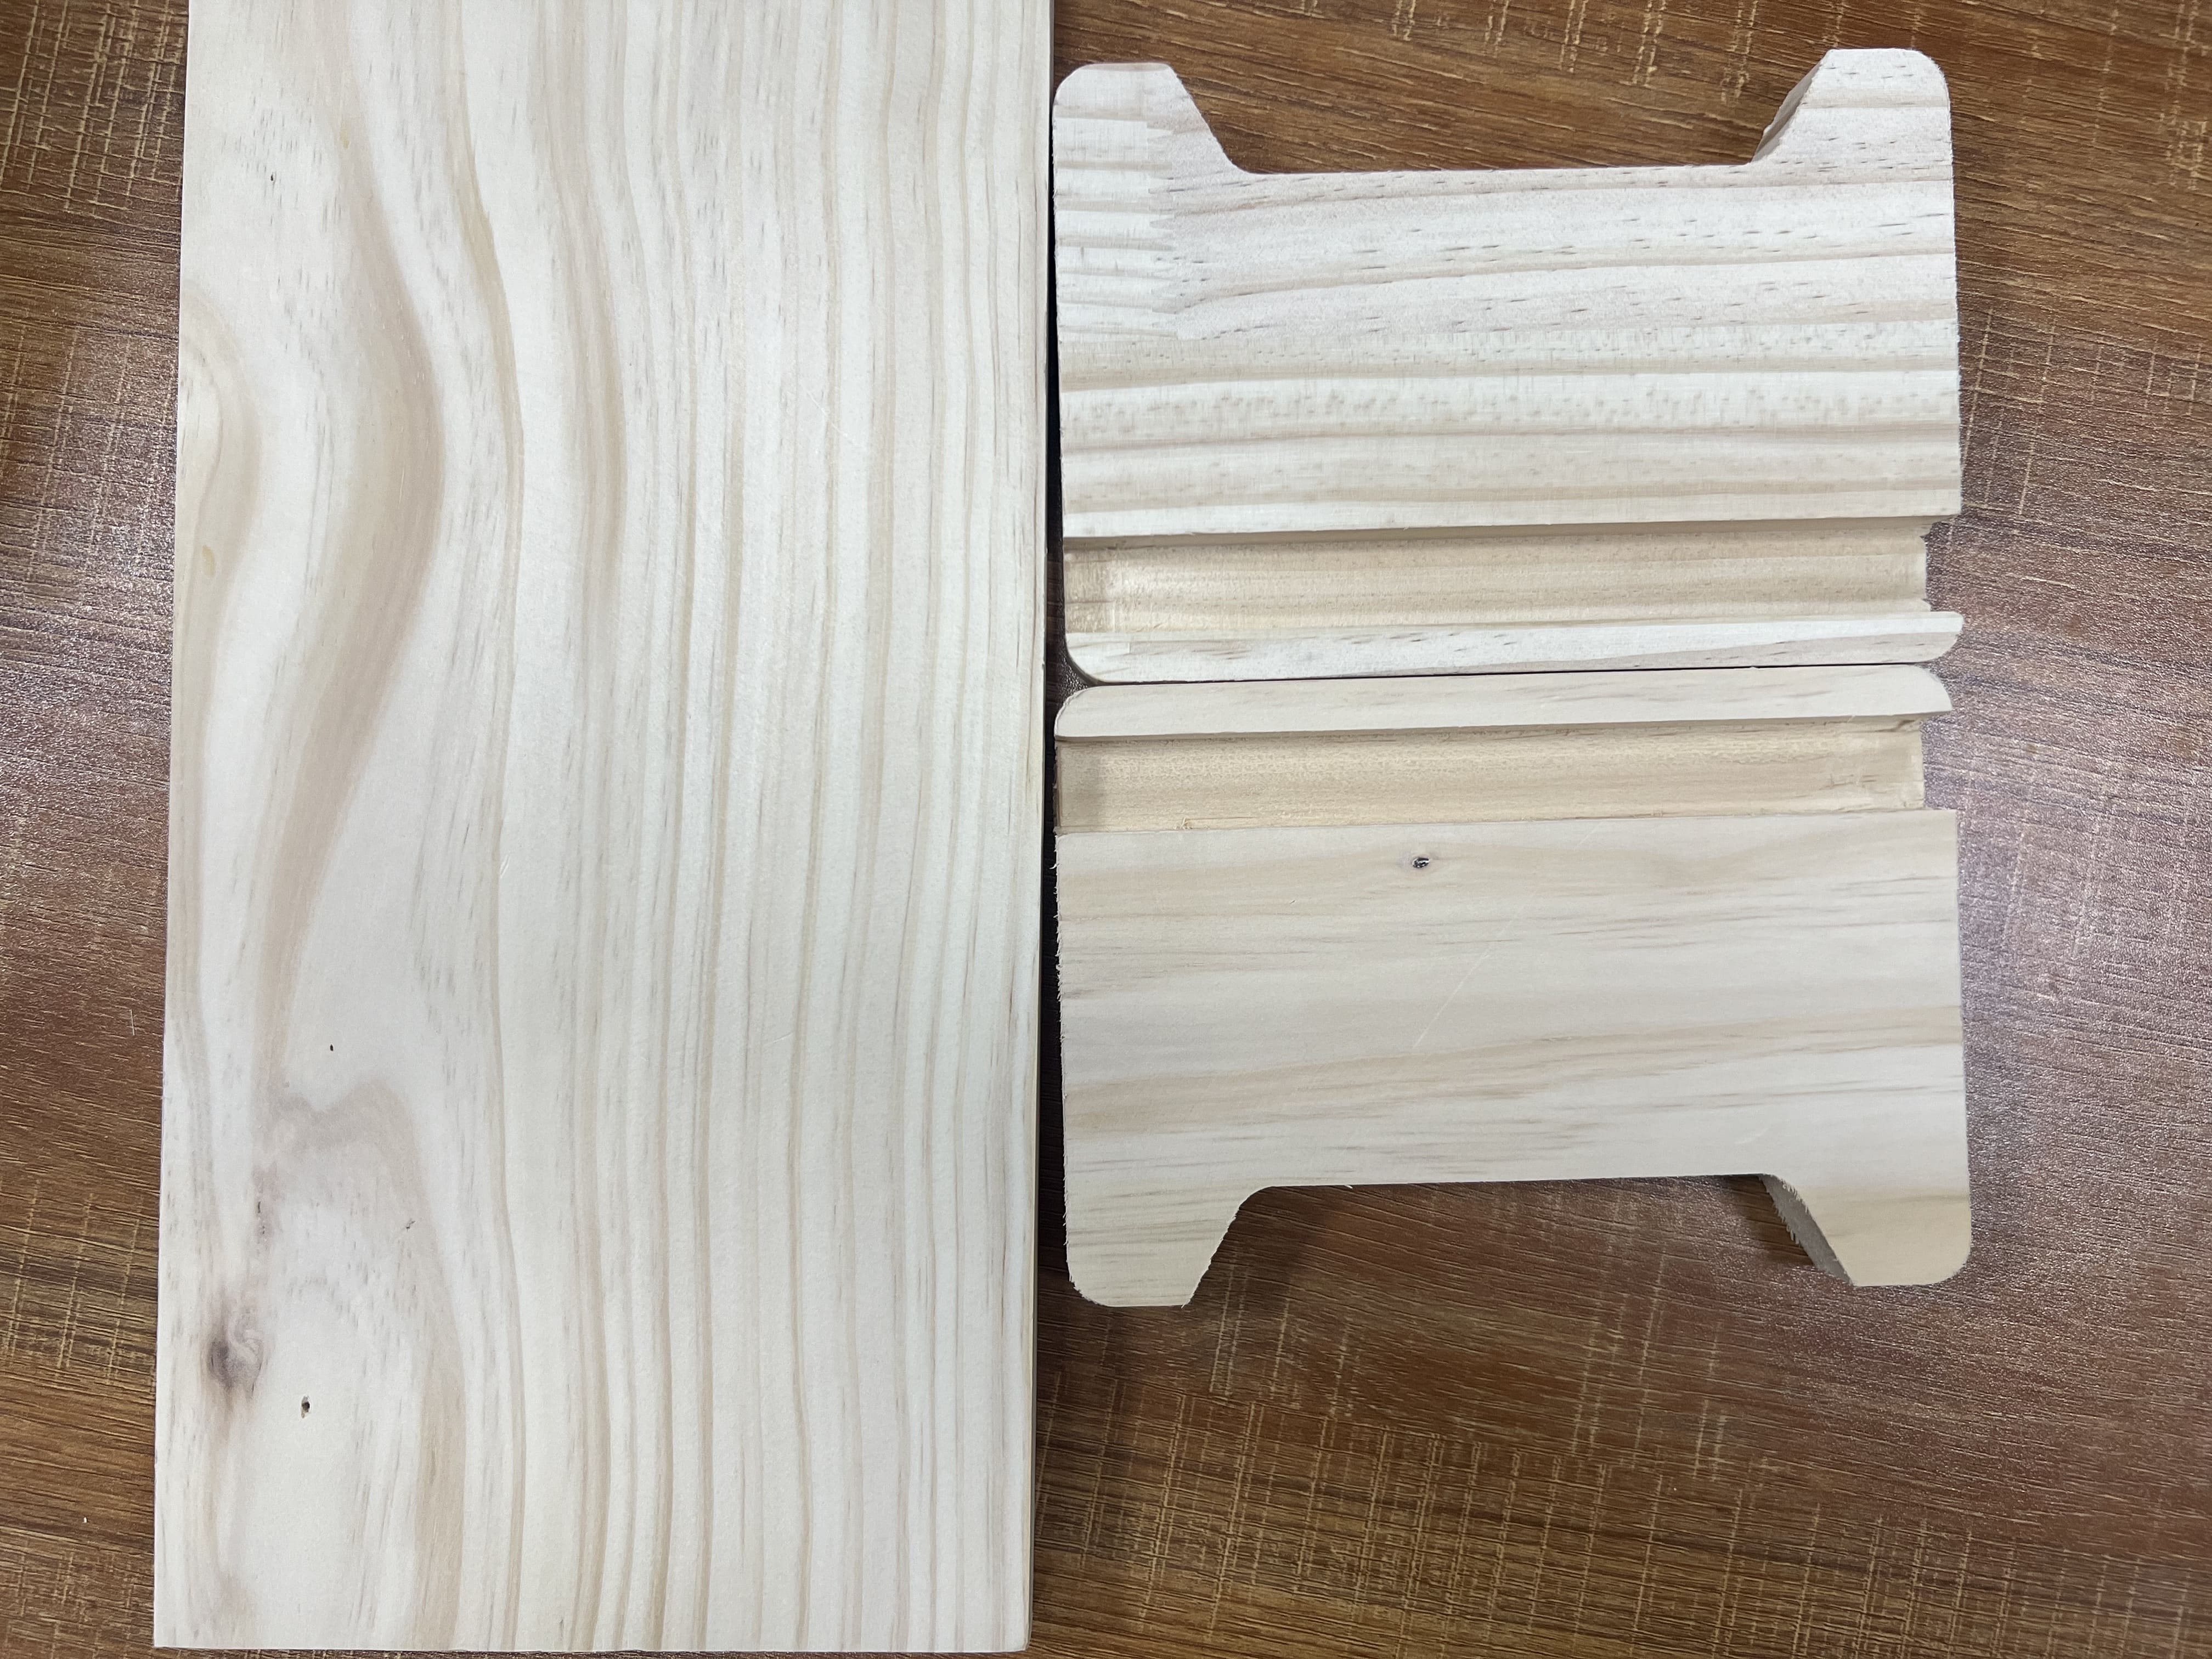
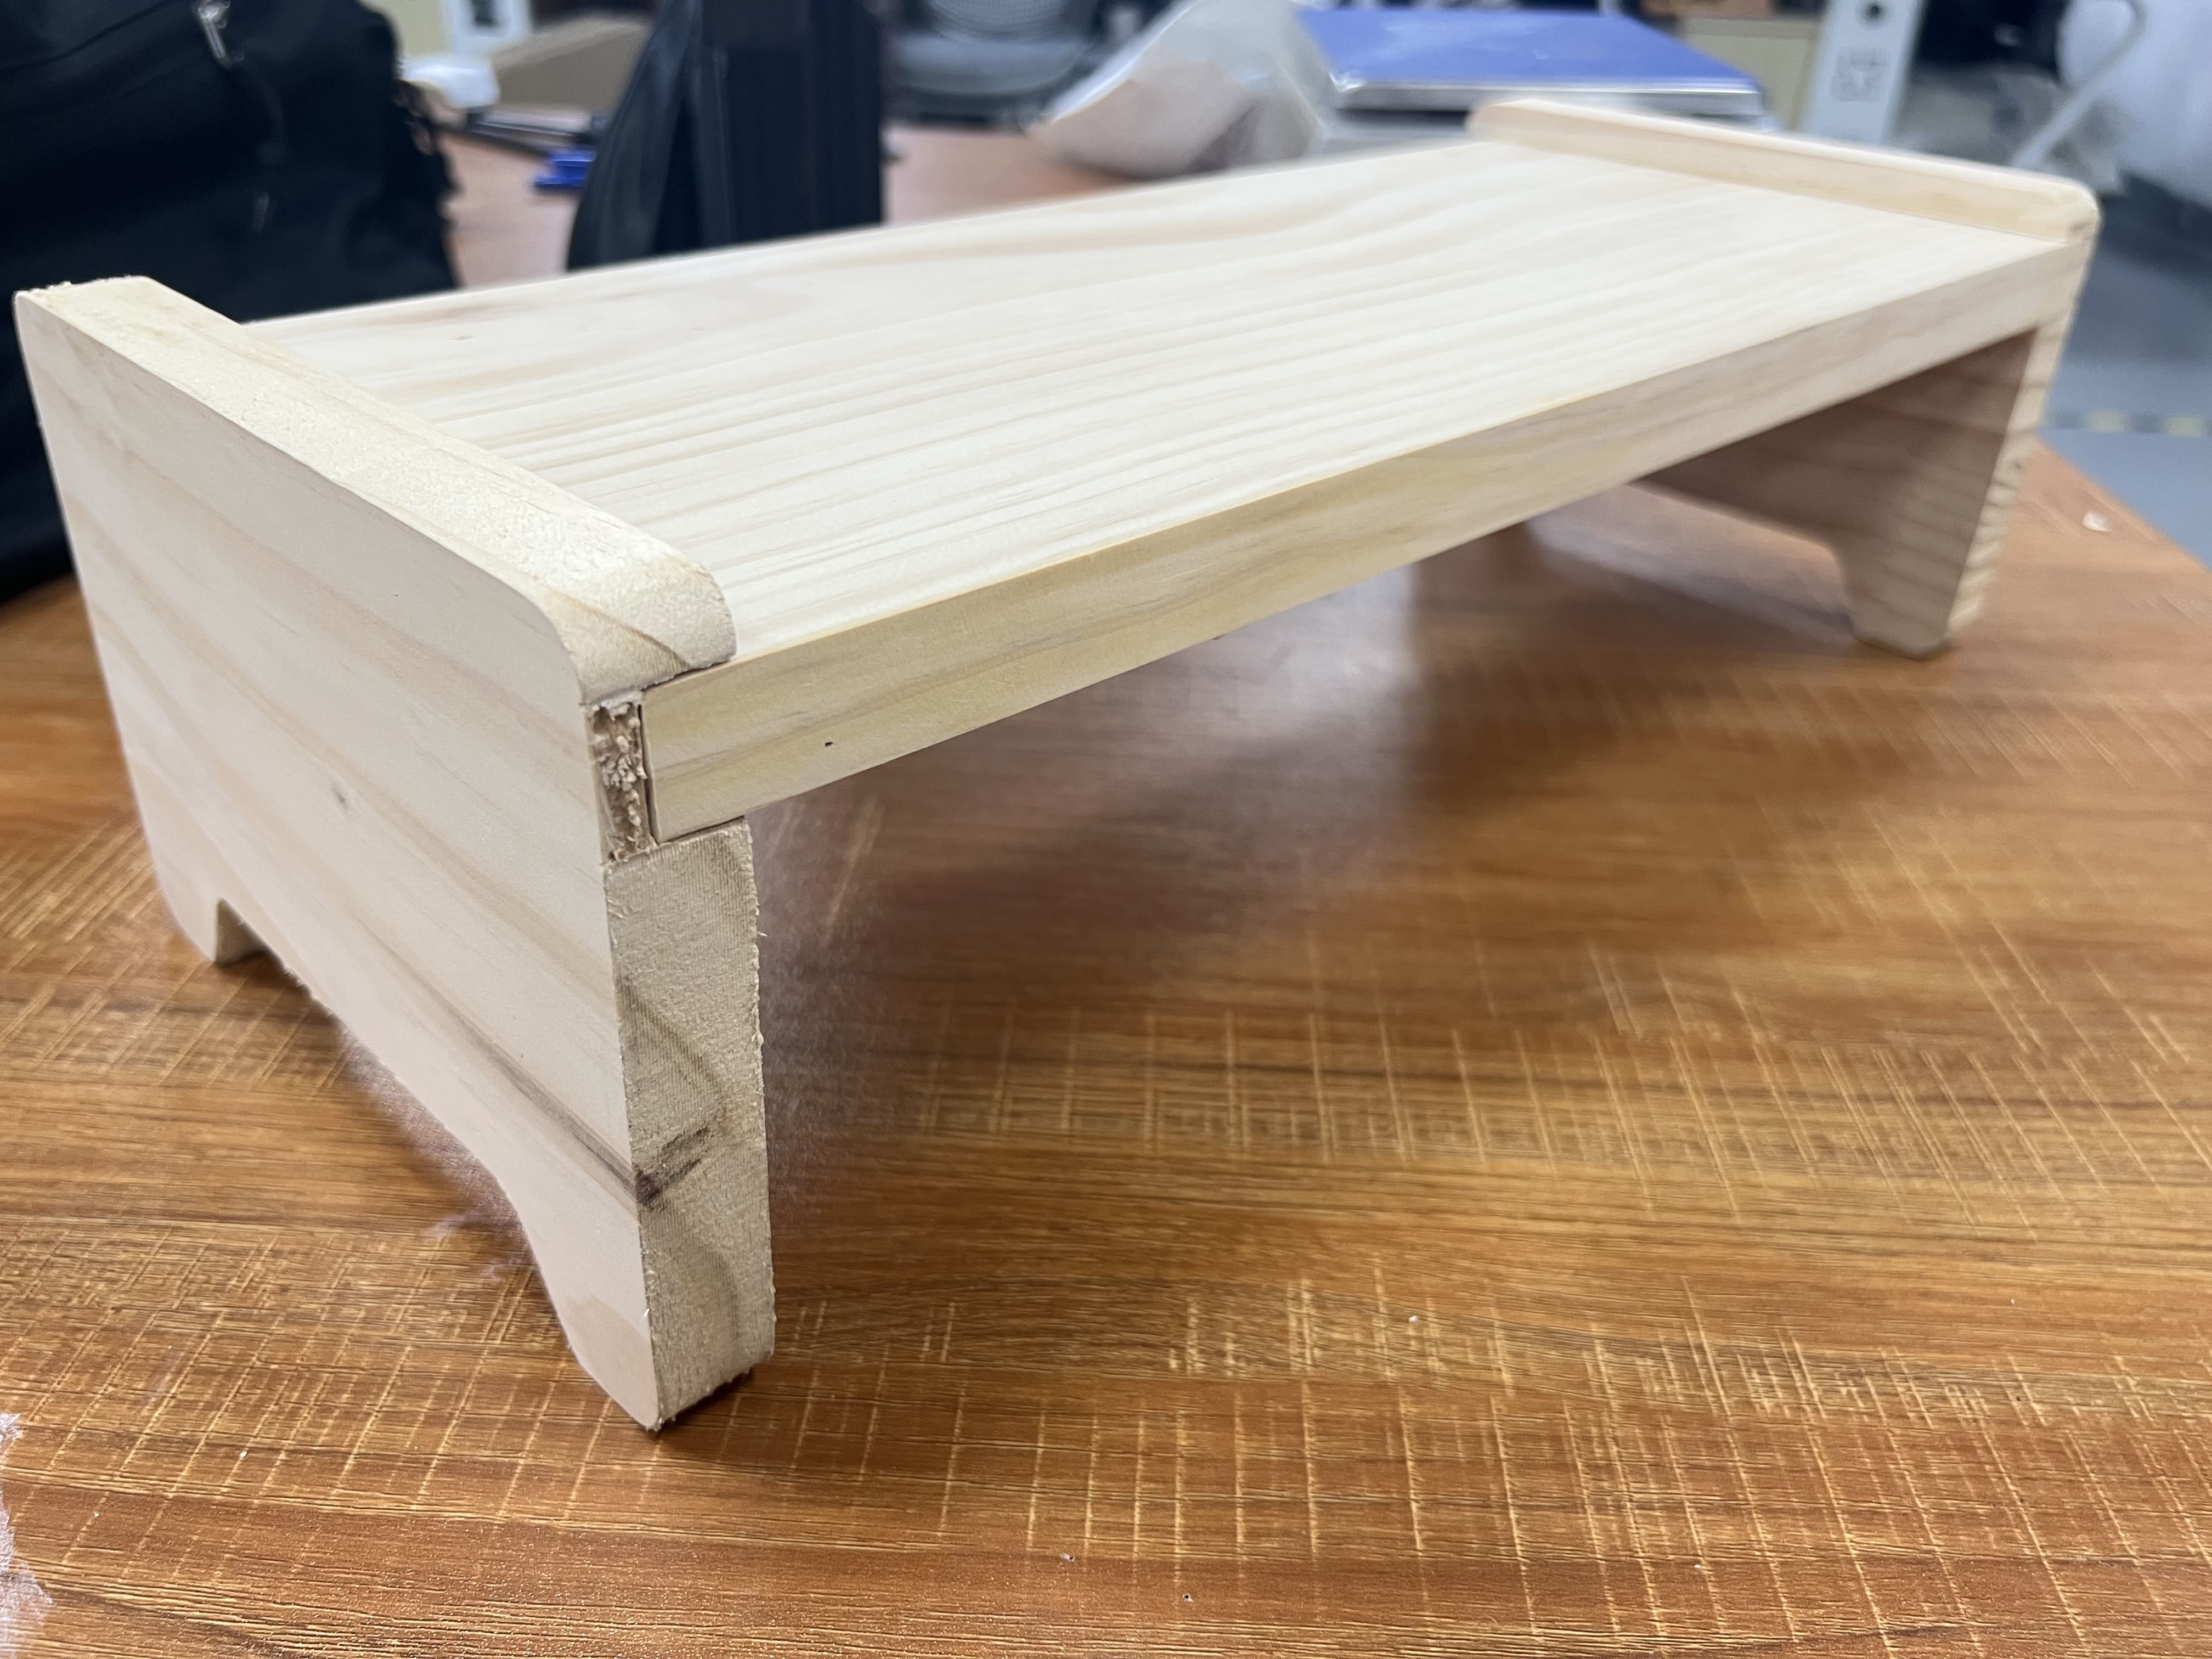
3. Advanced: Design slotted and assembled structures (such as phone stands, desks and stools), learn precise size control, assembly details, etc
¶ The end
This manual provides the general operation procedures for CNC models. For more detailed usage instructions, please refer to the navigation guide of the corresponding model in the Wiki. Among them, the “Quick Start” section provides detailed initial usage steps to help you efficiently launch your first carving project。

|