¶ SK1 Replace the nozzle
3D printer nozzle replacement process
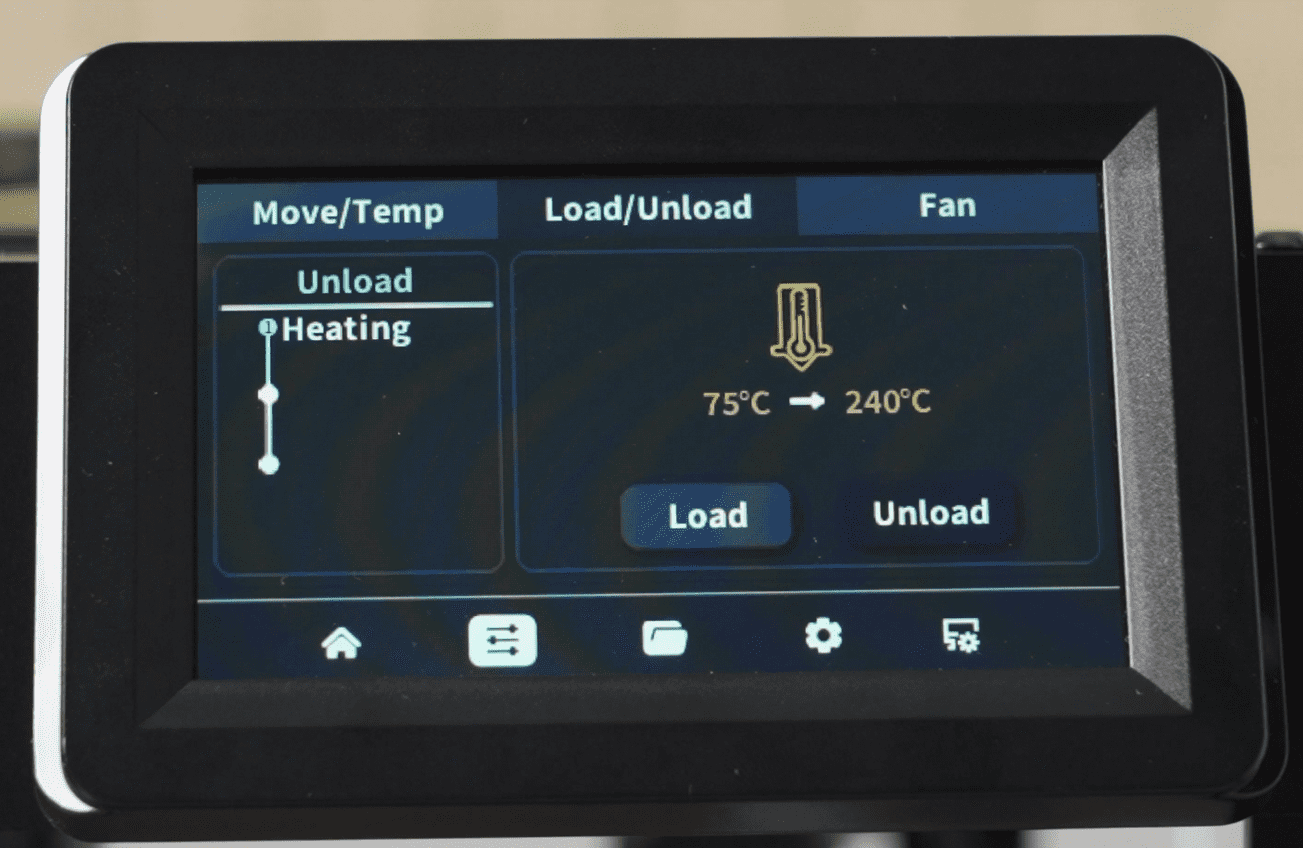
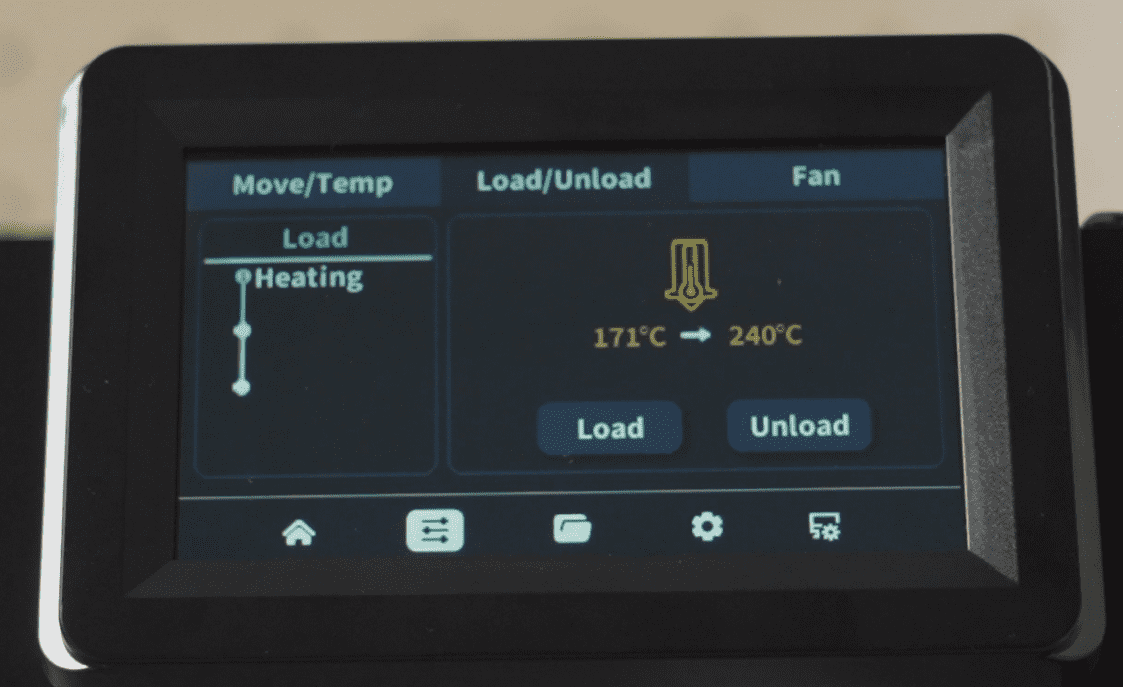
1:First, click the return function on the screen to start the return process of the consumables, and wait patiently for the return operation to be completed to ensure that there are no residual consumables in the extrusion head。
|
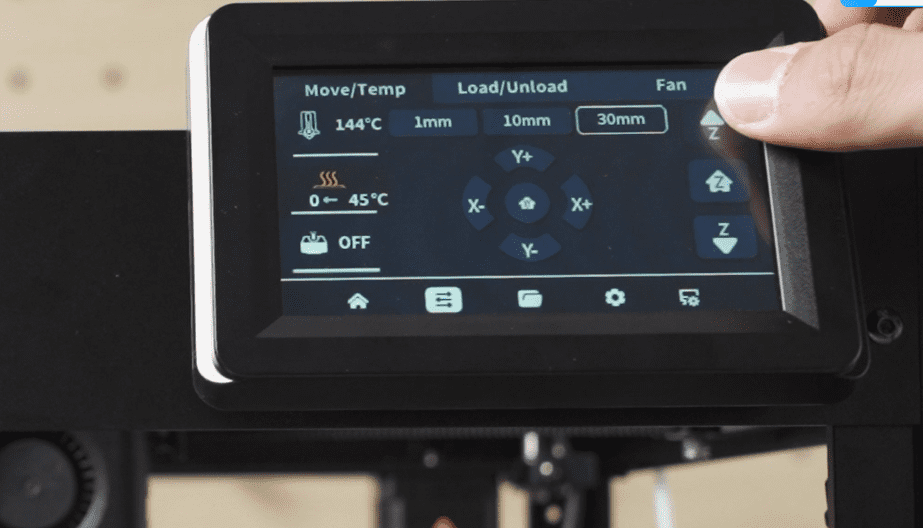
2:Lower the platform on the screen operation to lower the platform
|
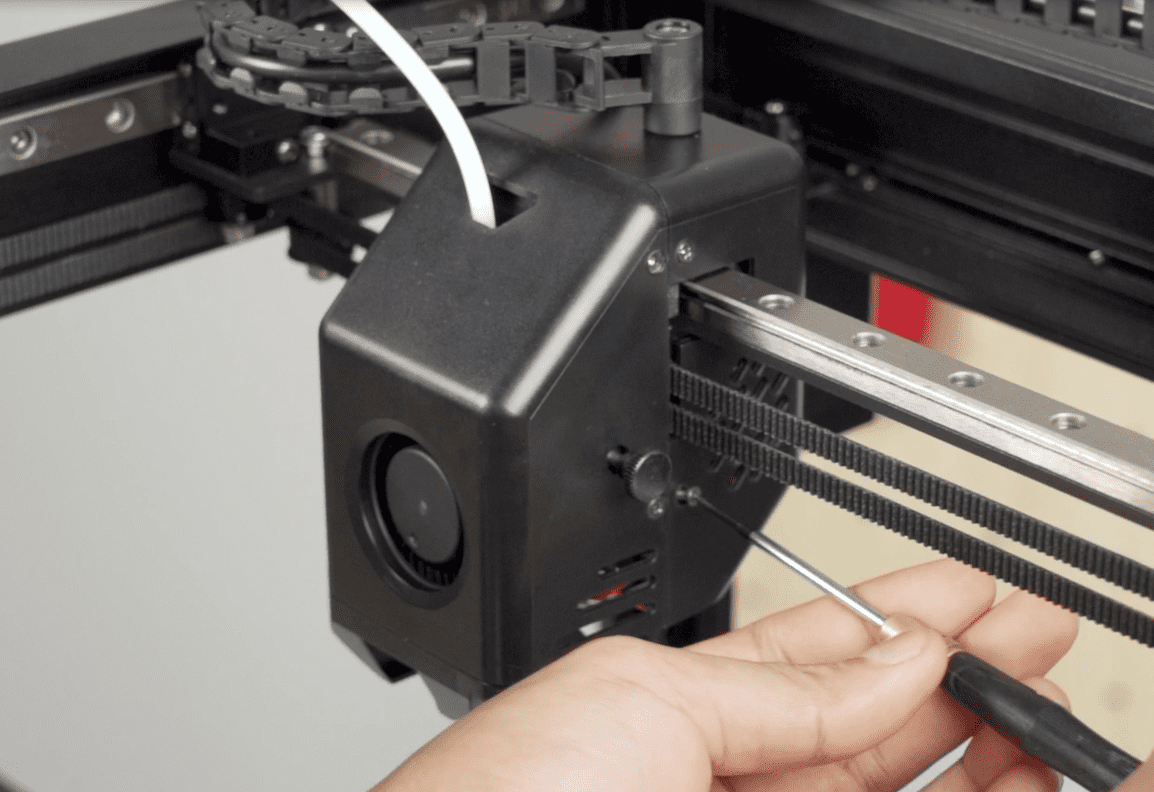
3:Remove the print head front cover after the nozzle is completely cooled。
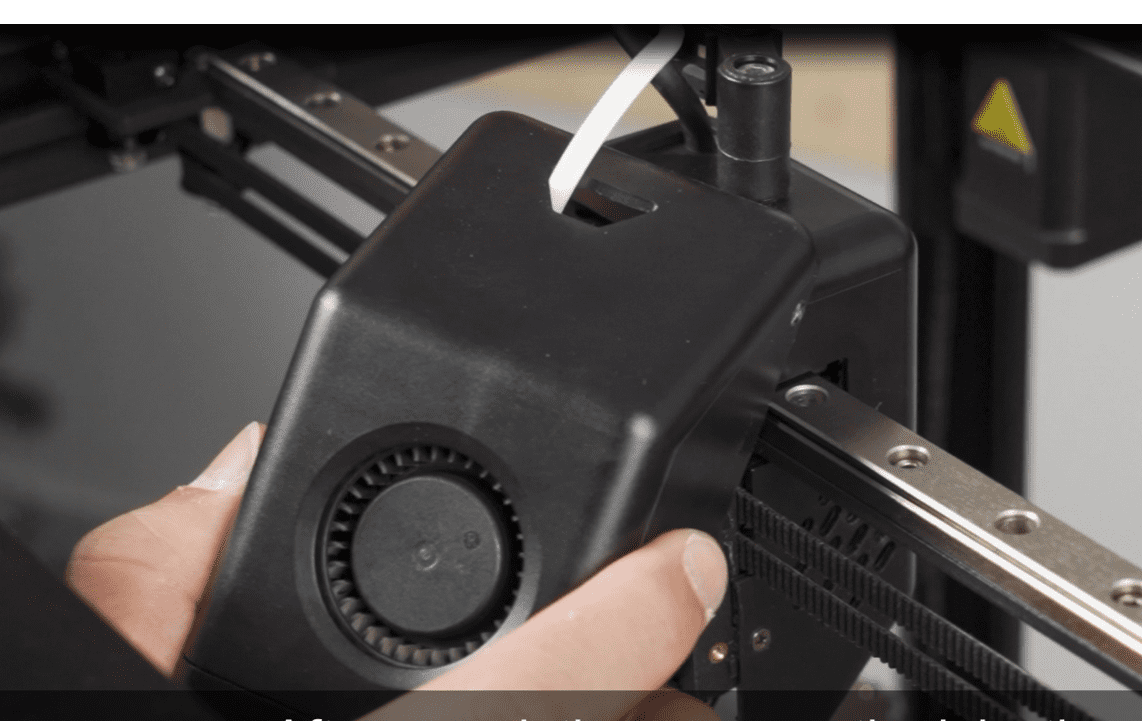
|
4:Remove the warm cover and the hot end fixing screws, and remove the hot end
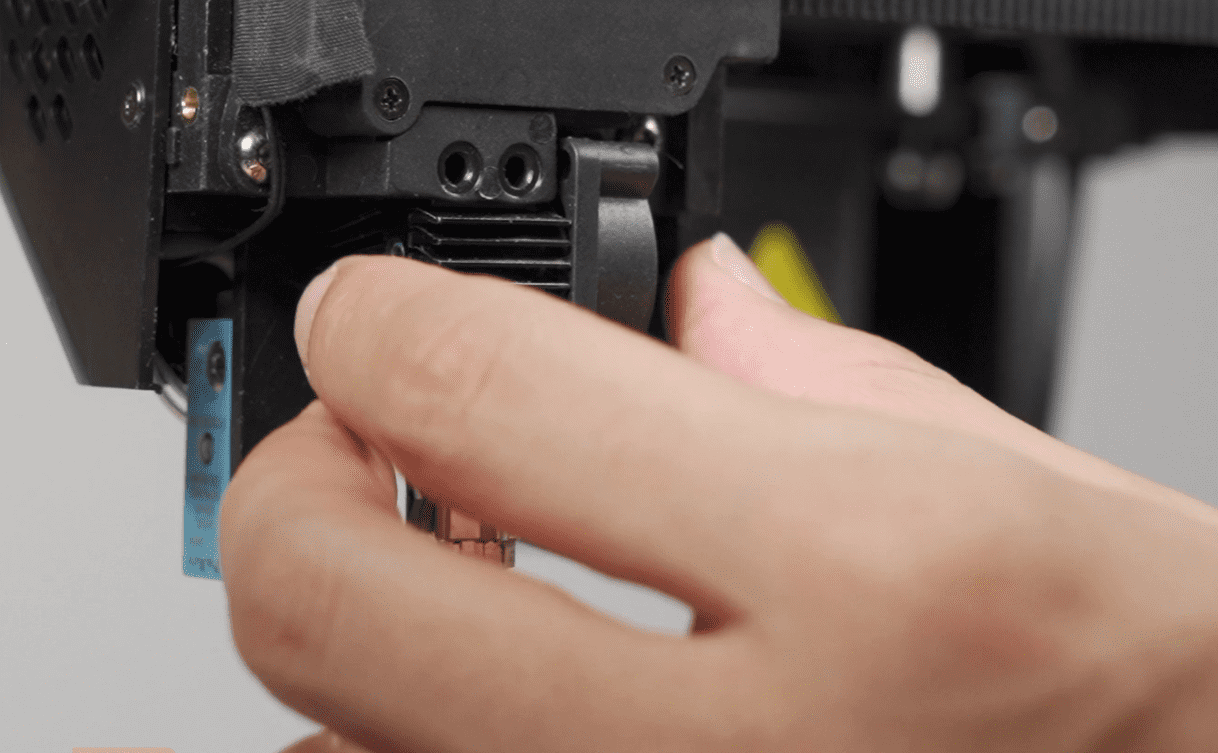
|
5:Remove nozzle using wrench and socket
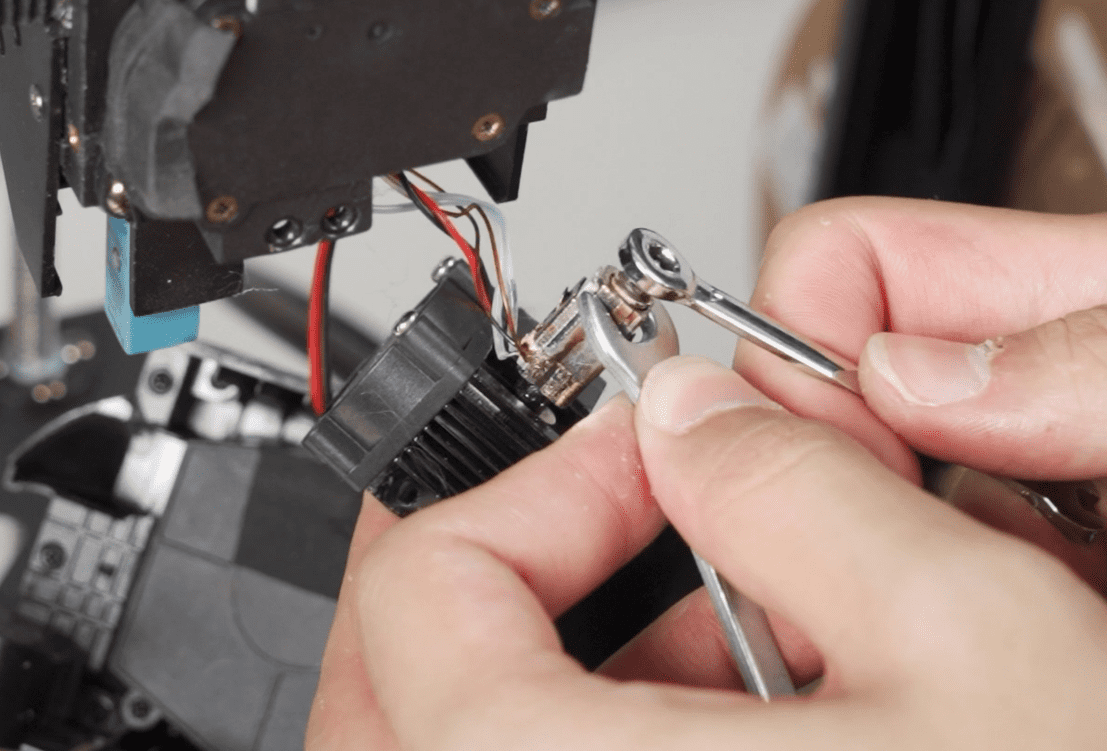
|
6:After replacing the new nozzle and fixing the hot end, fix the front cover of the print head
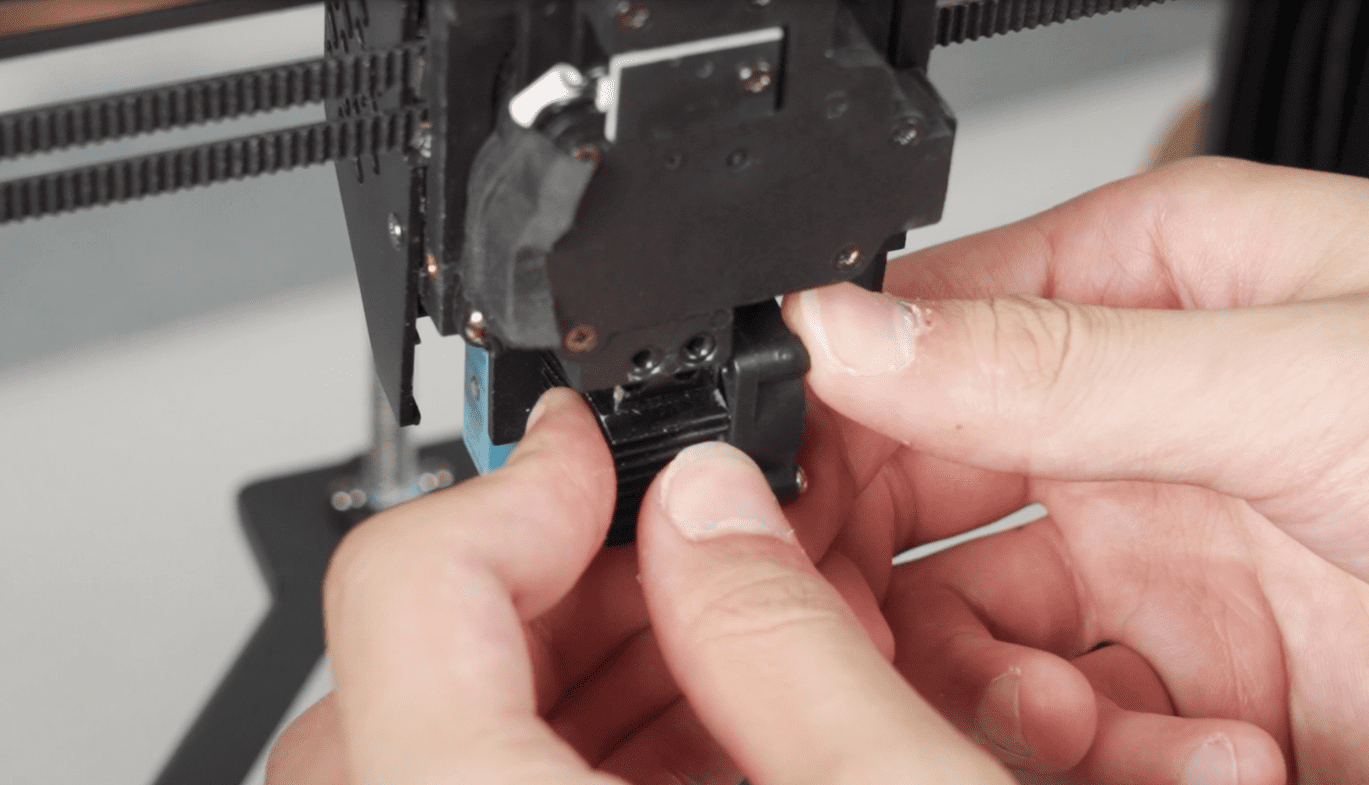
|
7:Re-insert consumables to start feeding
|
Safety precautions:
When replacing the nozzle, pay special attention to the temperature of the nozzle may still be very high during the discharge and heating process, and be careful to avoid burns。
¶ SK1 Replace the hot end
3D printer hot end component replacement process
1:Before replacing the hot end, be sure to return the consumables to ensure that there is no residual material in the extruder

|
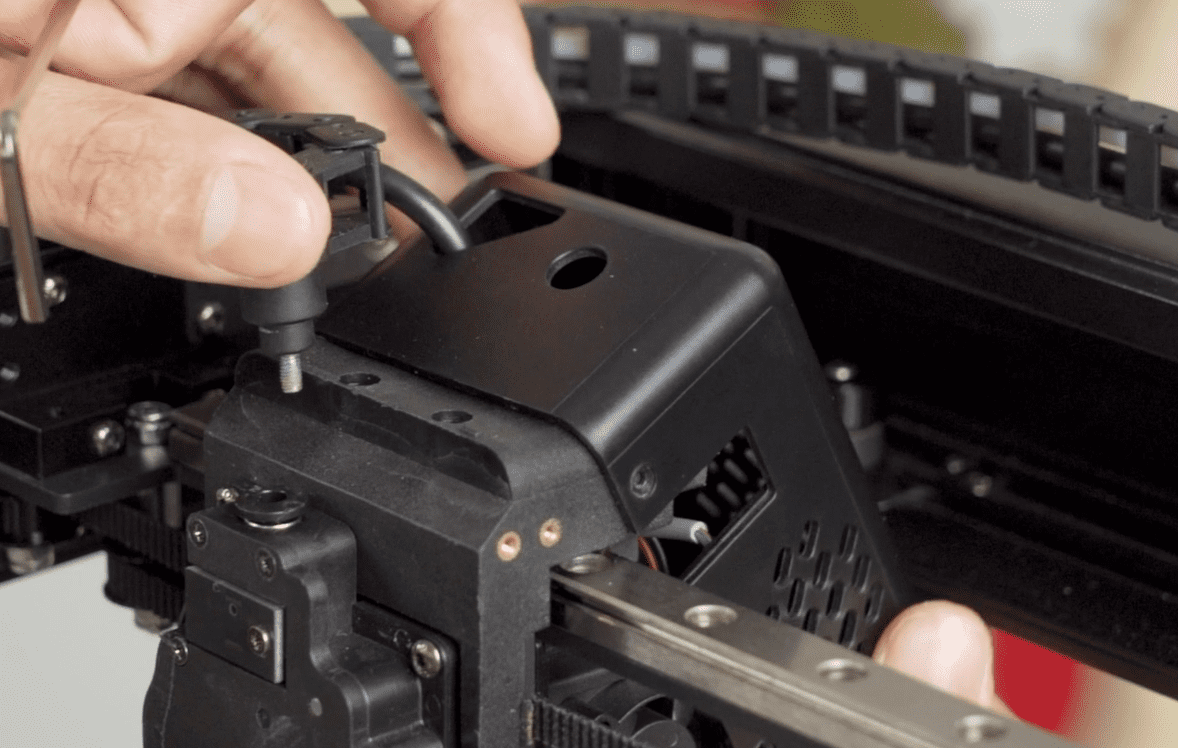
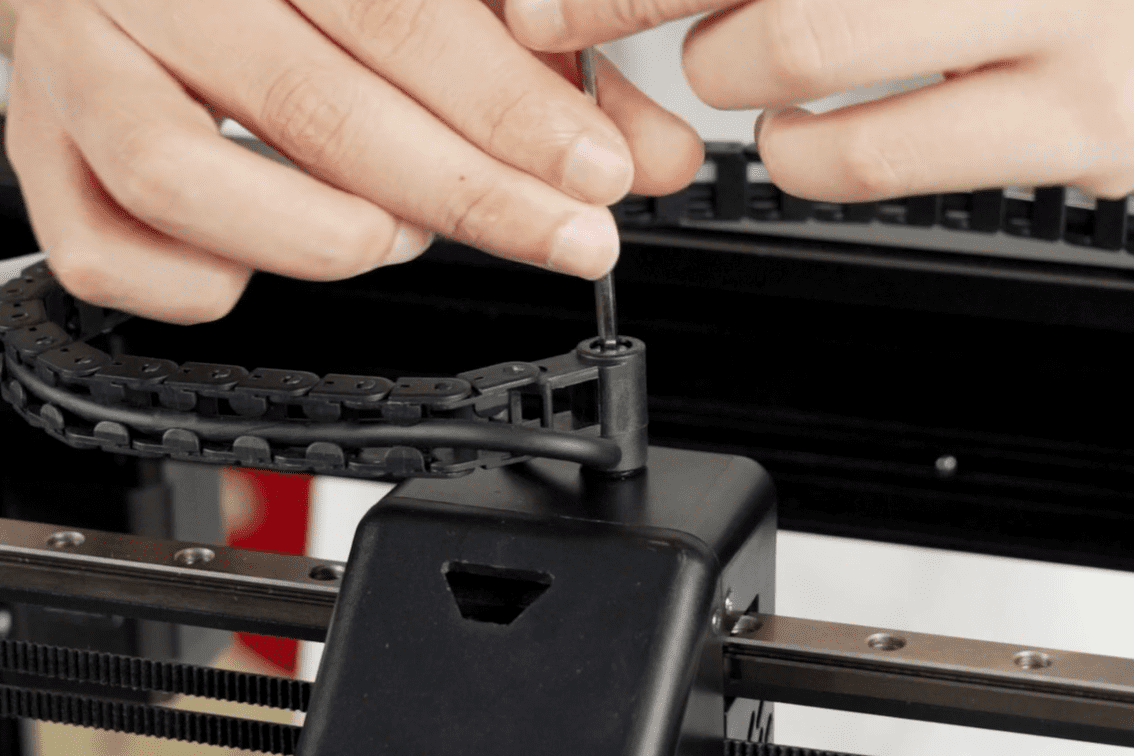
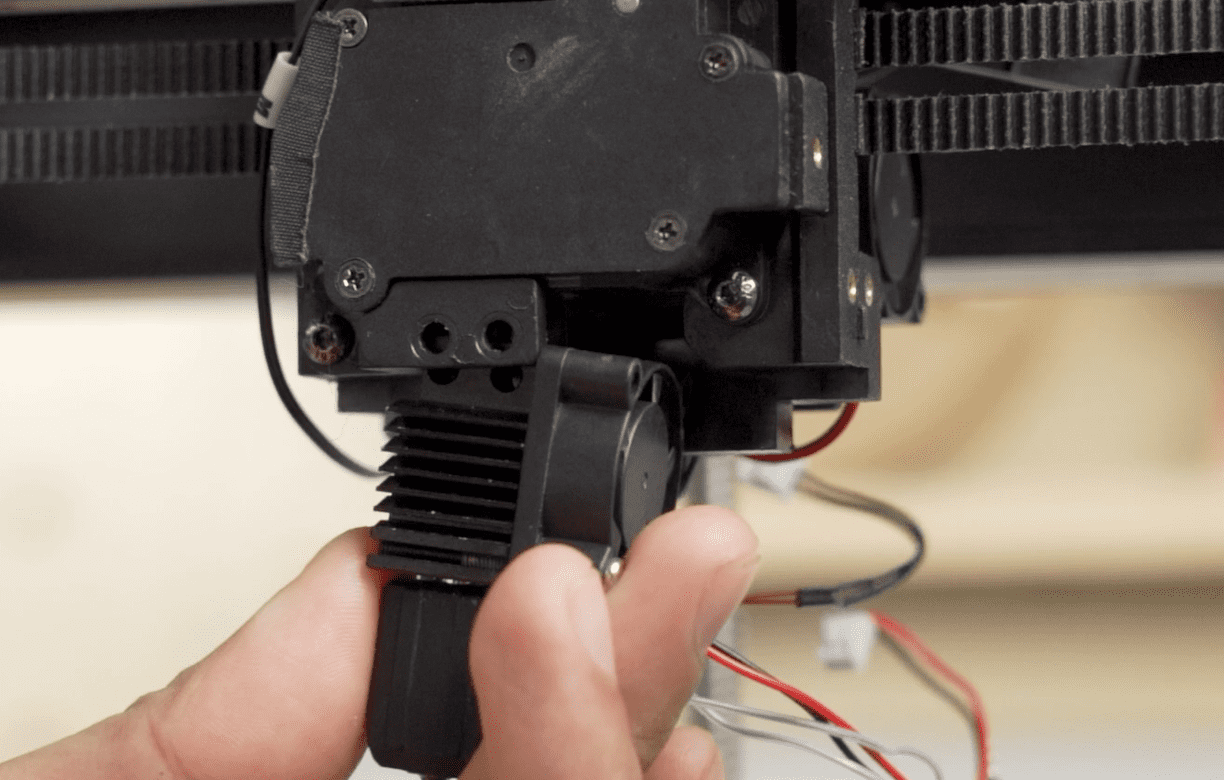
2:Use the tool to unscrew the drag link, then carefully remove the back cover and front cover of the printer
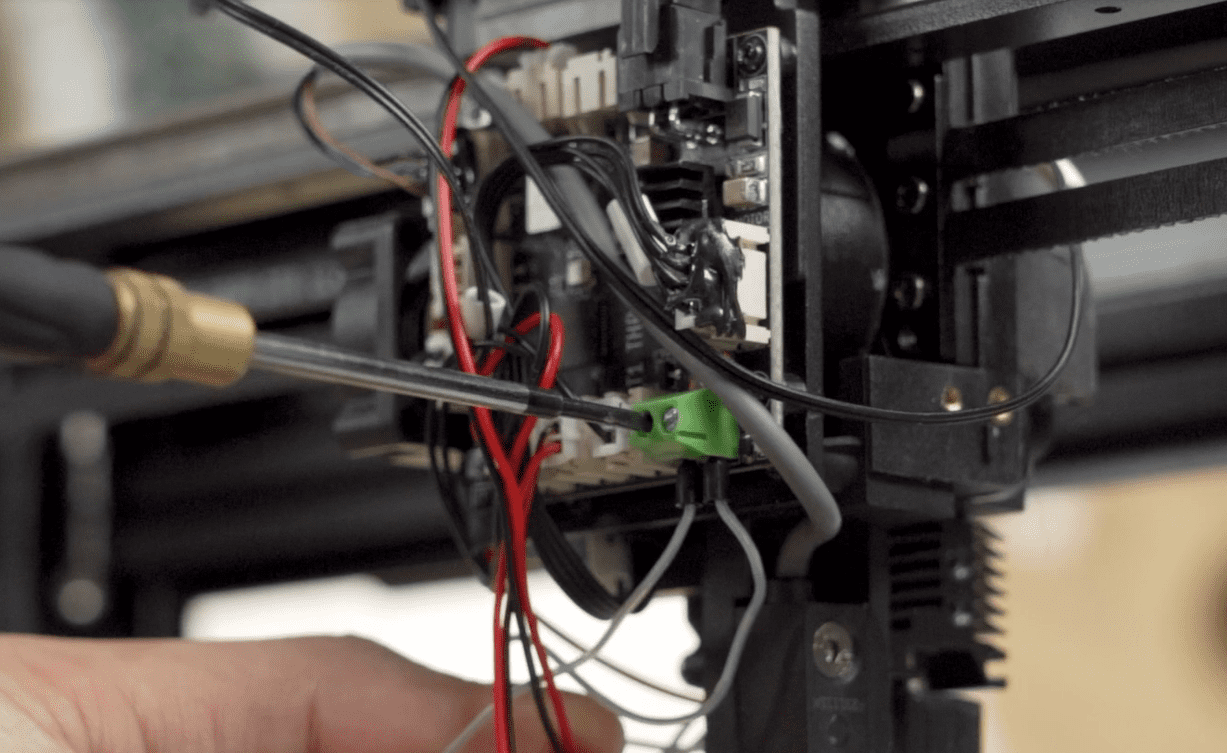
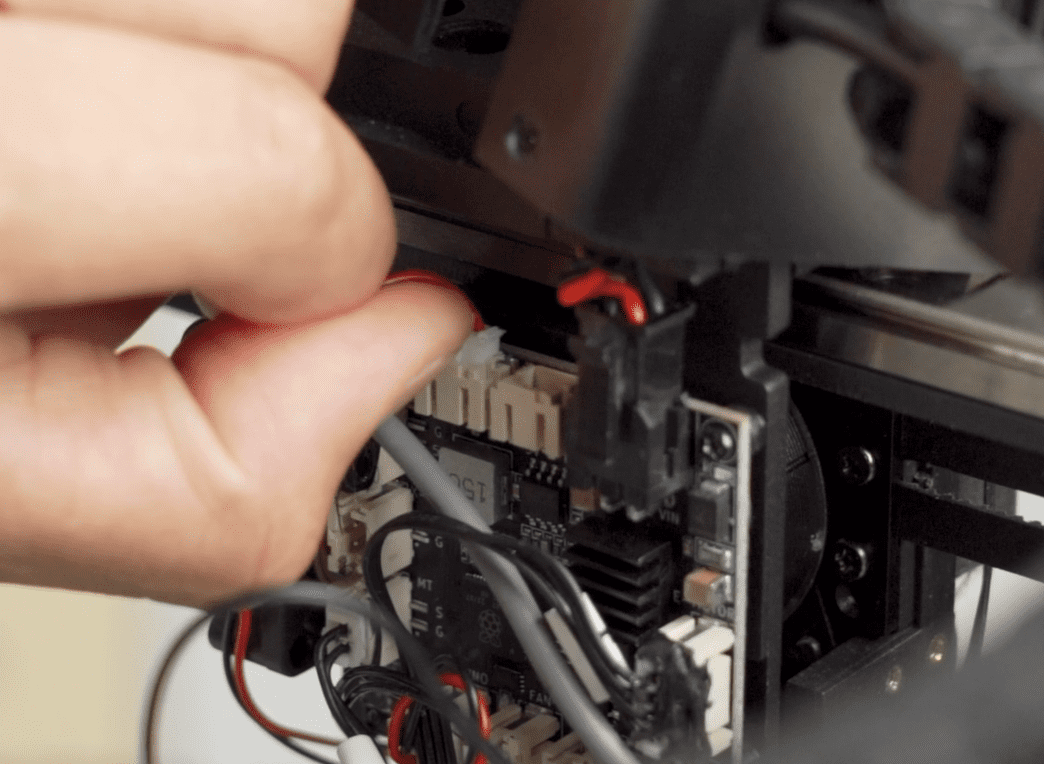
3:Carefully remove the cables connecting the heating plate, thermistor, and cooling fan from the adapter plate
4:Unscrew the screws fixing the hot end, remove the entire hot end assembly, install the new hot end, correctly connect the heating plate, thermistor, and cooling fan, and install the shell。
|
Safety precautions:
- Pay attention to safety throughout the replacement process, especially when removing and installing hot end components to prevent burns or damage to printer parts。
- Replace the hot end video
¶ SK1 Adjust belt tightness
3D printer belt tension adjustment method
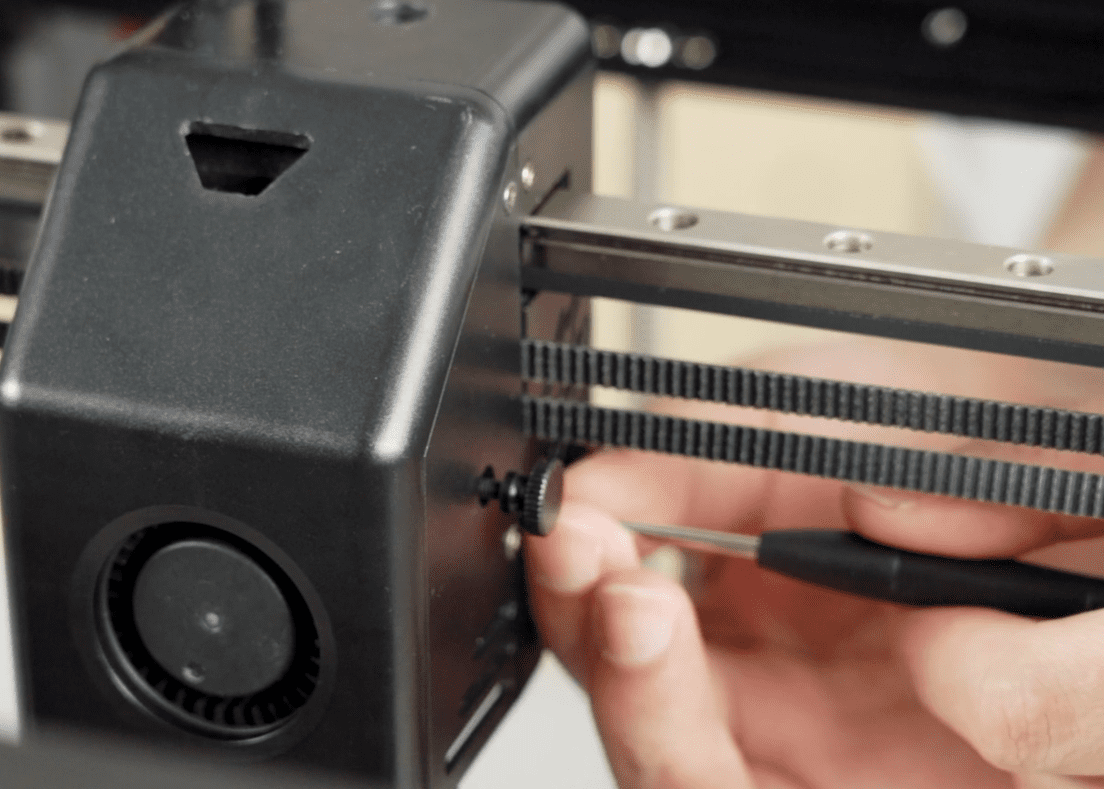
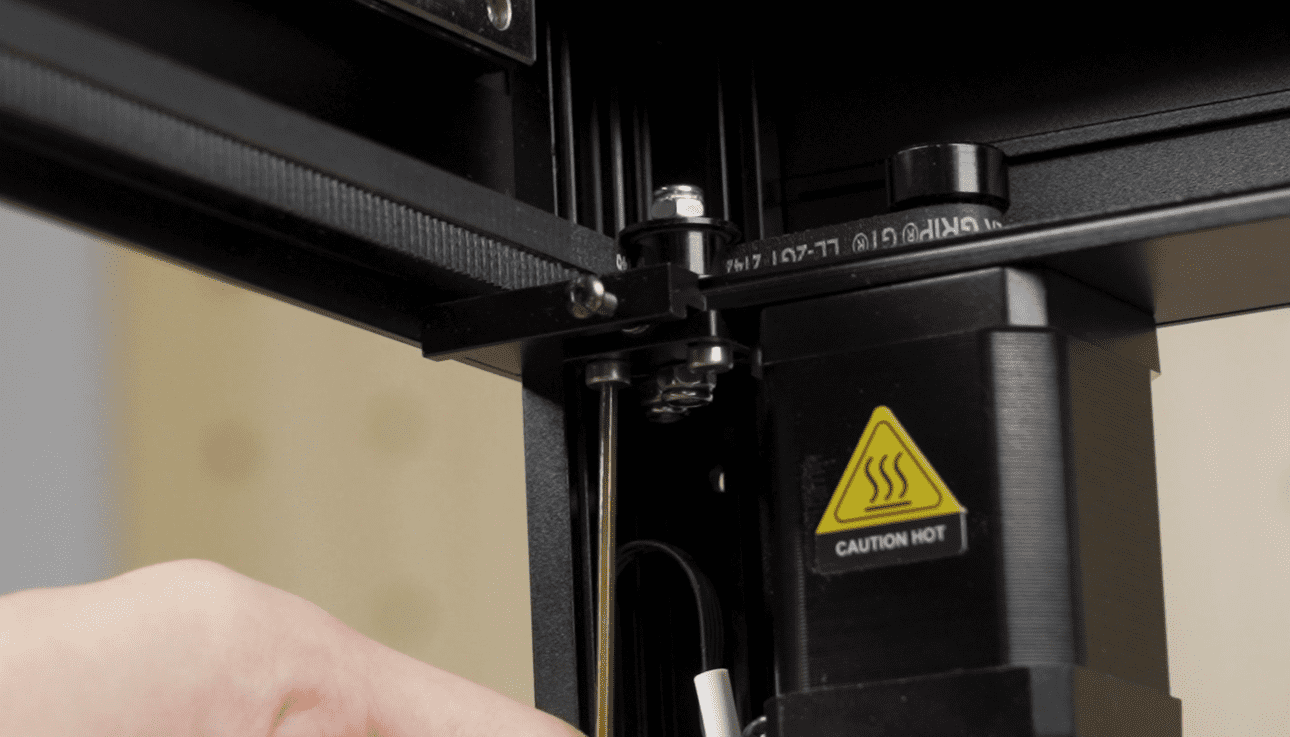
1:Locate the adjusting screw on the printer belt tensioner and loosen the screw under the tensioner so that you can freely adjust the tightness of the belt and manually adjust the belt until the appropriate tension is reached。
|
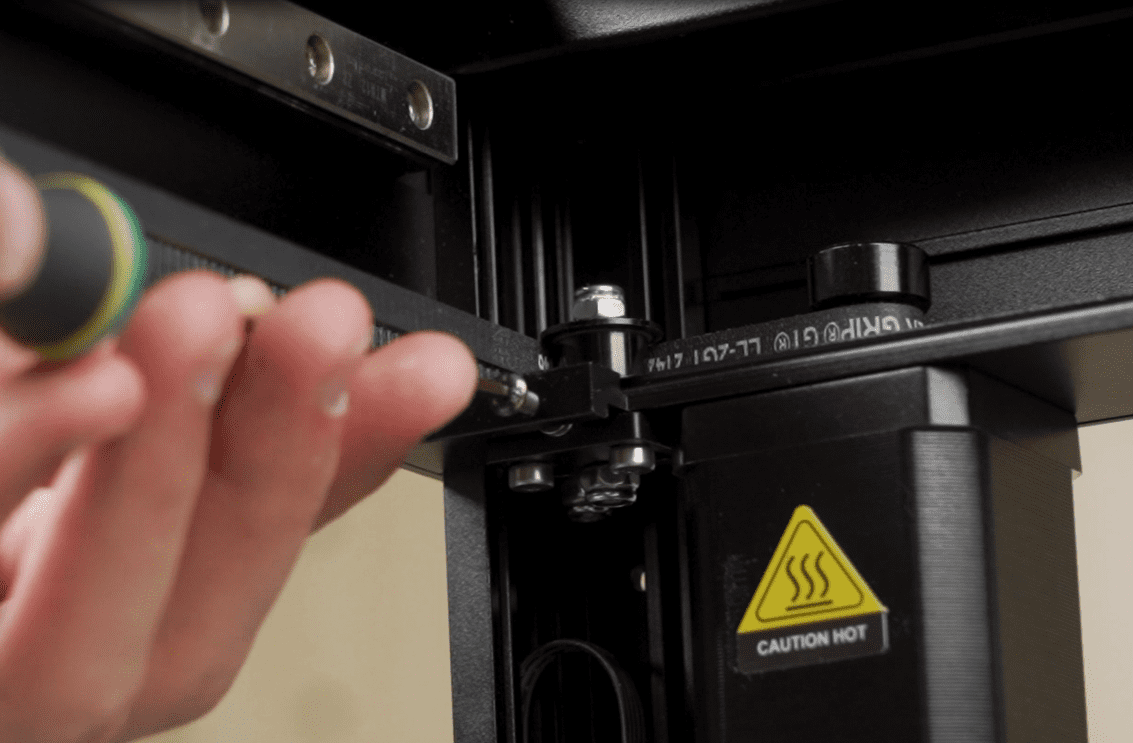
2:After confirming that the belt tension meets the requirements, re-tighten the screw of the tensioner to fix the belt tension
|
Matters needing attention:
- During the adjustment process, please ensure that the belt is not too tight or too loose, so as not to affect the normal operation of the printer。
- When adjusting belt tension, be careful to avoid damaging the belt or other parts of the printer。
- Adjusting belt tightness video
¶ SK1 Replace the THR cable
3D printer replace THR line steps
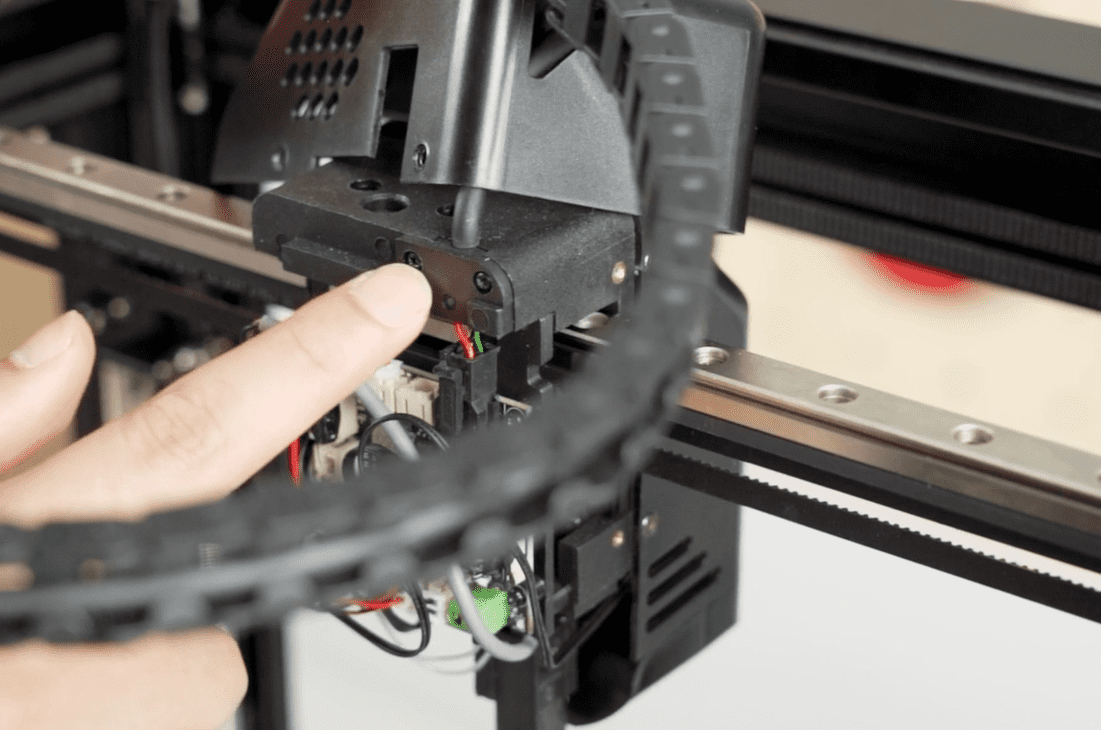
1:Open the back cover of the print head, remove the feed tube, and remove the drag chain on the print head
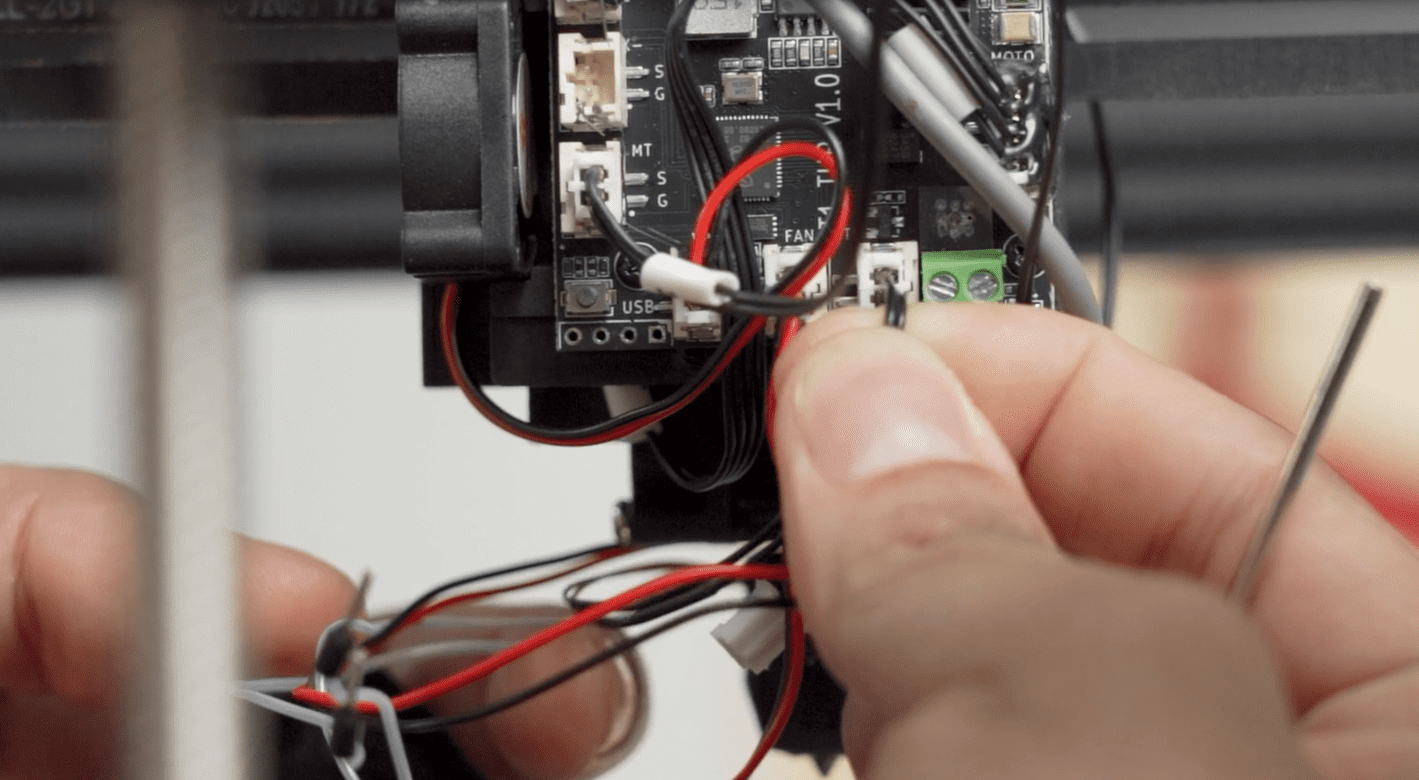
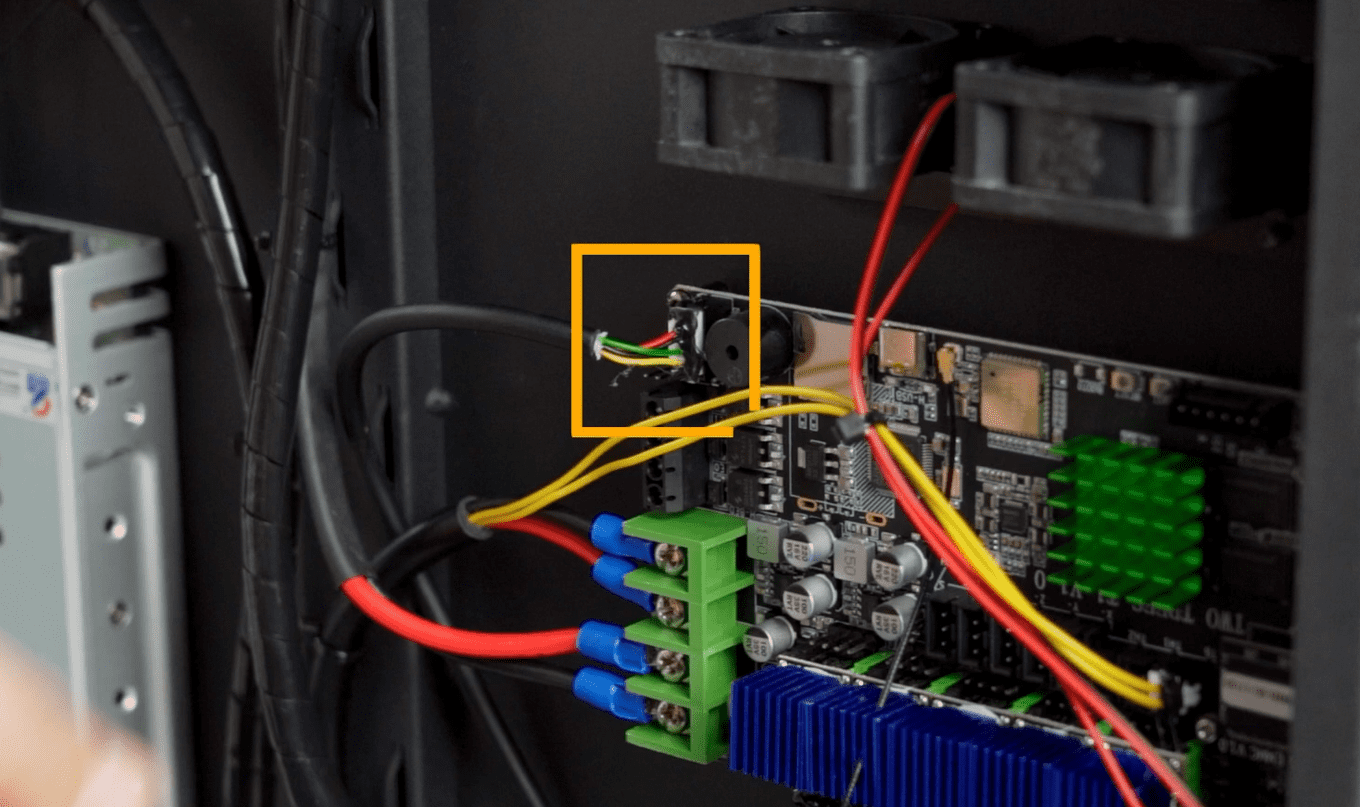
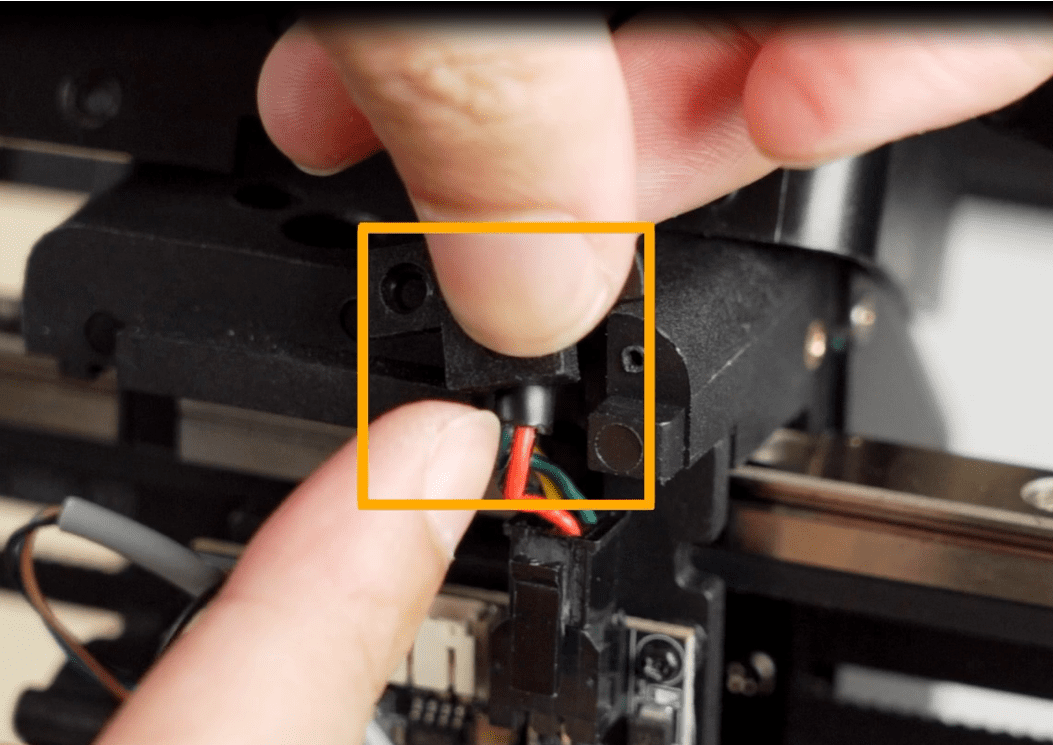
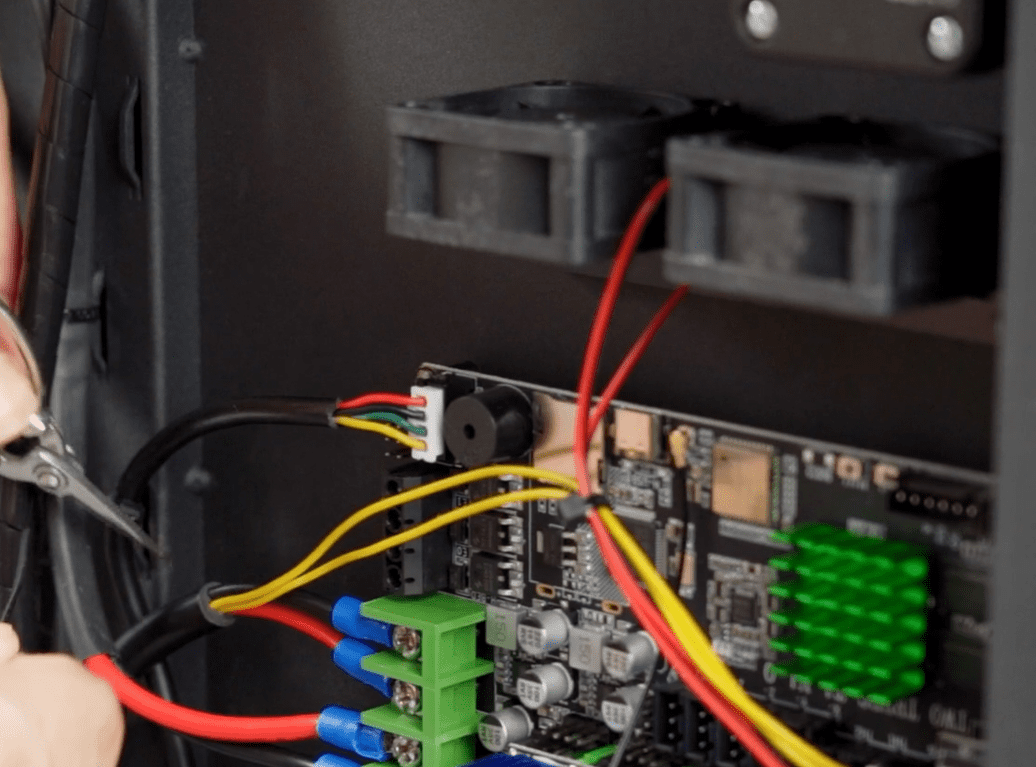
2:Open the base plate of the machine and remove the THR cable from the motherboard. Then remove the THR cable from the adapter board
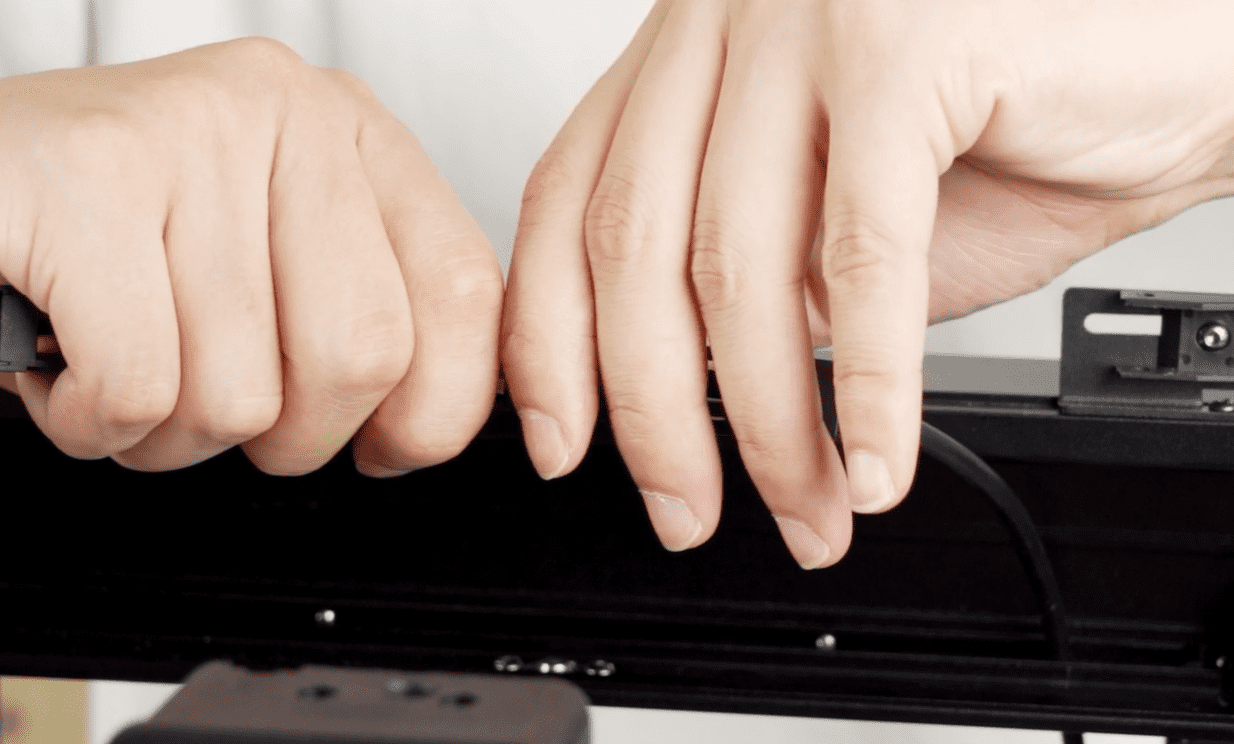
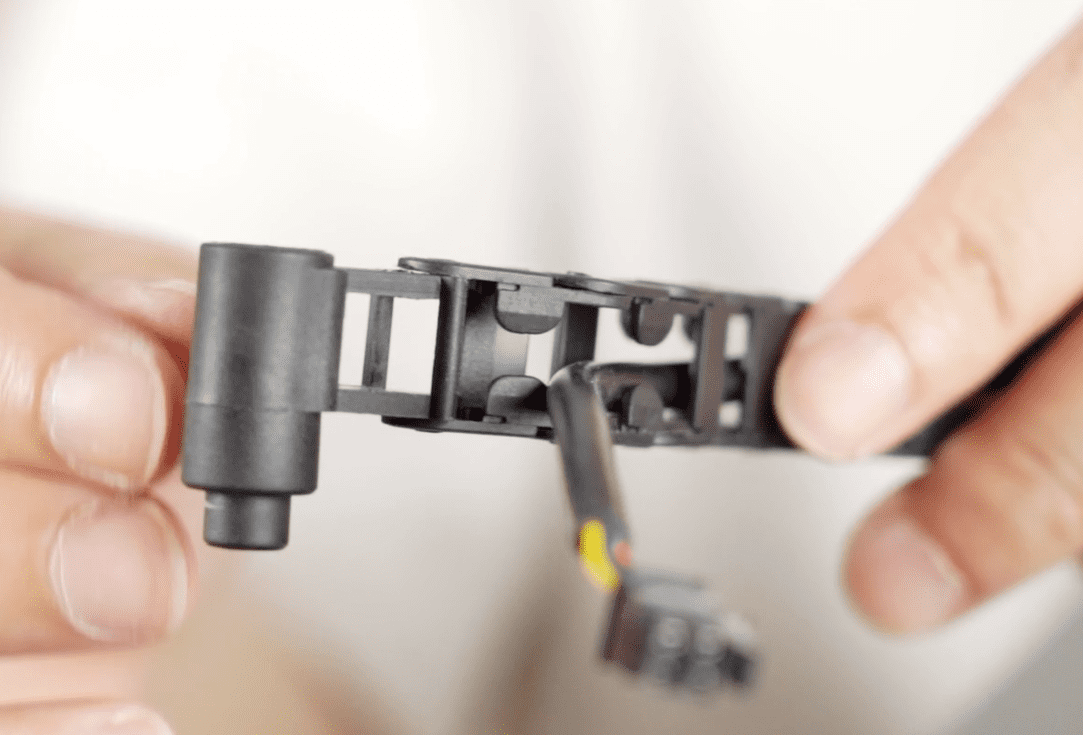
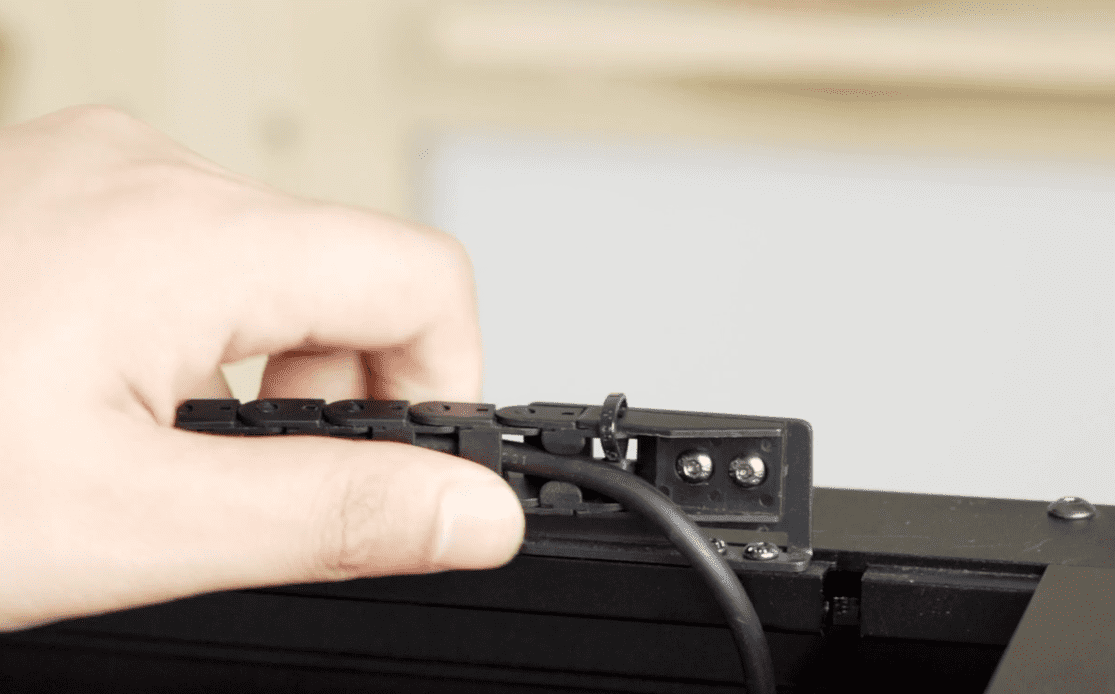
3:Remove THR wire from tow chain
|
4:Plug the new THR cable back into the motherboard
|
5:Load the new THR wire into the tow chain
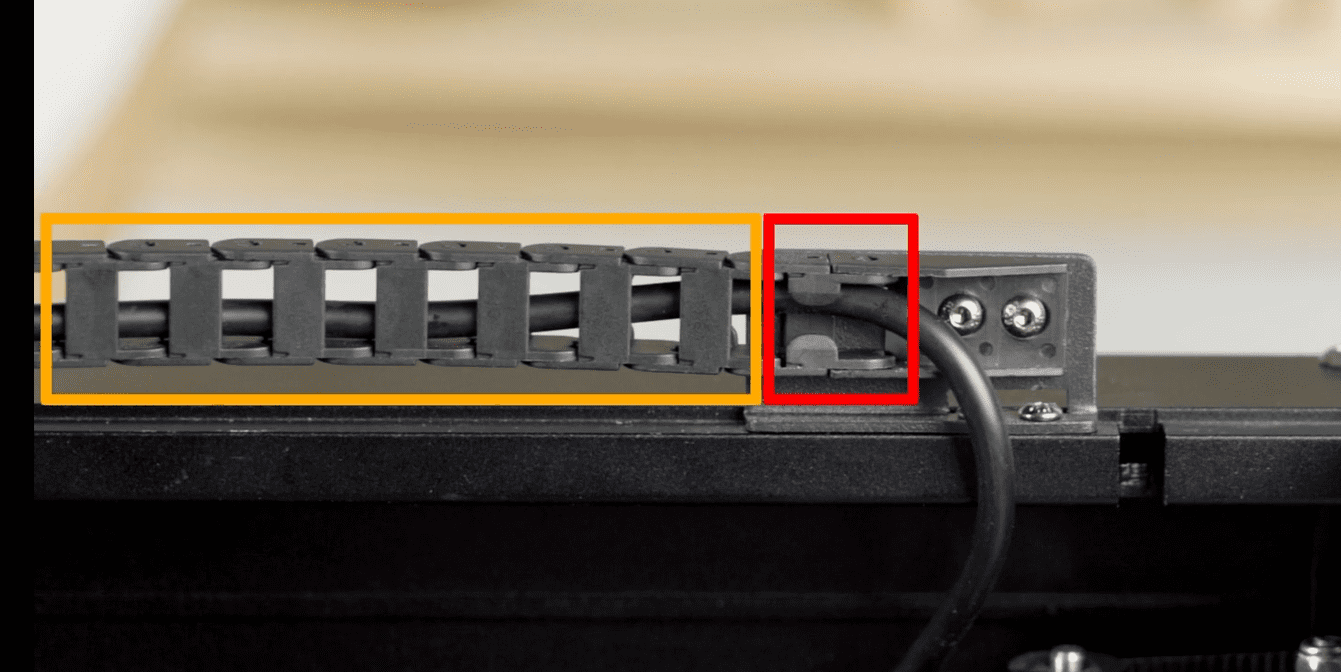
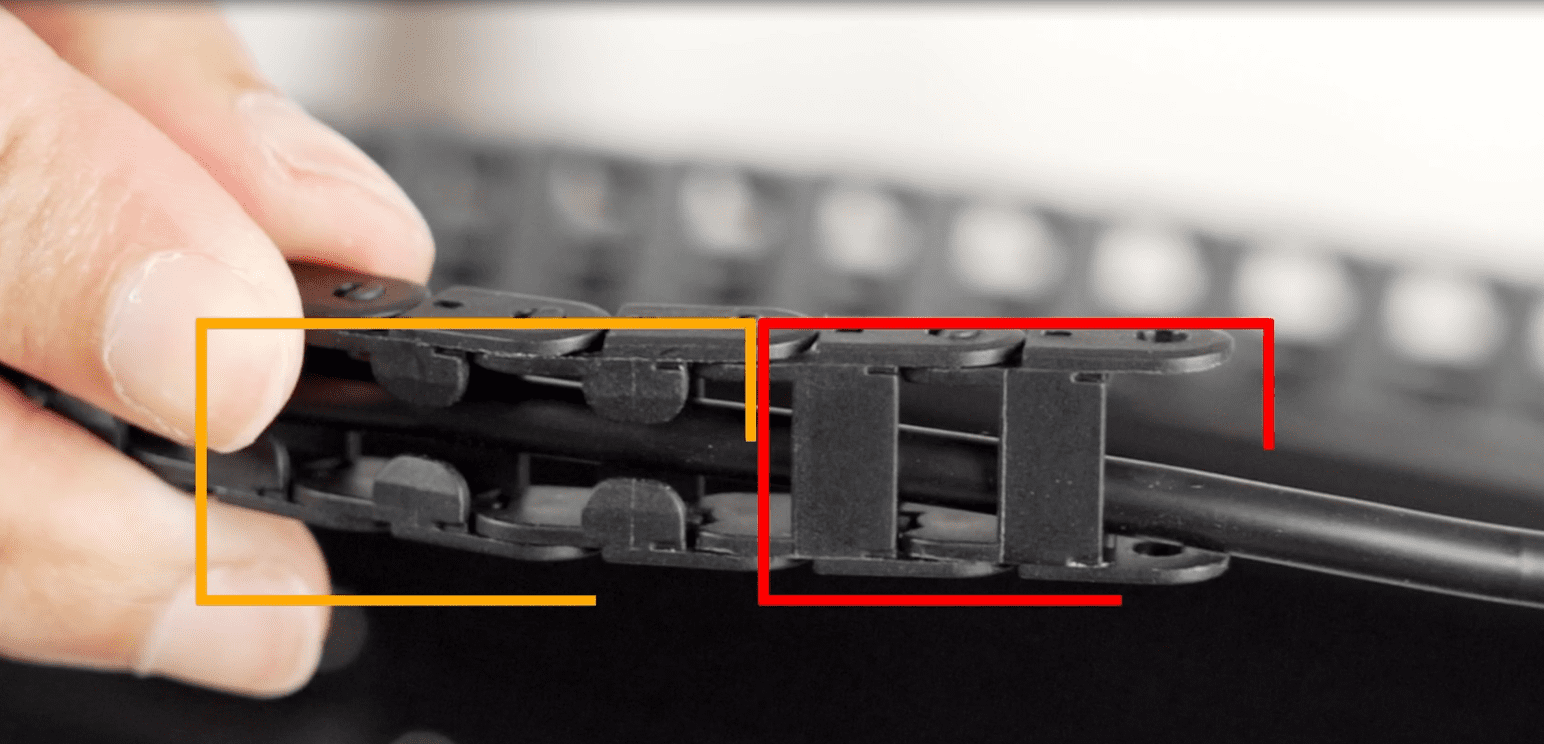
6:Leave two slots at the other end of the drag chain to thread the THR wire, insert the THR wire into the adapter plate and fix it, and reinstall the print head
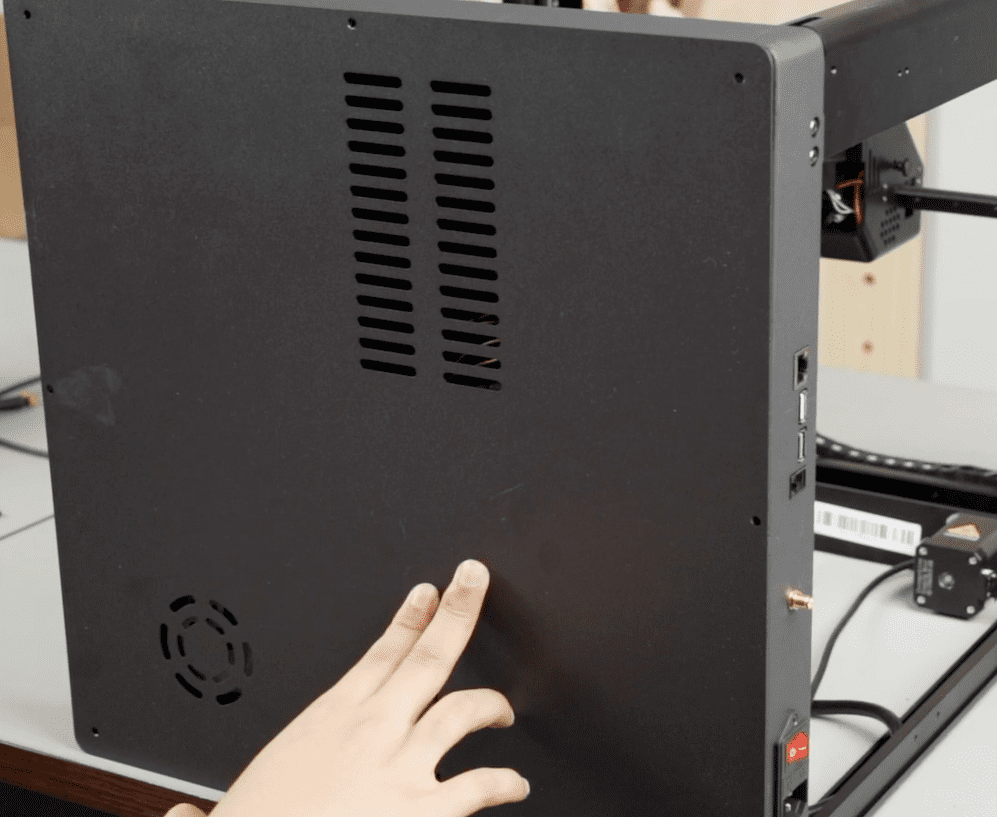
7:Reinstall the base plate of the machine
|
Matters needing attention:
- During the operation, ensure that you follow the correct steps to install the new THR cable to avoid cable damage or printer failure。
- If you are unsure of the installation steps, you are advised to follow the video tutorial or contact technical support。
- Replace THR cable video
