¶ Firmware refresh tutorial
¶ How to refresh the MCU
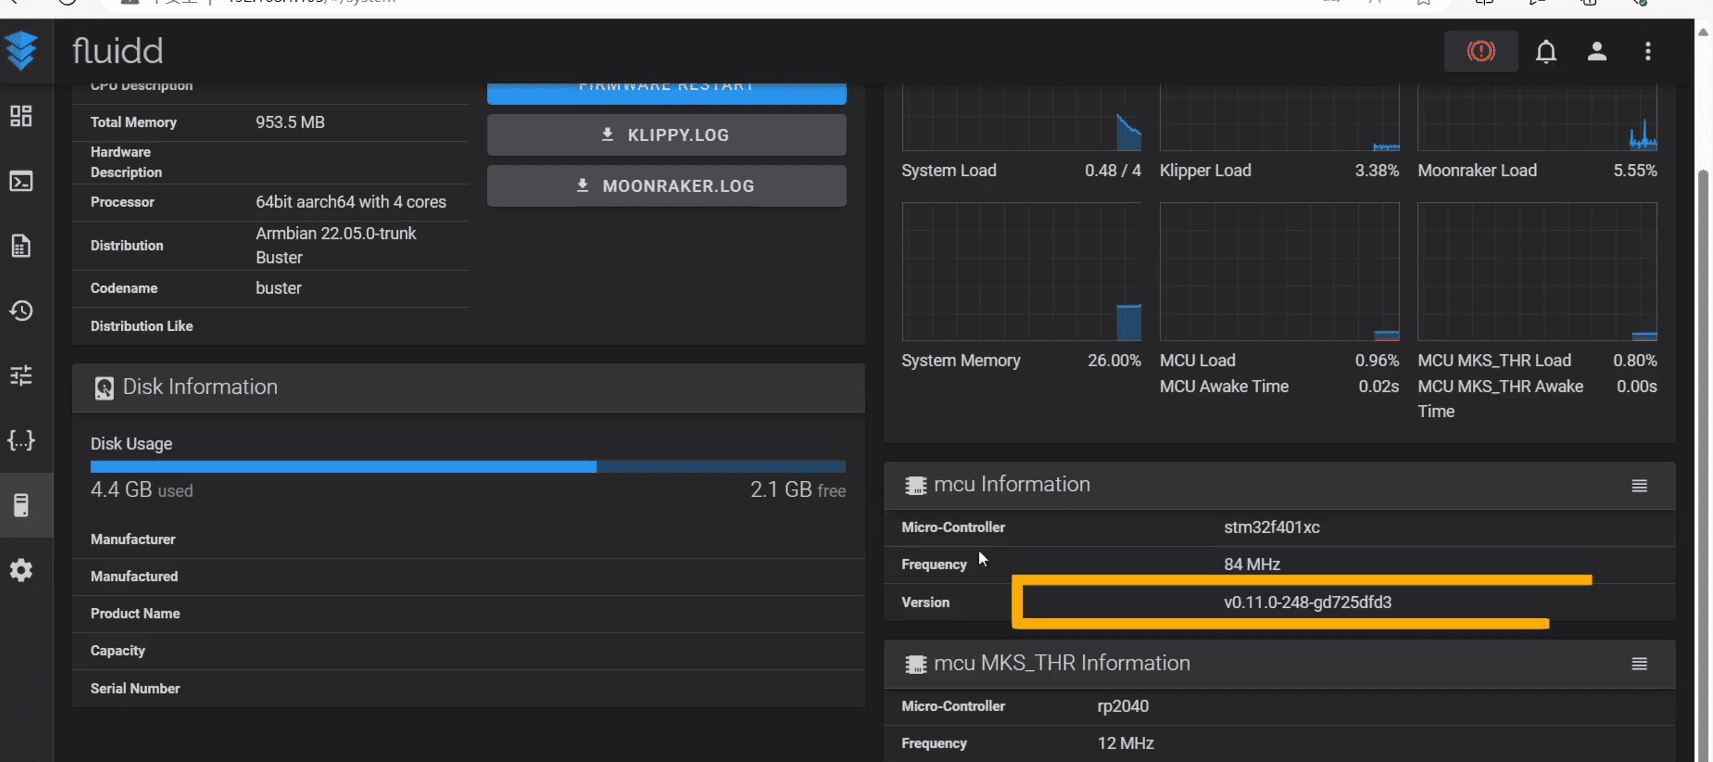
1.First connect the printer to the network and enter the same IP in the computer to enter the web page to view the MCU version
|
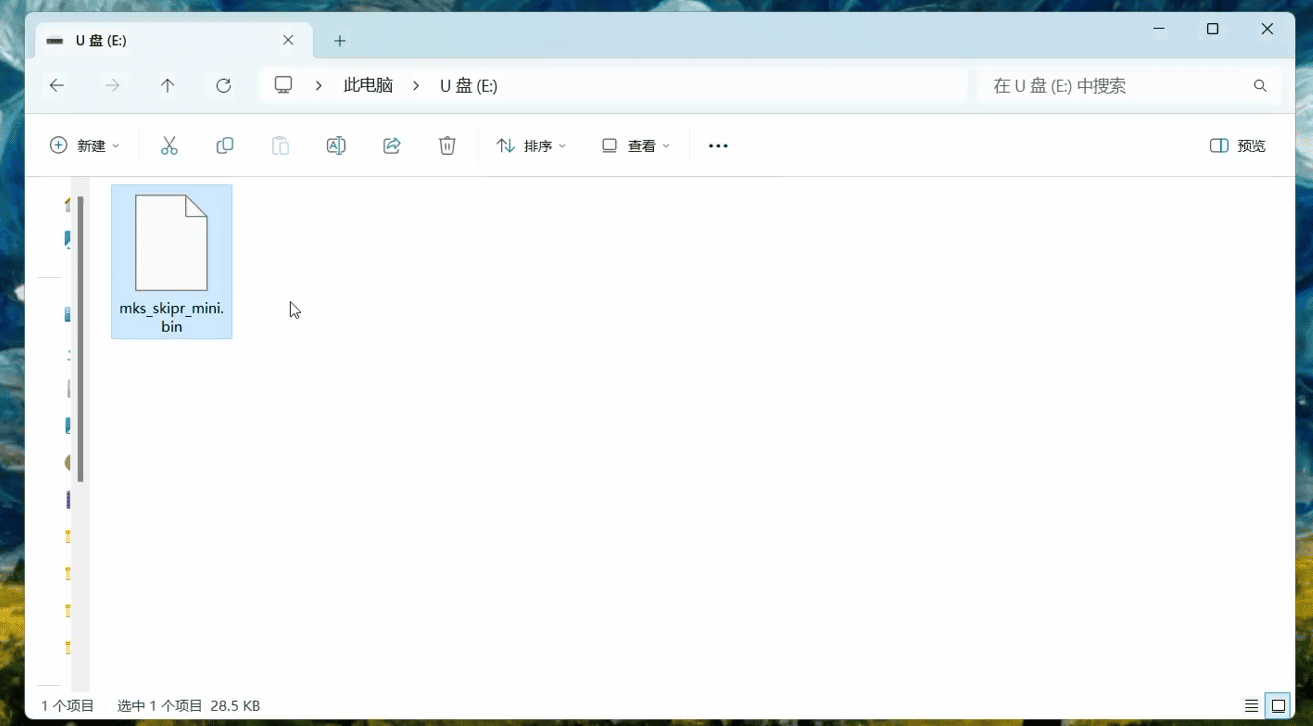
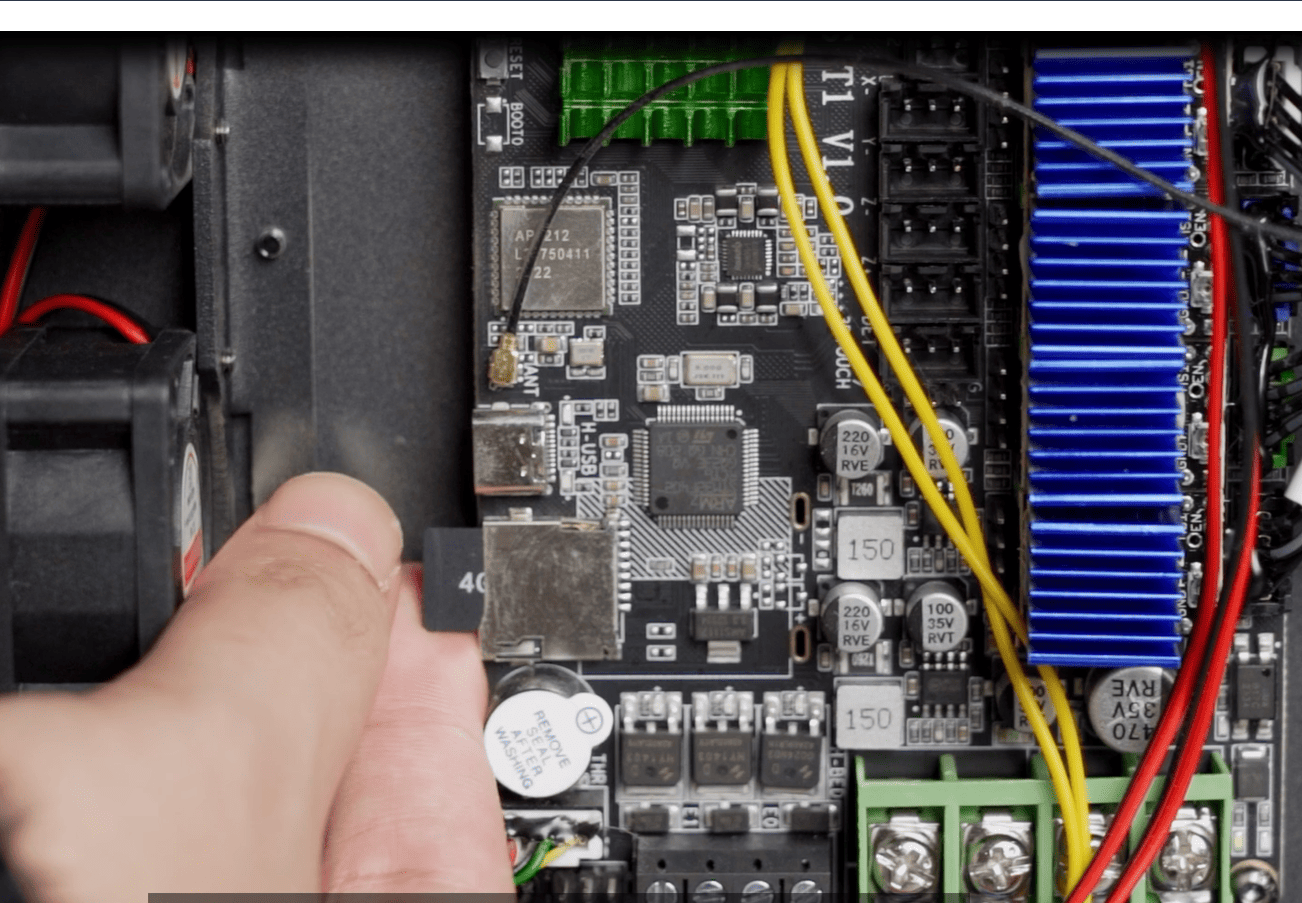
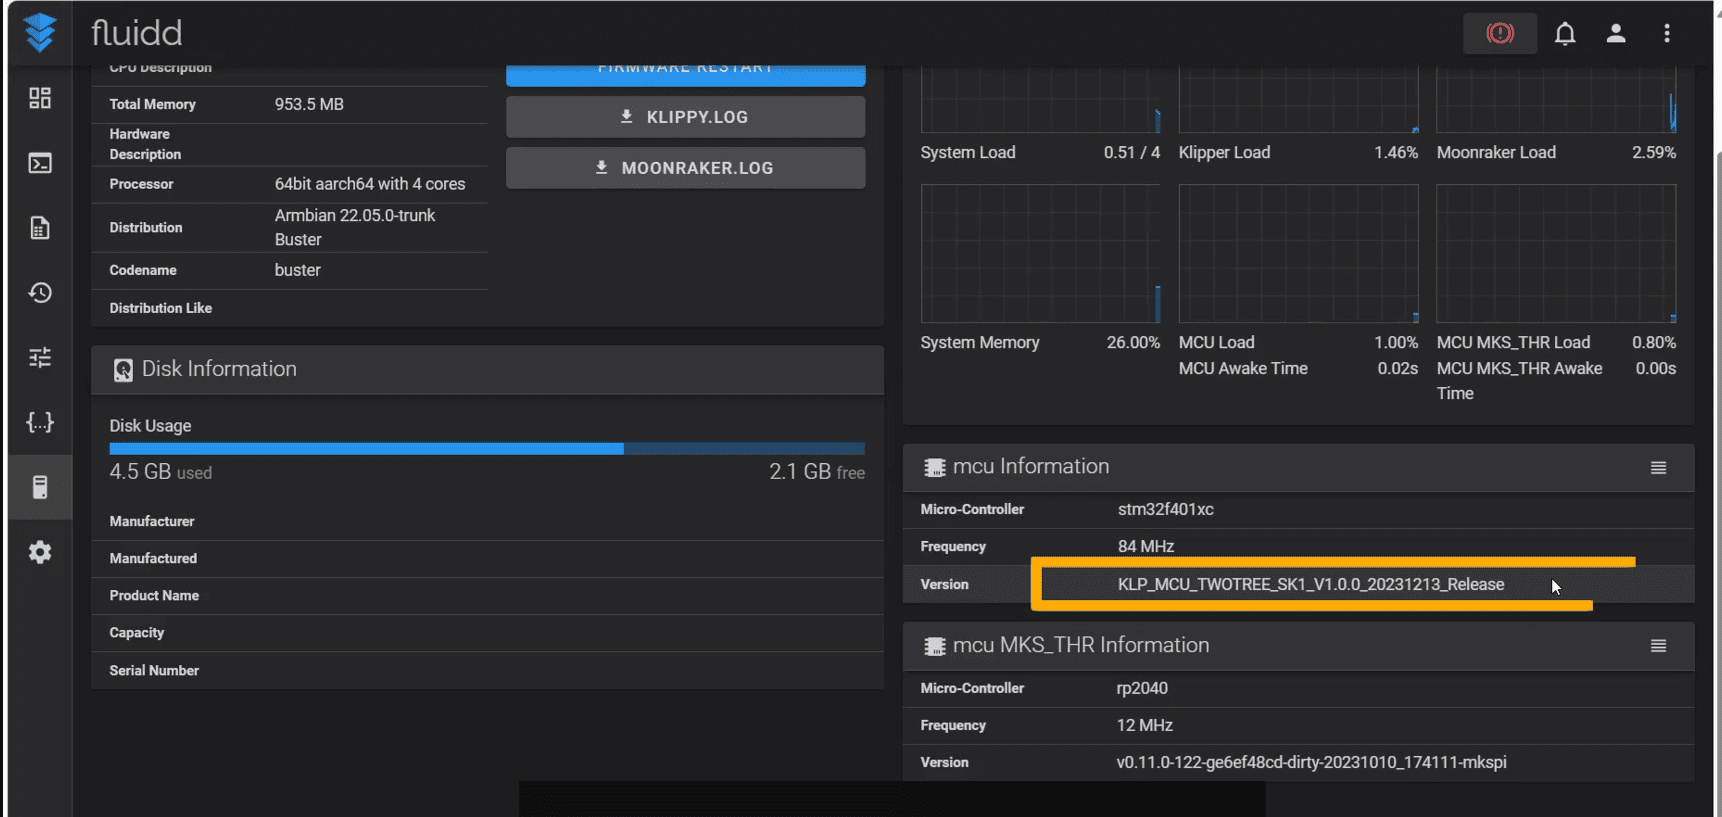
2.Import the MCU configuration file into the TF card, then disassemble the machine base plate, insert the TF card into the card slot and restart the machine again
3.Import the MCU configuration file into the TF card, then disassemble the machine base plate, insert the TF card into the card slot and restart the machine again
|
¶ How to update the screen TFT firmware
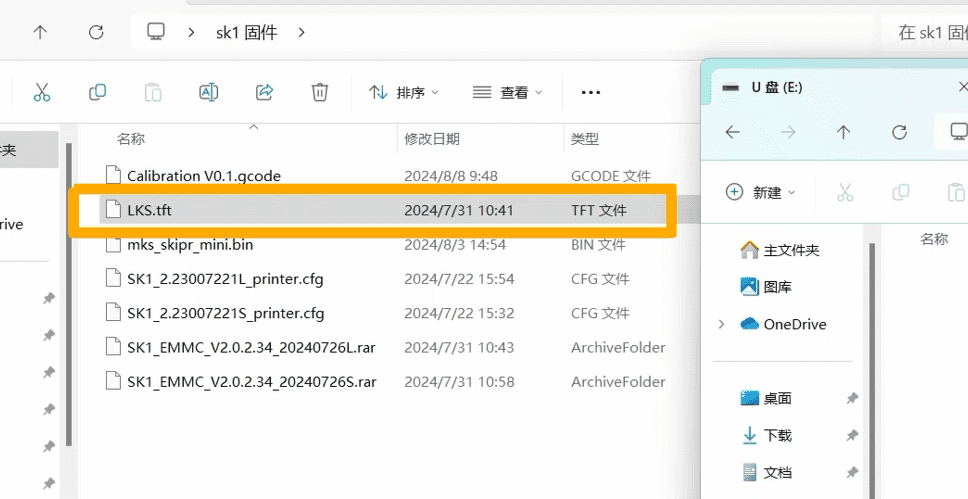
1.First import the screen TFT firmware into the TF card
|
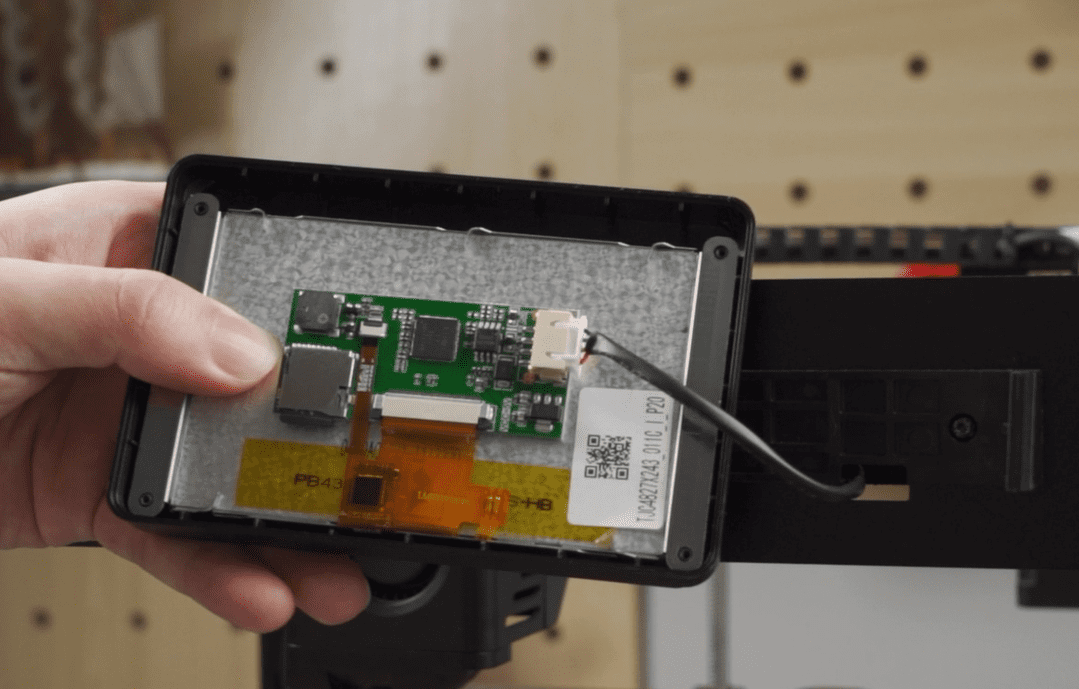
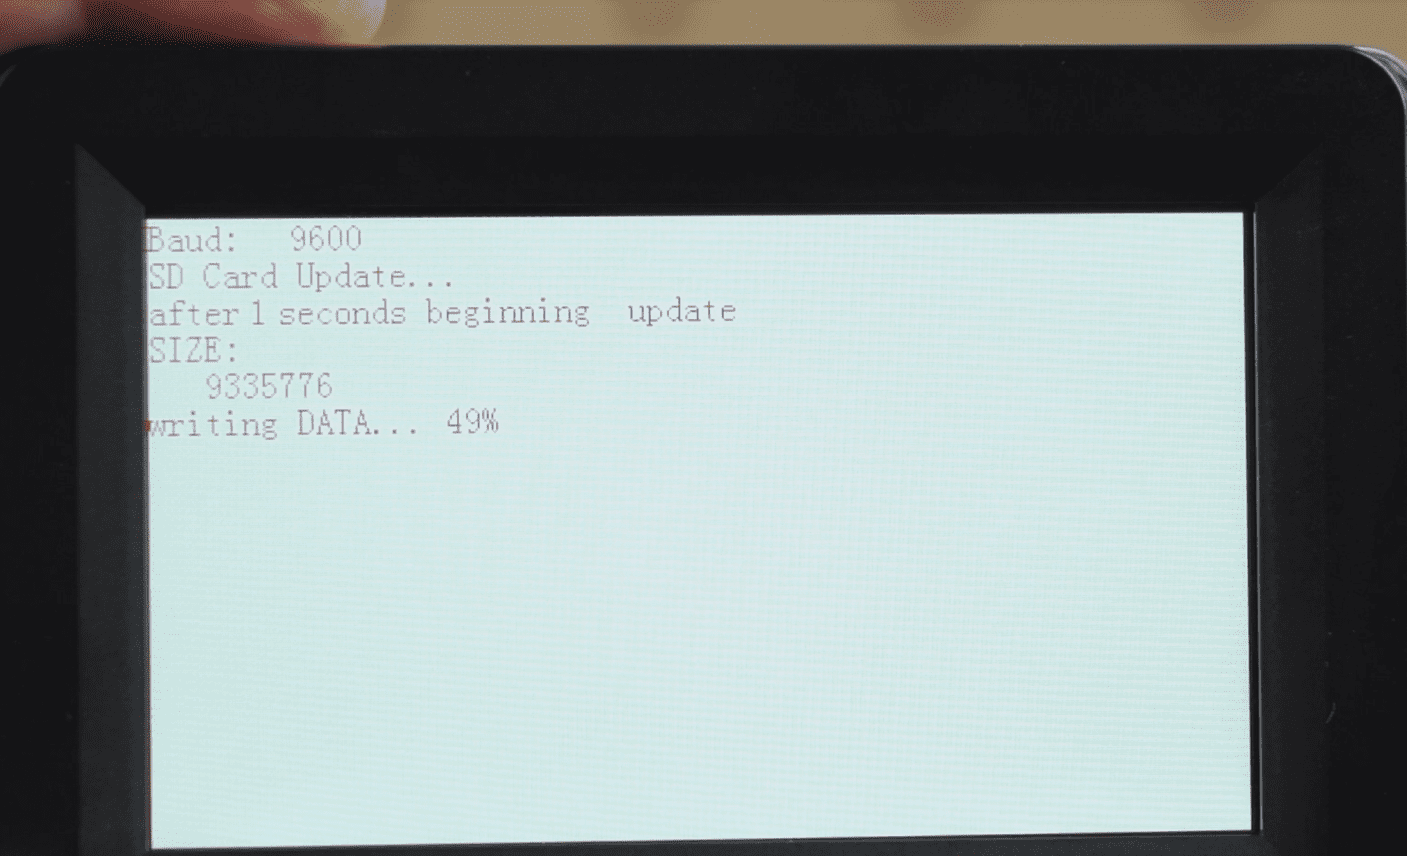
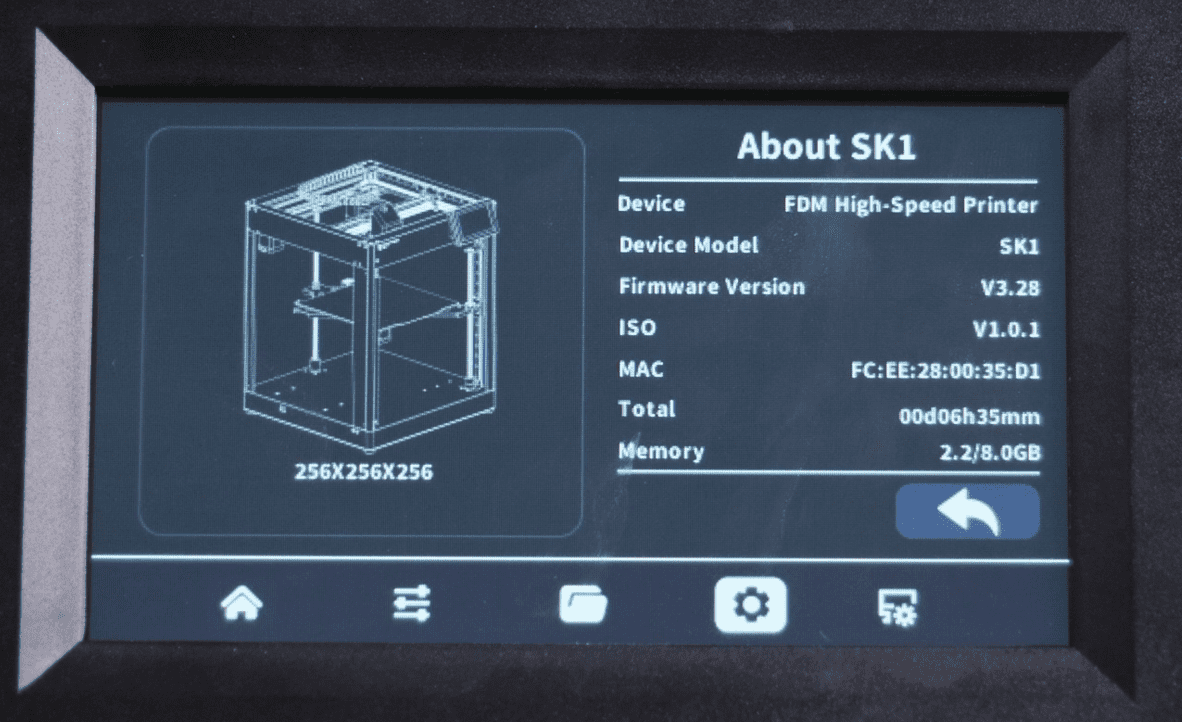
2.Remove the screen and loosen the fixing screw of the backplane, insert the TF card into the card slot, and then connect the screen cable to the power to start refreshing
|
¶ How to update the firmware to version 2.02.34 and how to connect to OBiCo?
¶ Updating Firmware to Version 2.02.34
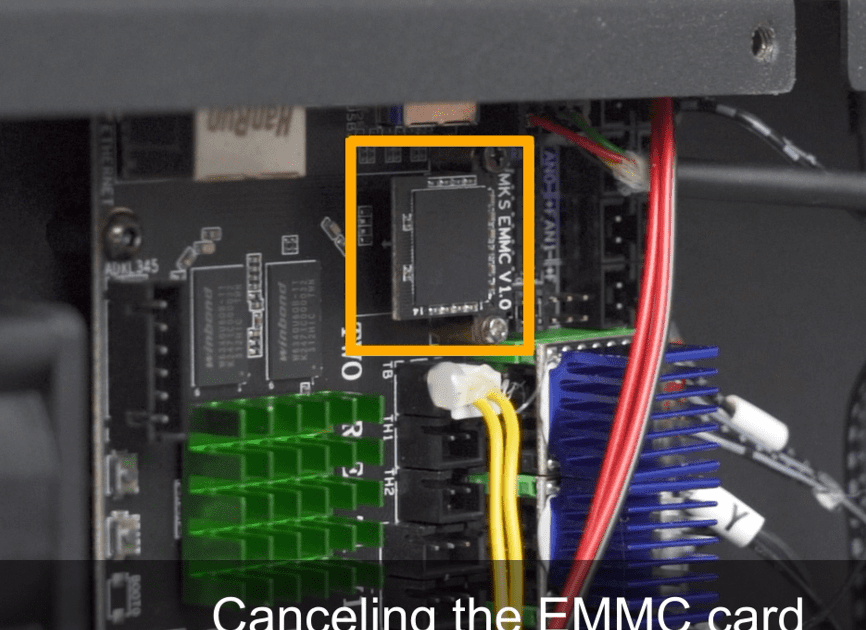
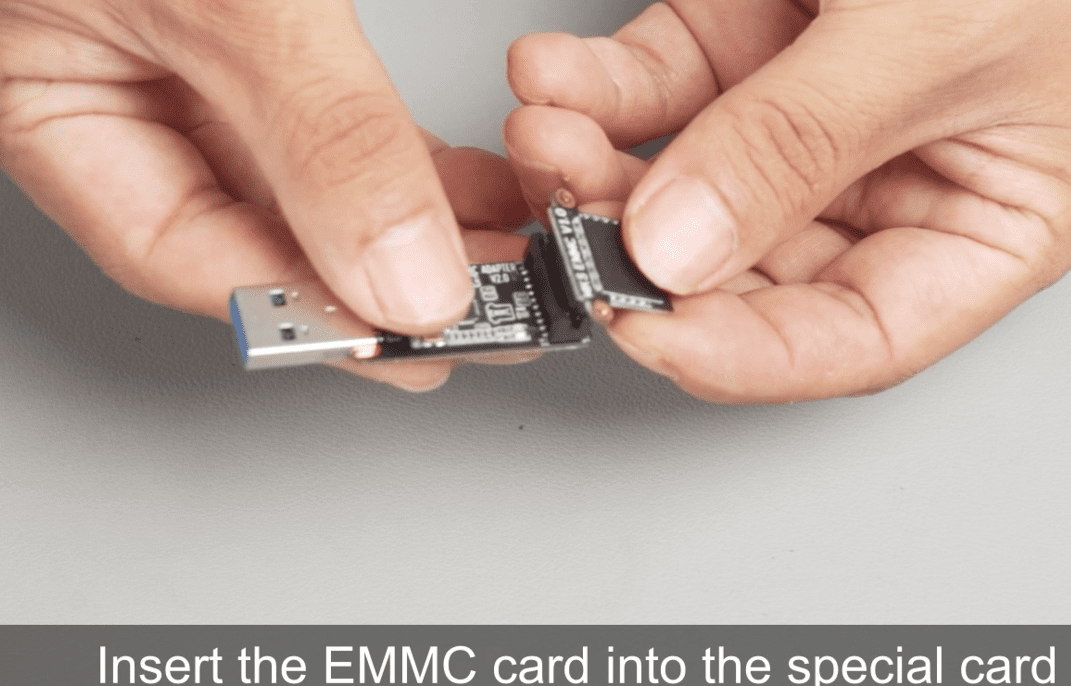
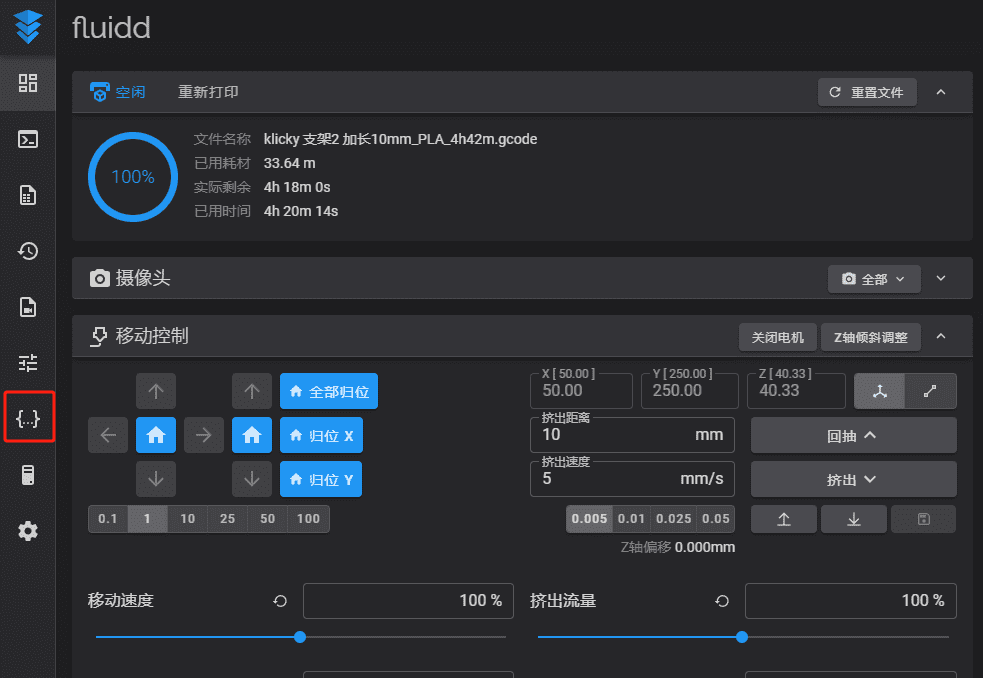
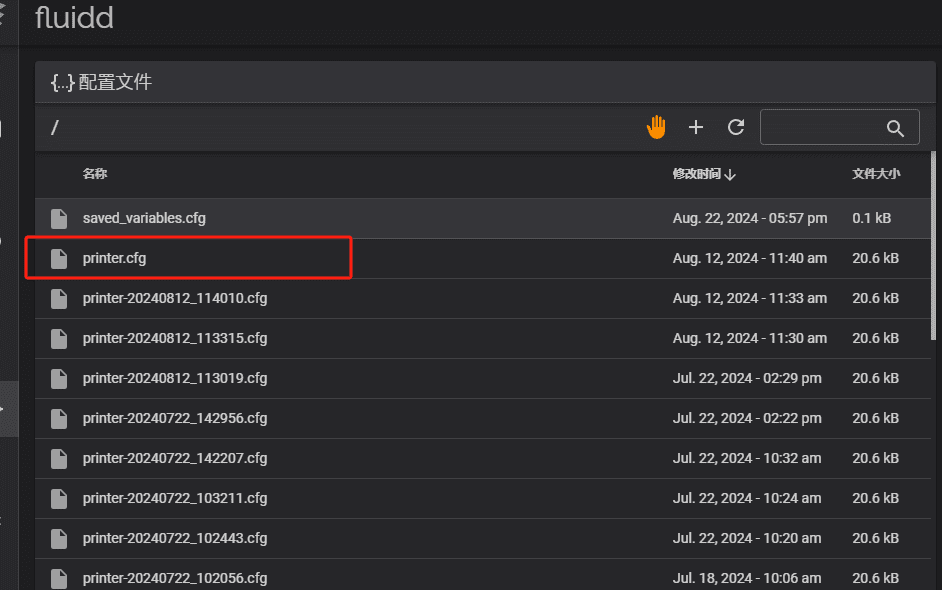
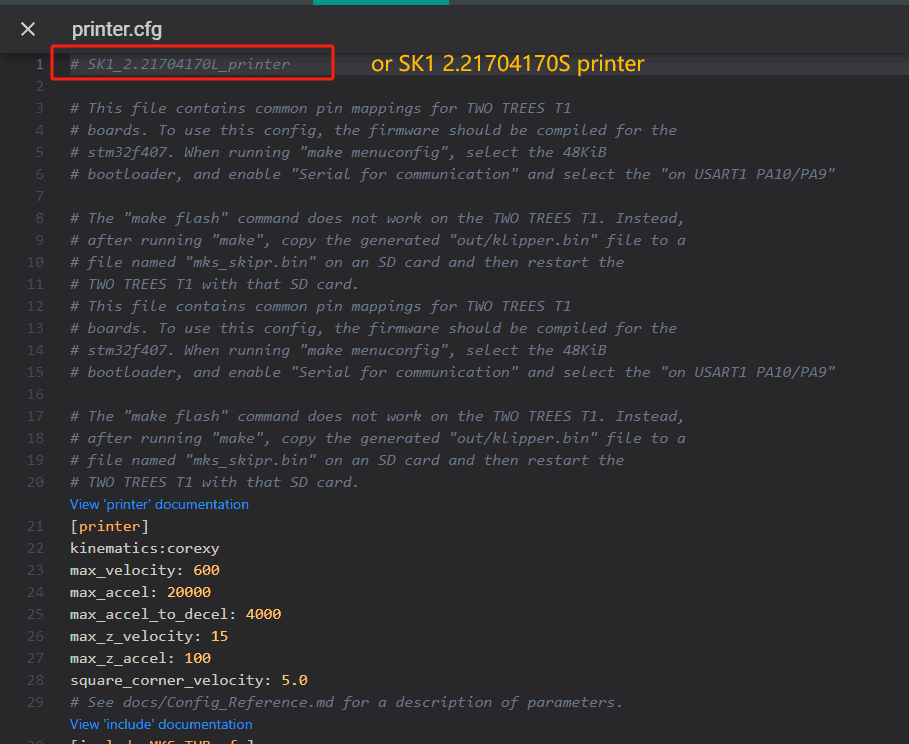
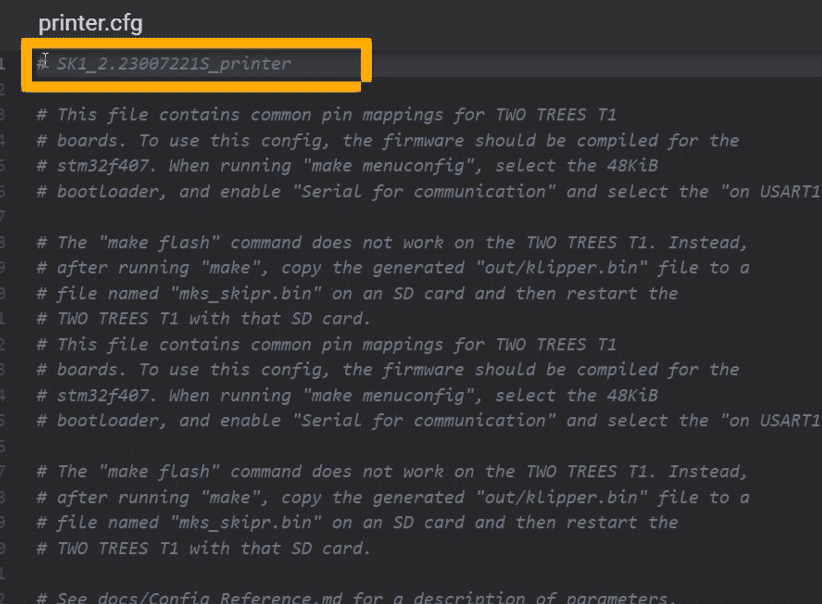
1.Open the baseboard of the machine and remove the EMMC module, then insert it into a card reader. (Before removing the EMMC, connect to the machine’s IP and enter the fluidd page to open the printer.cfg file. Check the first line of code to see if it is SK1_2.21704170L or SK1_2.23007221S. The last letter will confirm whether it is the L version or the S version, which will be needed.)
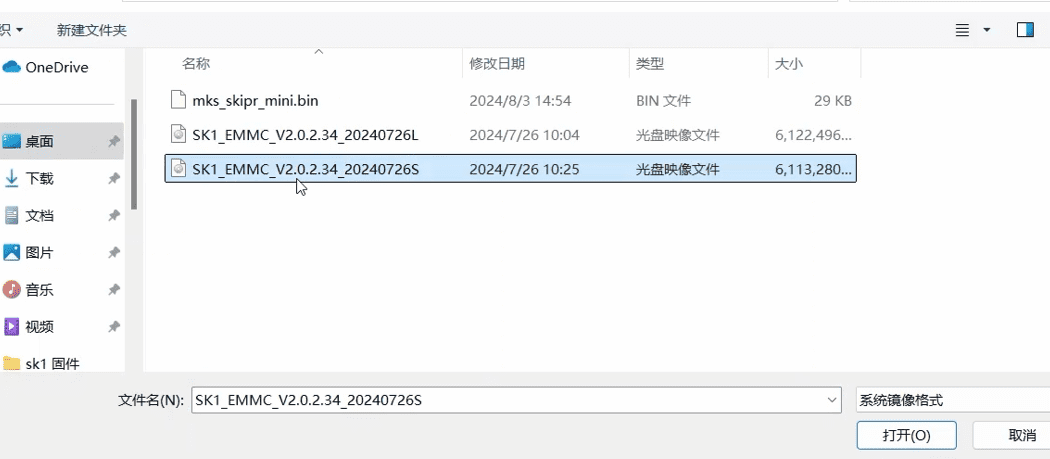
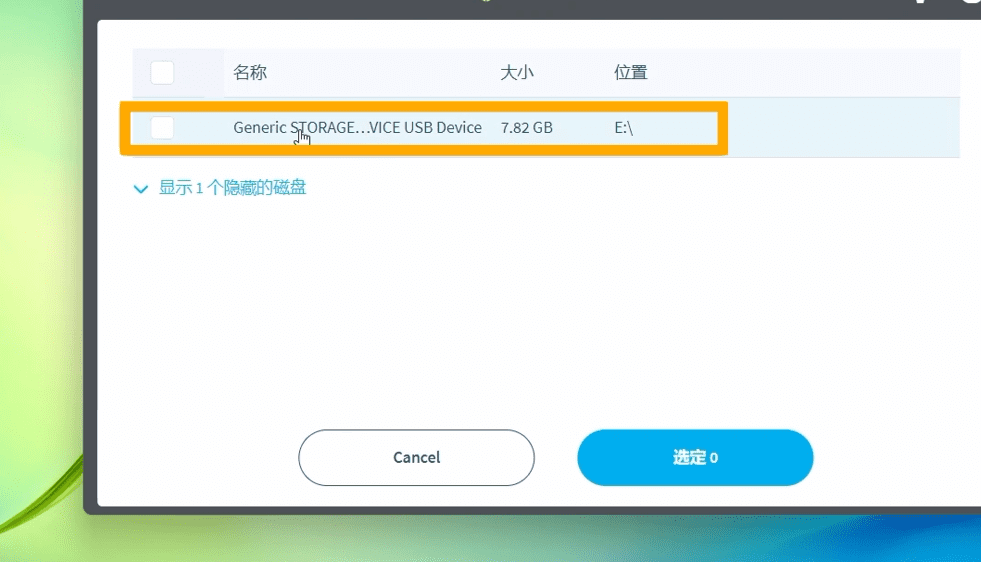
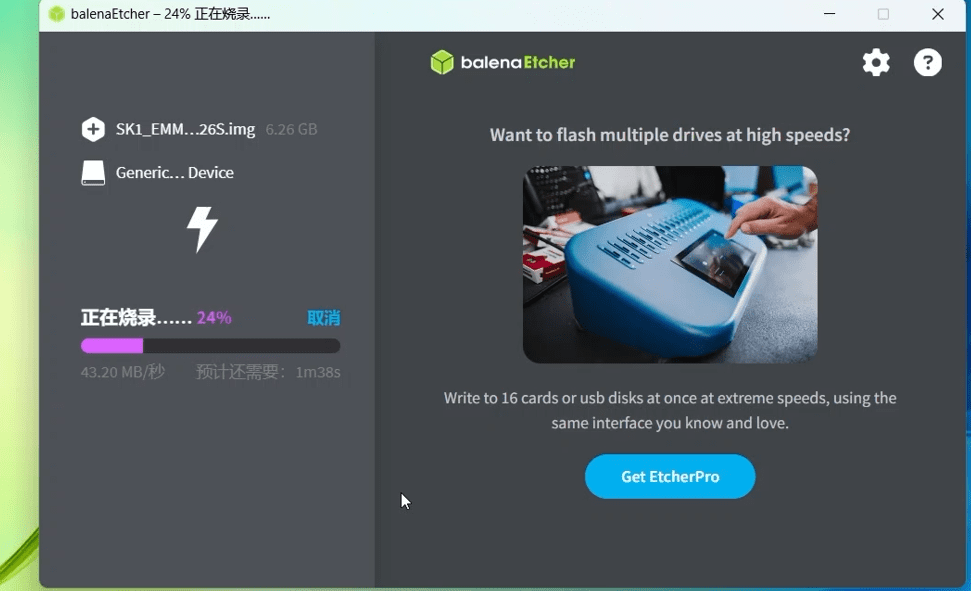
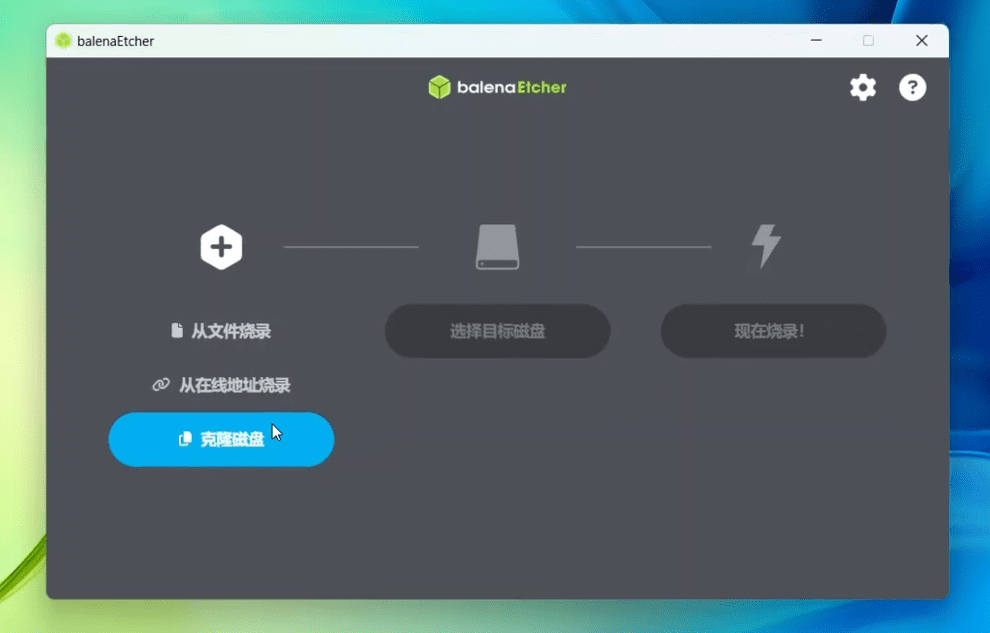
2.Open the image burning software and prepare to burn the image file.
|
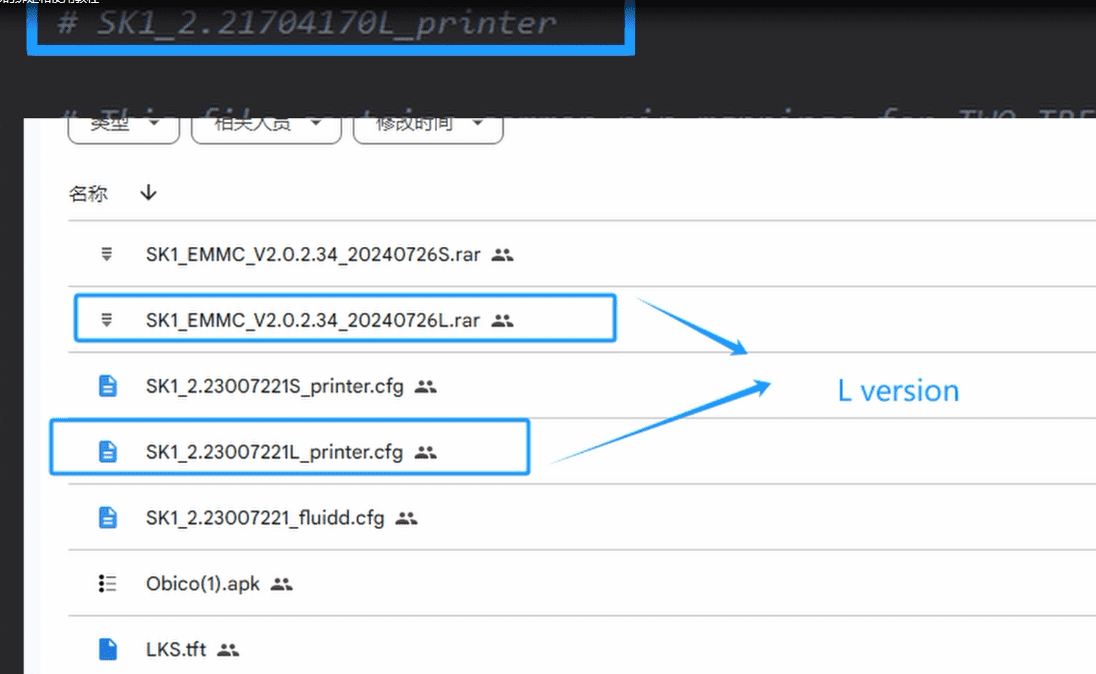
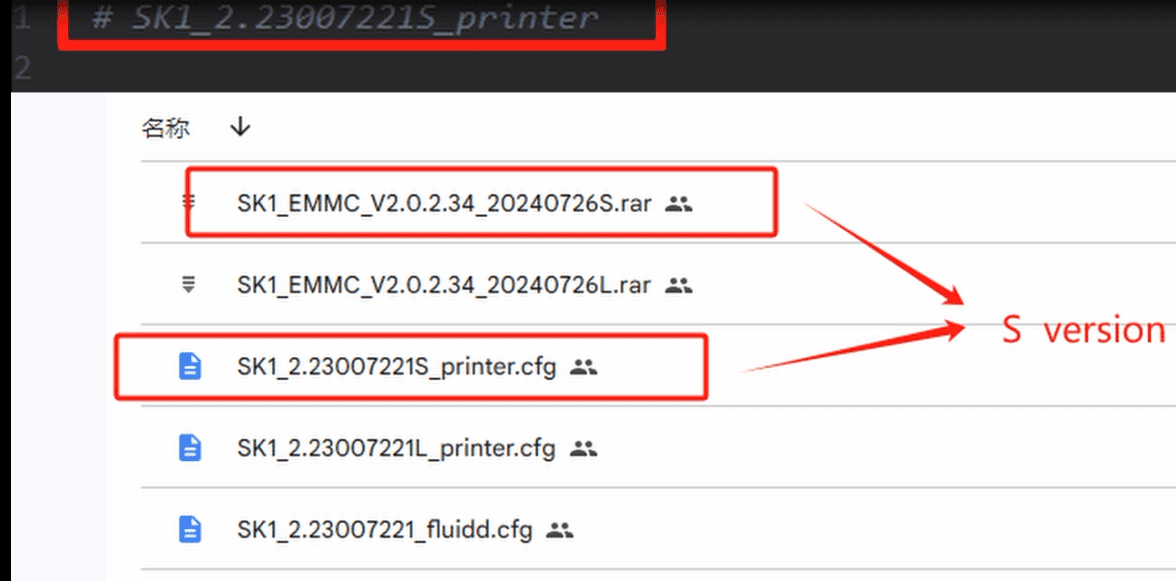
3.Please note that there are two versions of the SK1. According to the method described in the first tutorial, select the corresponding version of the image for burning.
4.Select the appropriate image and specify the burning location to start the burning process.
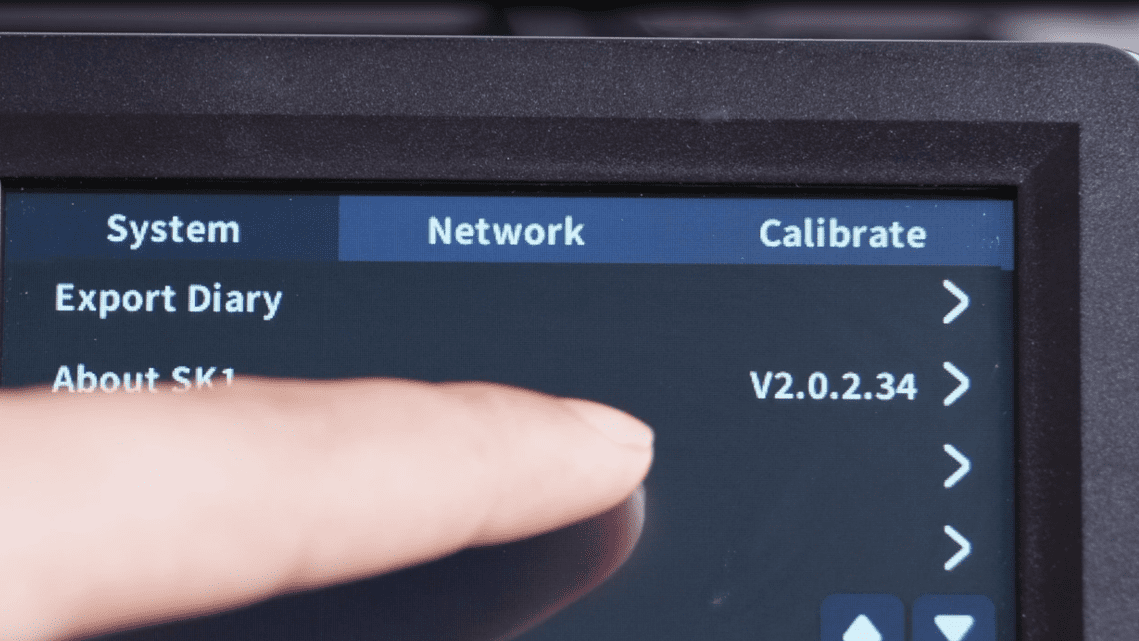
5.Remove and reattach the EMMC module to the machine, power on the machine to check if the firmware version is correct.
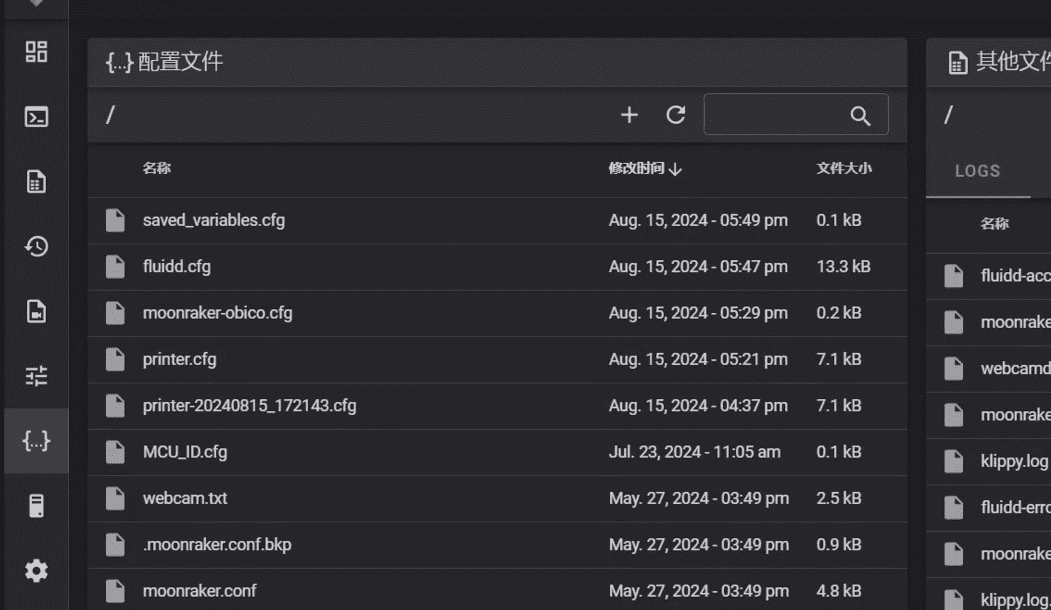
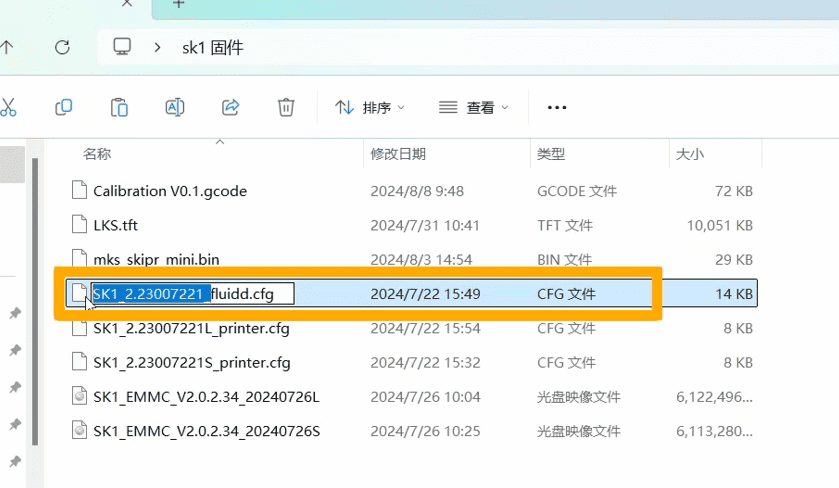
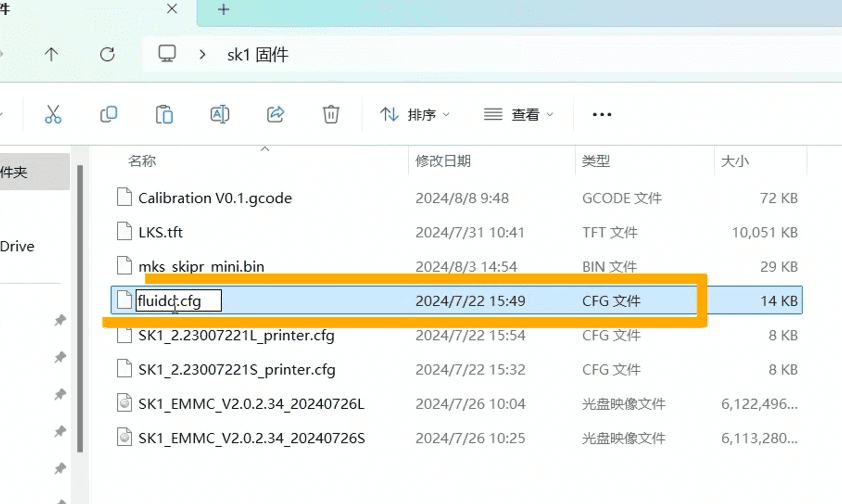
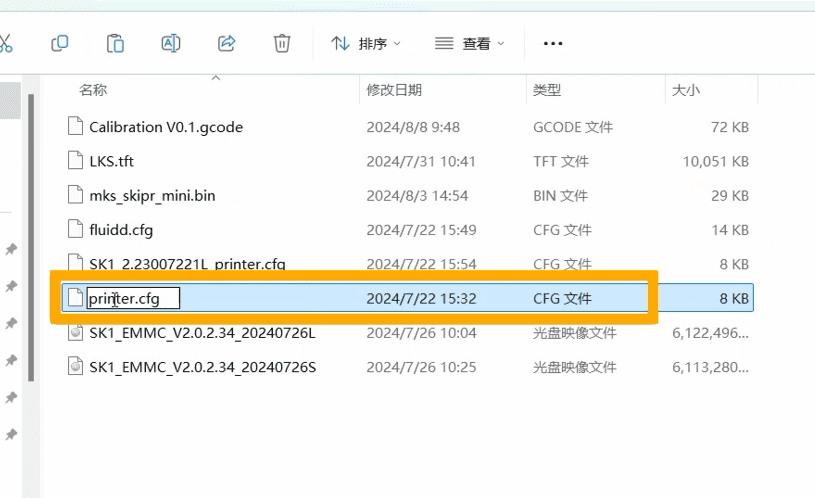
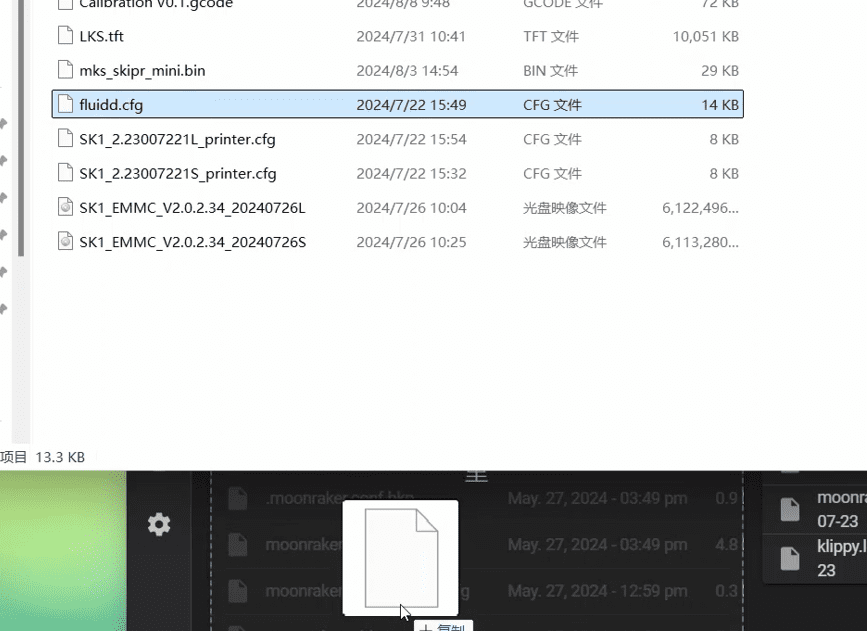
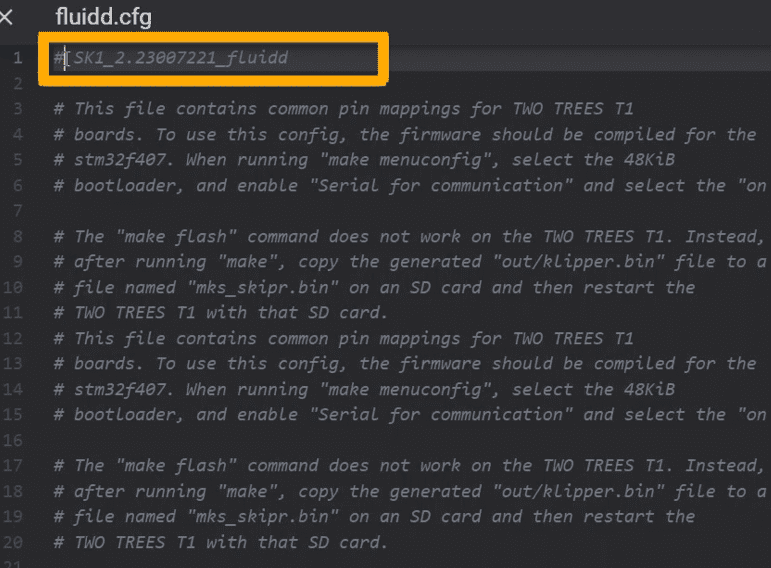
6.Connect to the machine’s backend IP and open the configuration file section. Import the new fluidd file and printer.cfg file: Note that the prefix of fluidd and printer.cfg should be removed (fluidd has only one version, while the printer.cfg file is divided into L or S versions). Drag the modified files directly into the configuration file section.
7.After the import is complete, check to ensure the version is correct.
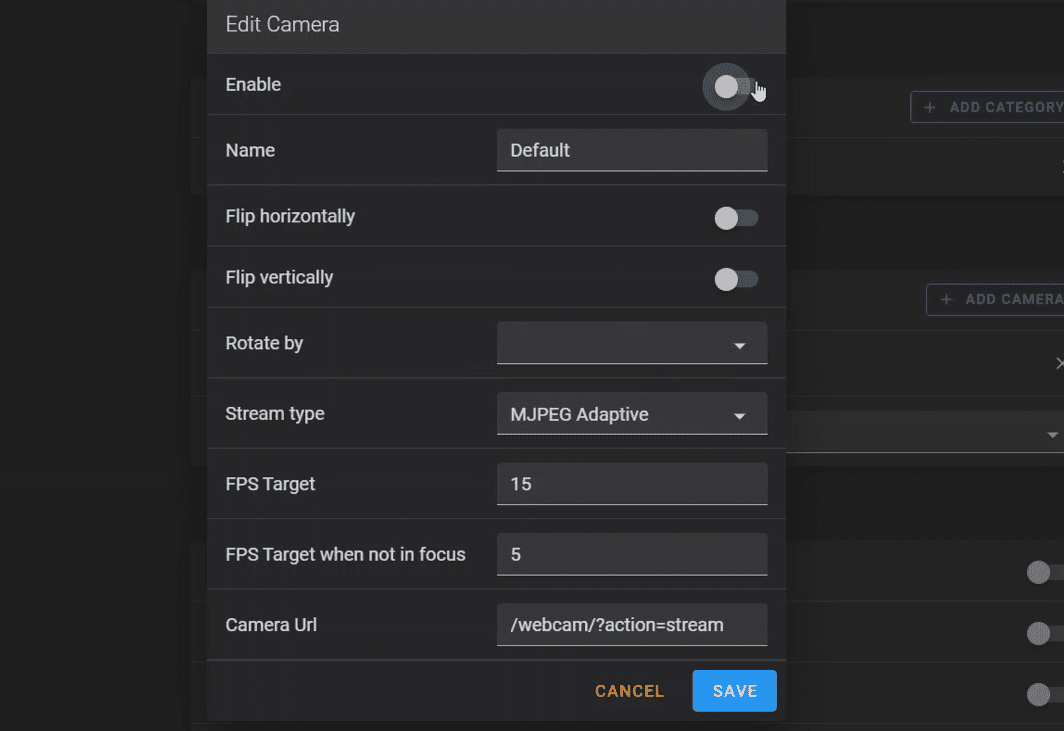
8.Open the settings, and in the camera section, you can turn on the camera (if the machine has one).
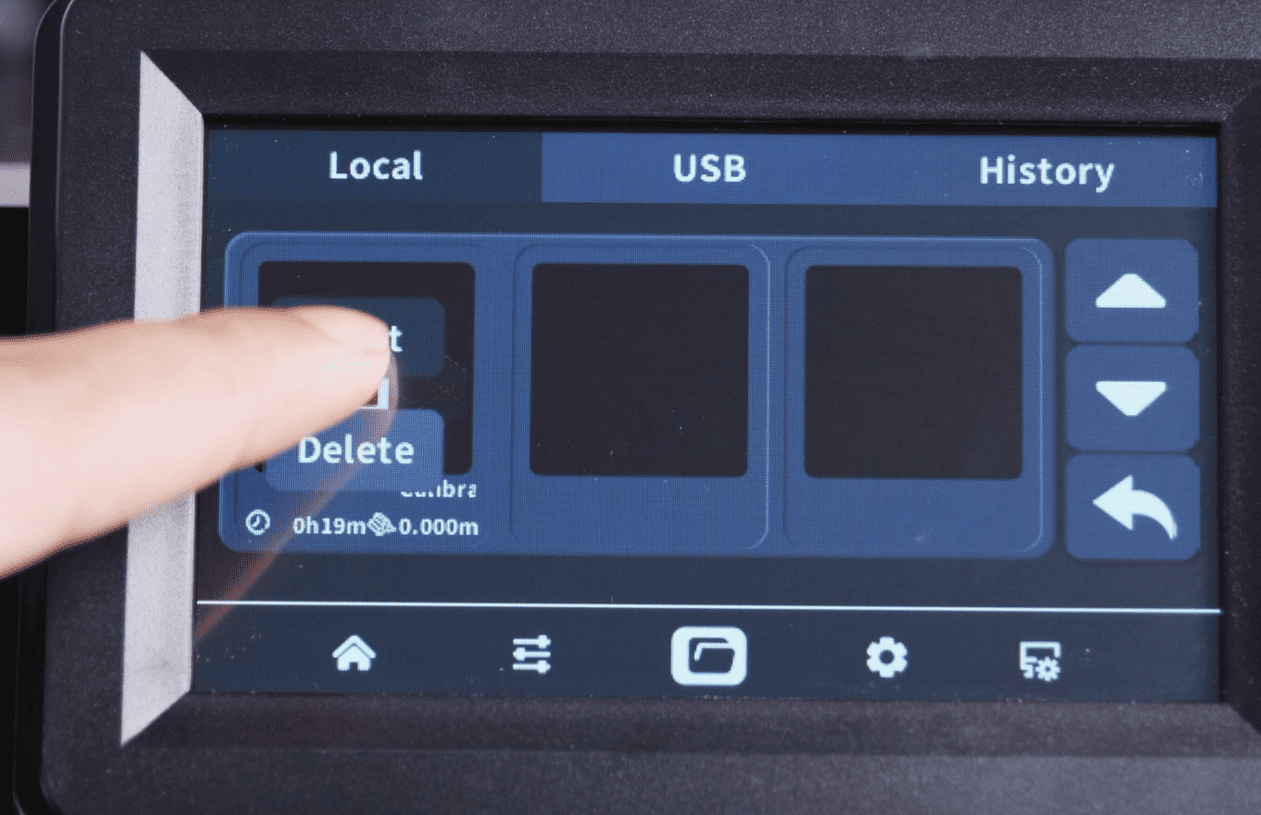
9.Print the G-code file in the firmware package to start calibrating the machine, and after the print is completed, click ‘Save’ on the web interface (the probe needs to be re-measured)
¶ How to connect and use the mobile OBiCo APP
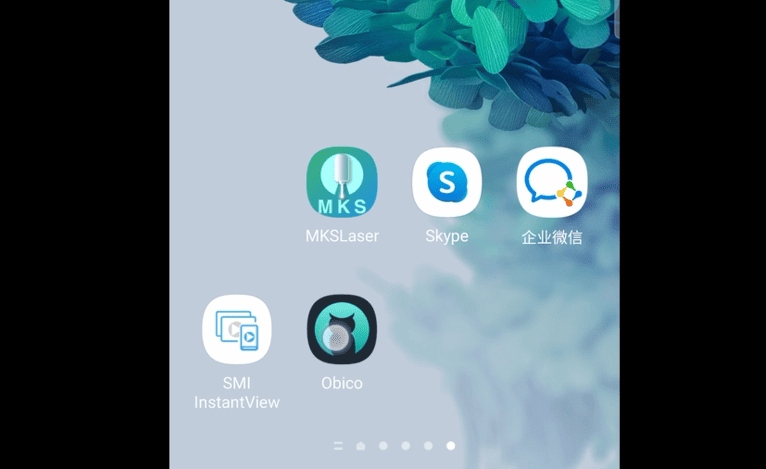
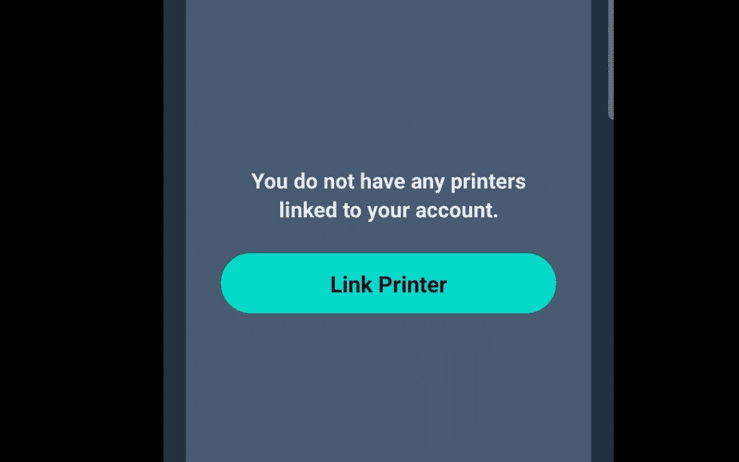
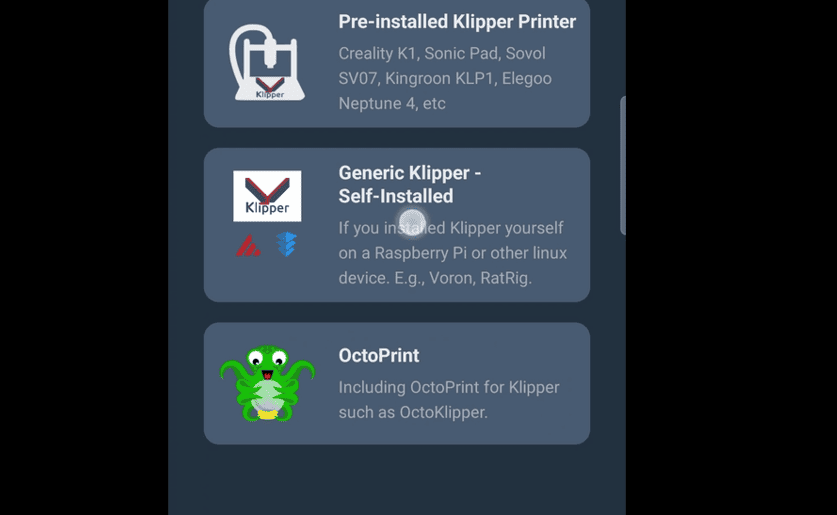
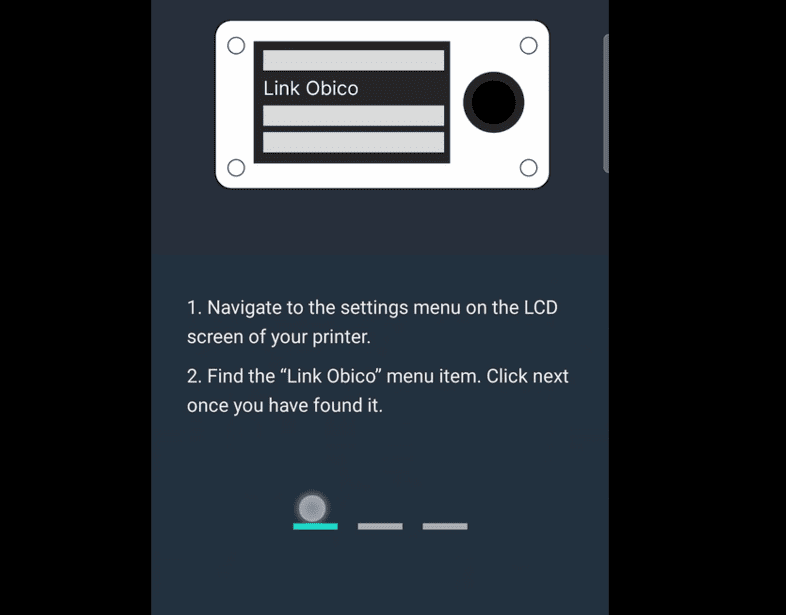
1.Open the OBiCo app and select “Add Printer.”
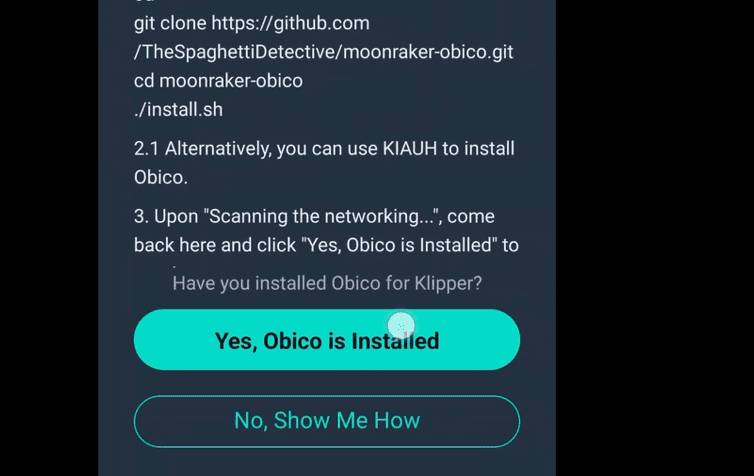
2.After selecting to install manually, choose “Yes, OBiCo is installed.”
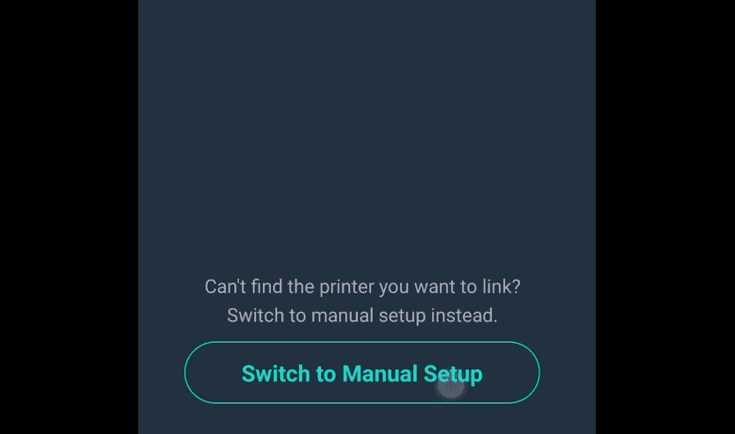
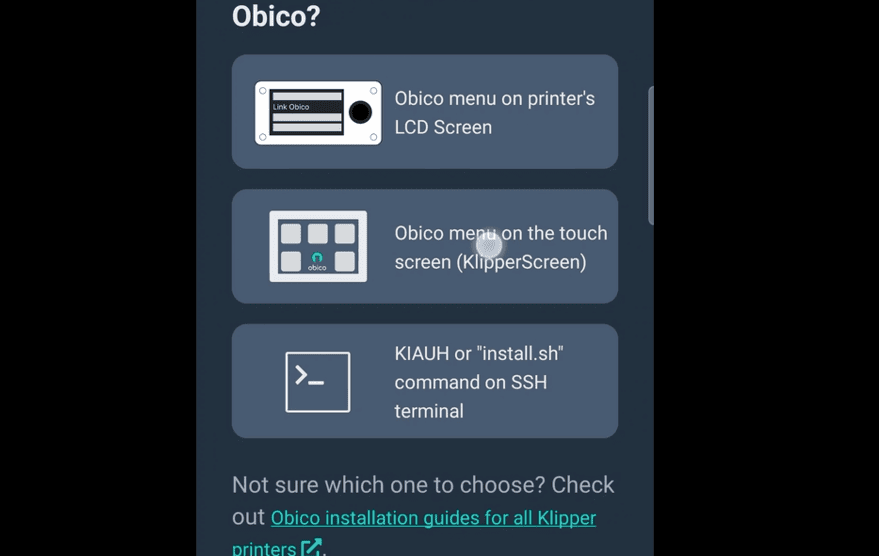
3.Here, you can directly tap on “Switch to Manual Settings,” and then select the menu on the Klipper screen.
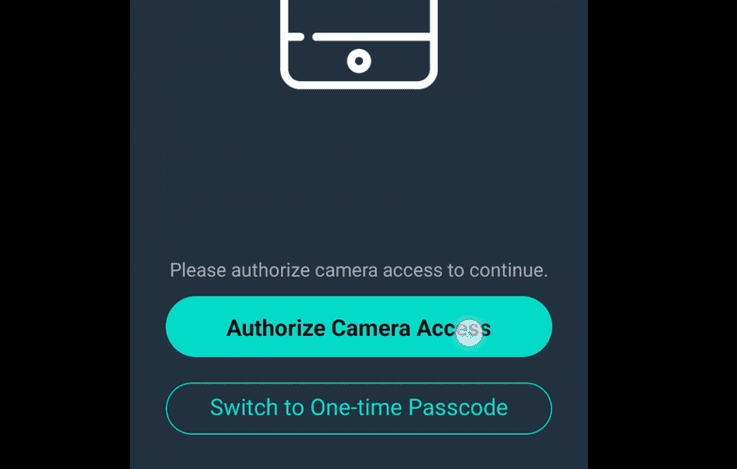
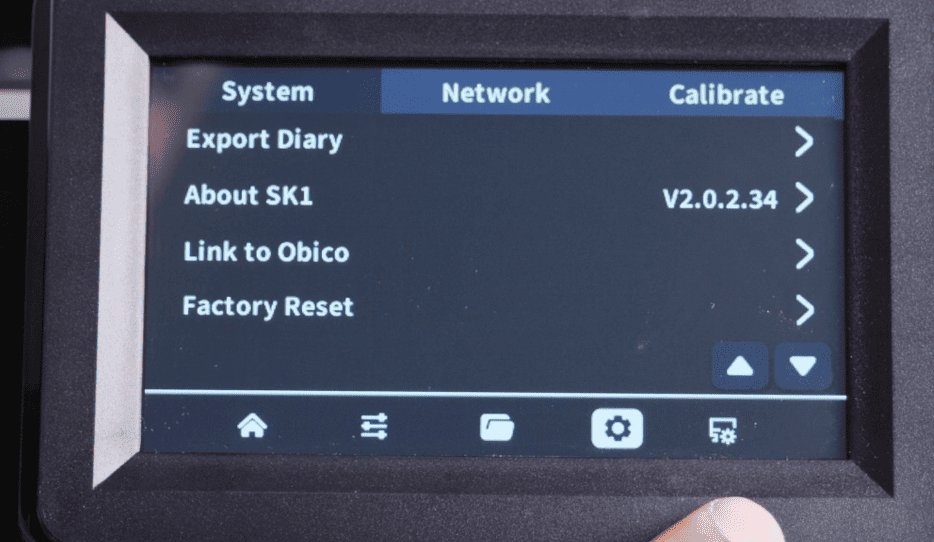
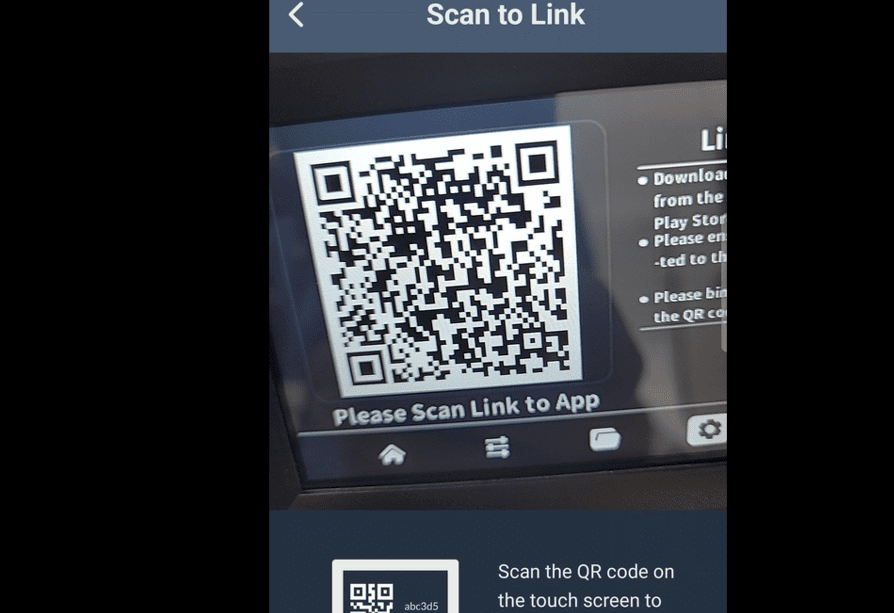
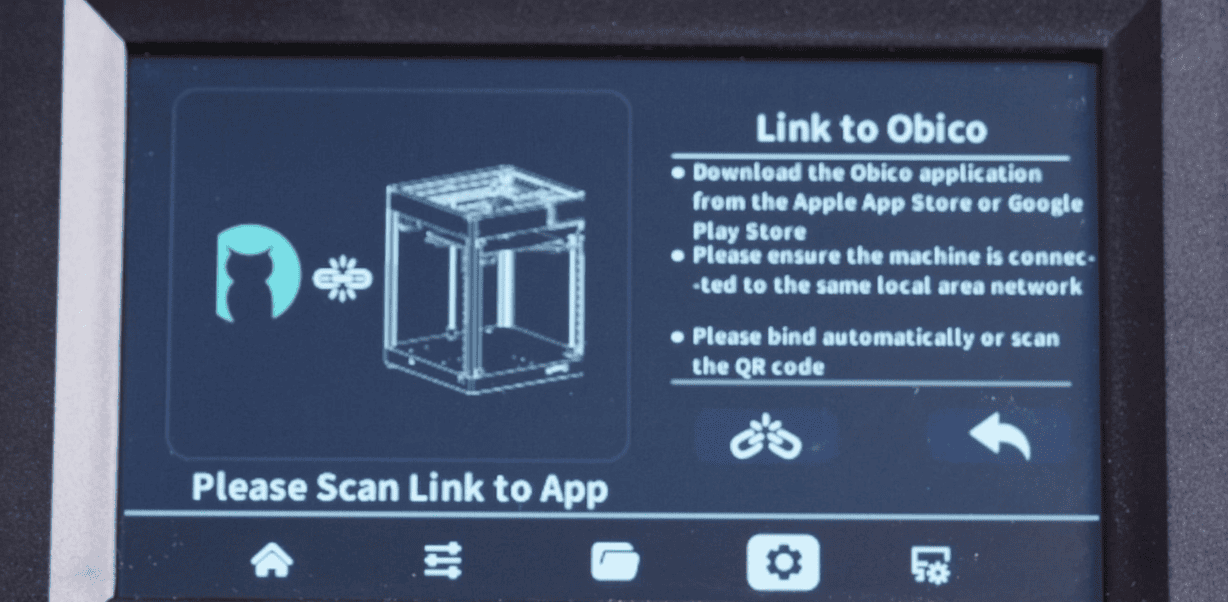
4.Authorize camera access, and then open the machine’s system menu to connect to OBiCo’s QR code
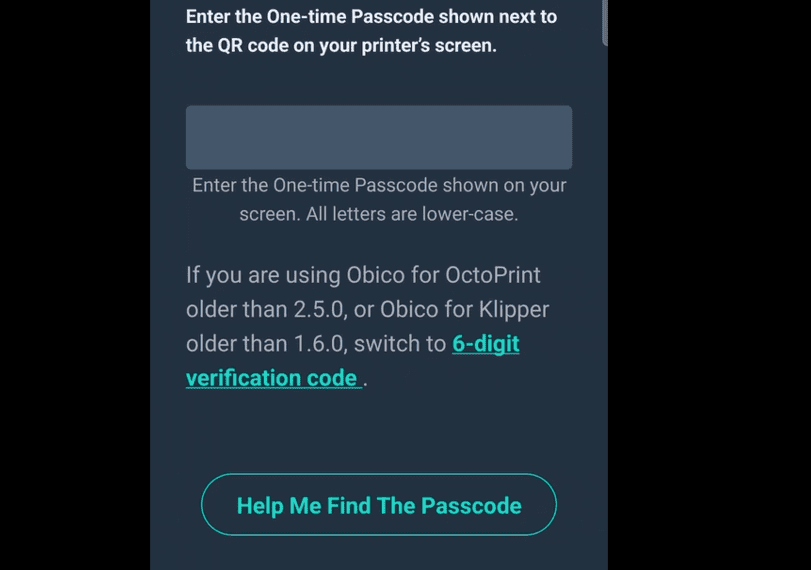
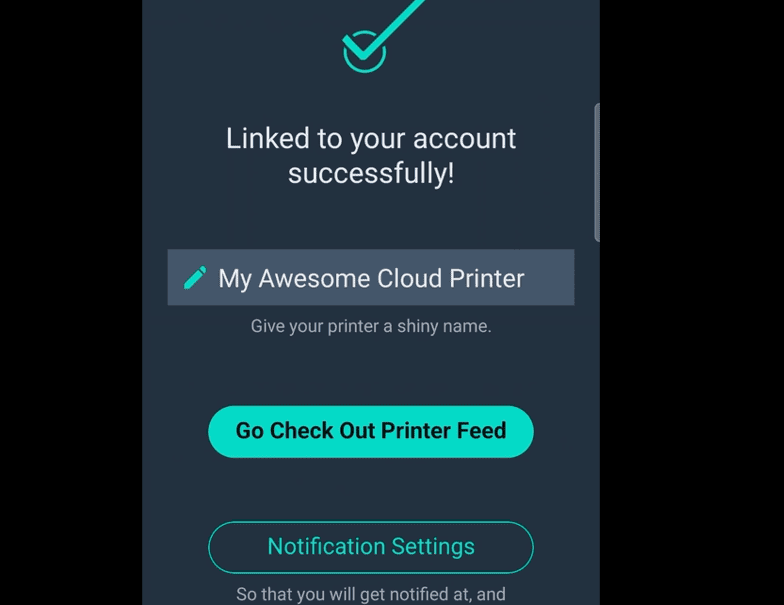
5.Here, click on “Help me find the password” to skip this page, and then you can name your machine.
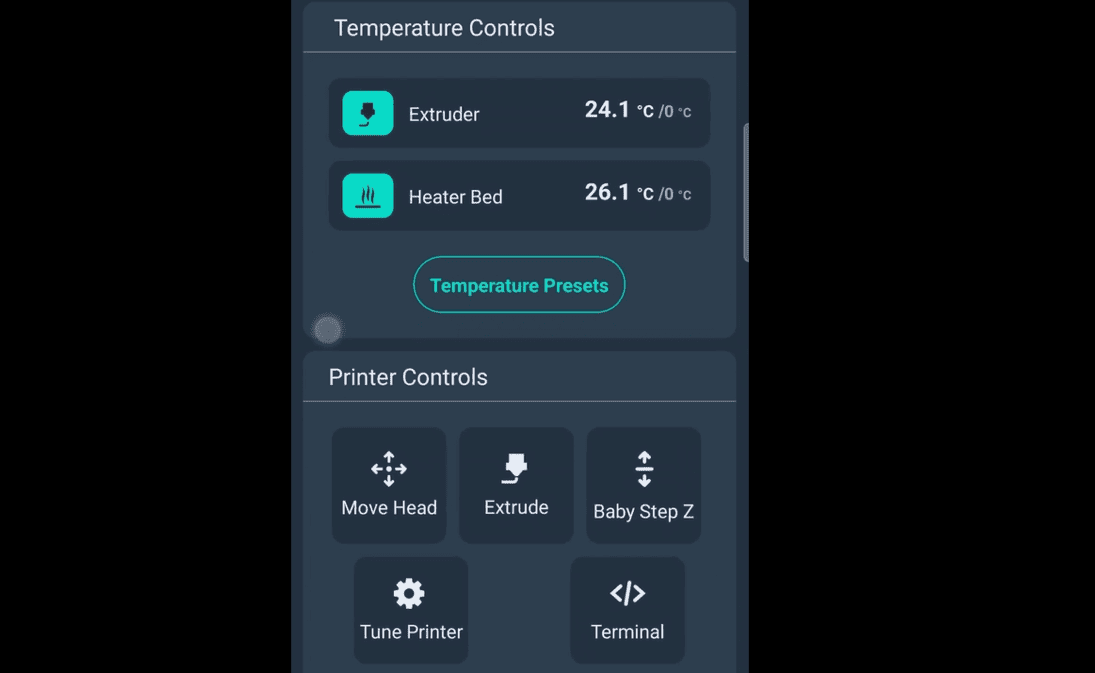
6.On the screen, you can check if the connection is successful, and then you can see the information about the machine on the APP side.
