¶ Carving Tutorial
This section explains how to perform a simple file carving operation within the software.
Step 1
- Activate the creation function and click on the “Material Library” to import the materials.
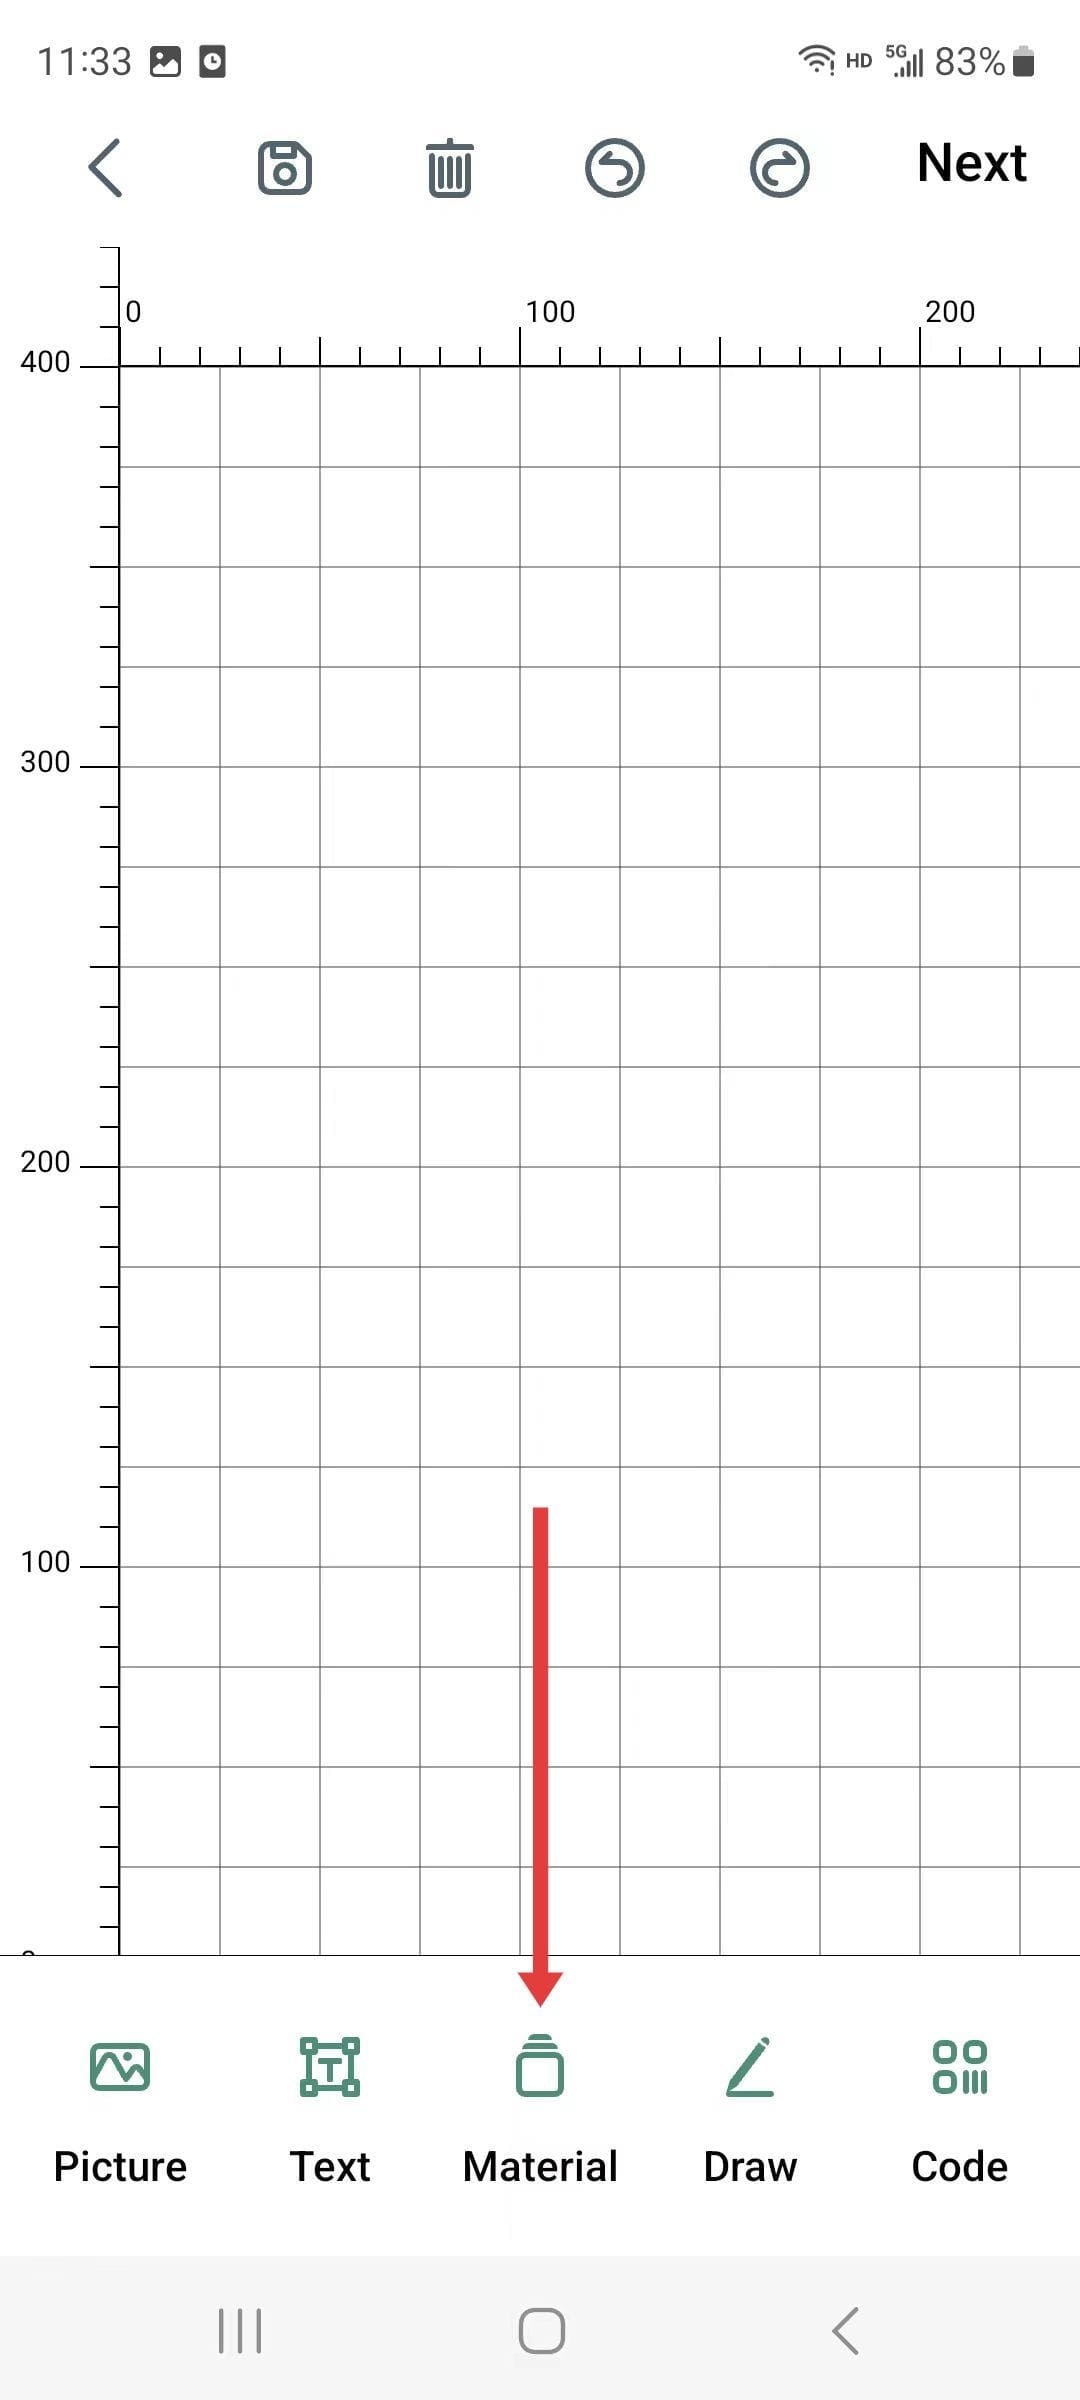
|
Step 2
- Select the material you want to carve
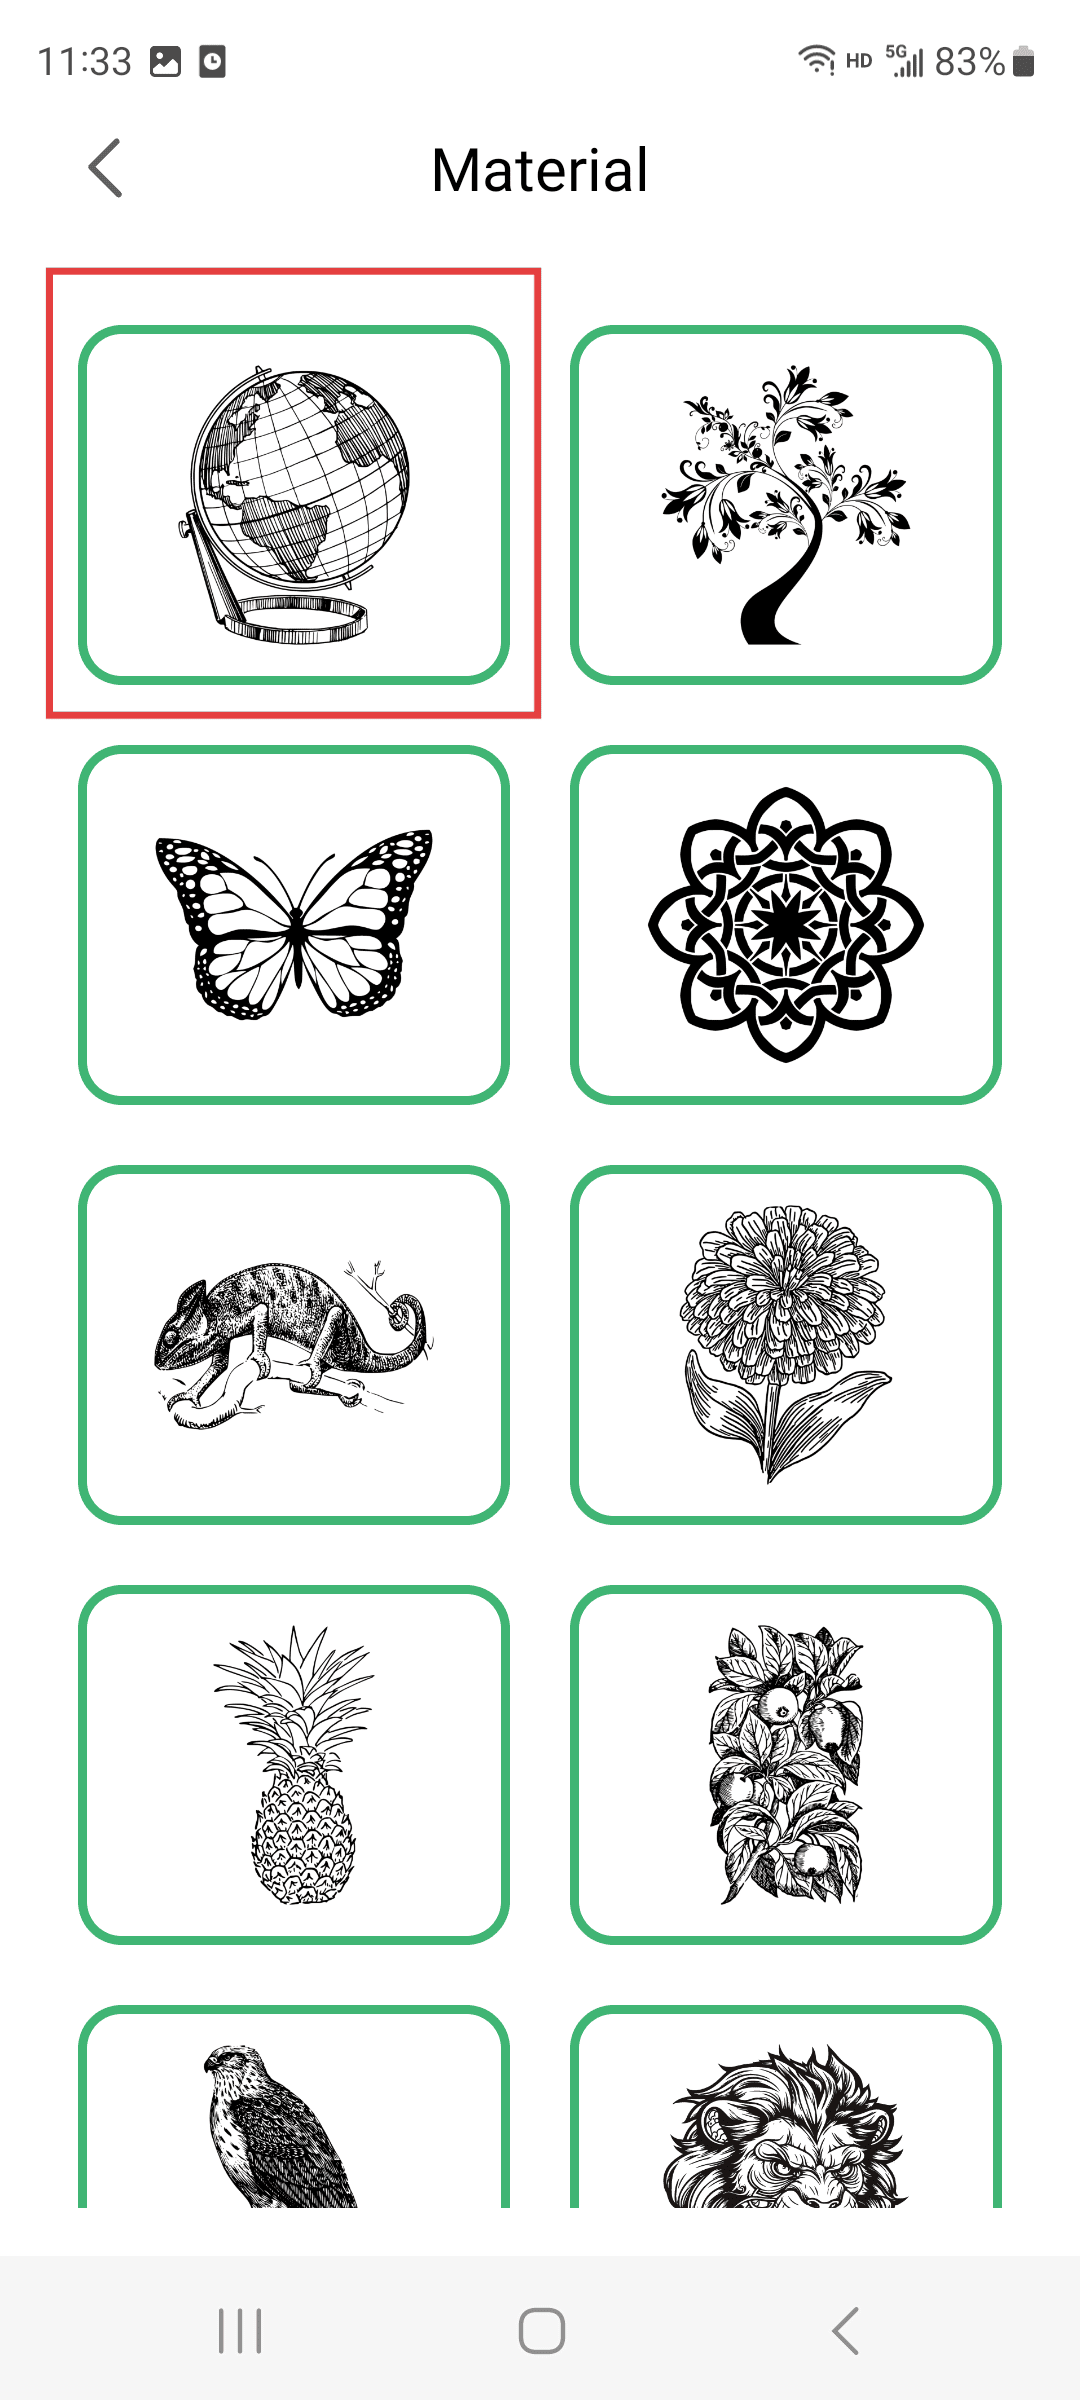
|
Step 3(Perform the operations according to the sequence numbers.)
- 1.Move the pattern to the lower left corner of the canvas.
- 2.The settings bar allows you to adjust the effect and size of the engraving you need.
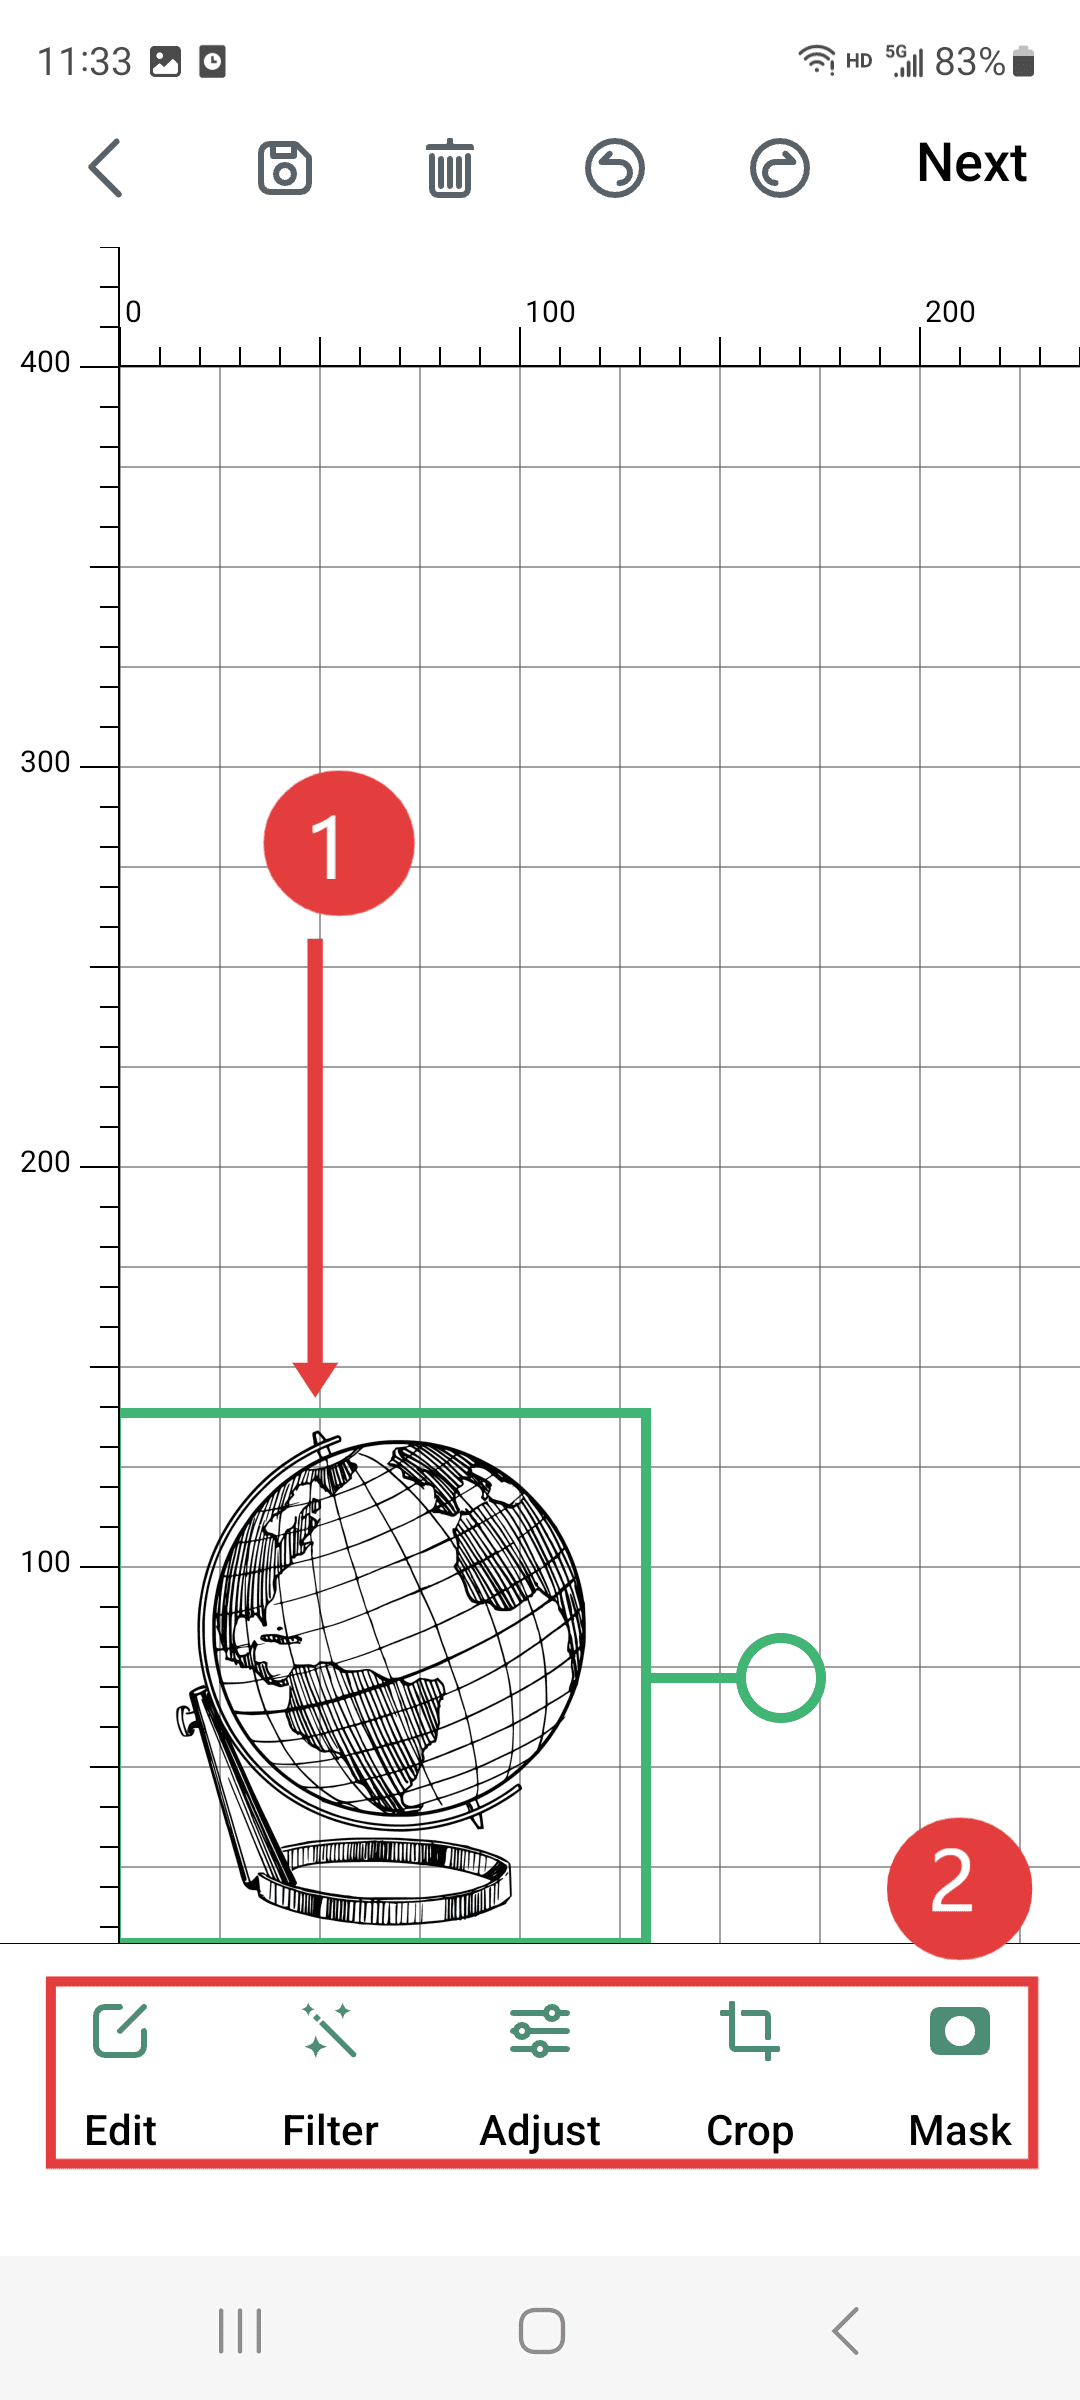
|
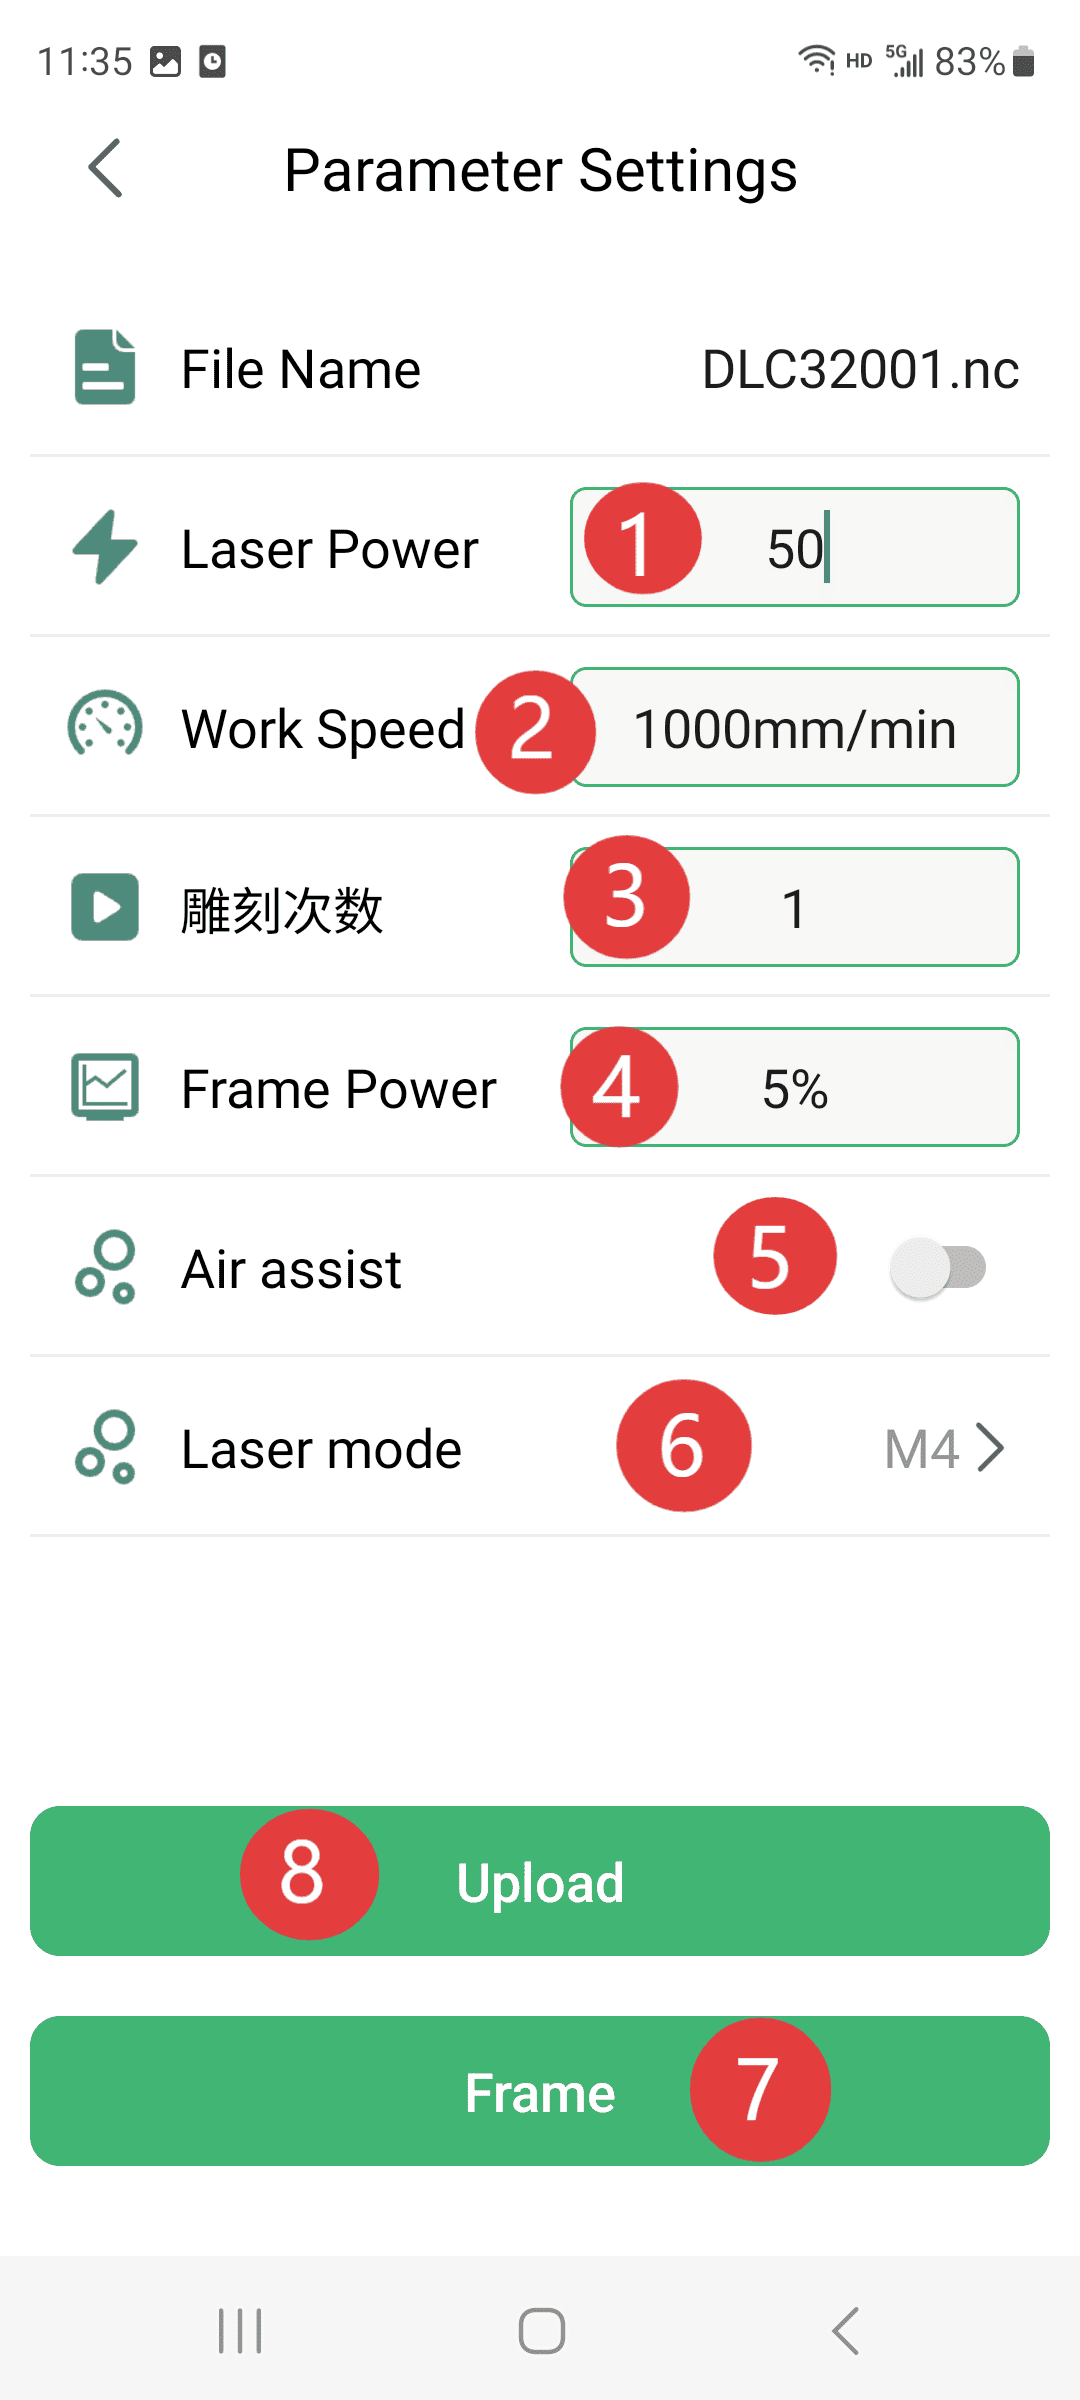
Step 4(Perform the operations according to the sequence numbers.)
- 1.Set the power level you need for the engraving (please make corresponding adjustments according to the machine you have. The parameters in the figure are for reference only)
- 2.Setting the engraving speed is necessary (adjustments need to be made according to the available machine; the parameters in the figure are for reference only)
- 3.Set the number of times the engraving needs to be performed. Usually, just one time is sufficient.
- 4.Set the power for edge detection to 5%.
- 5.The setting of the air pump should be to keep it closed.
- 6.The mode selection for the laser: If it is for engraving patterns, select mode M4; if it is for cutting, select mode M3.
- 7.Click on the edge finder to check if the carving position is correct.
- 8.Click to upload
|
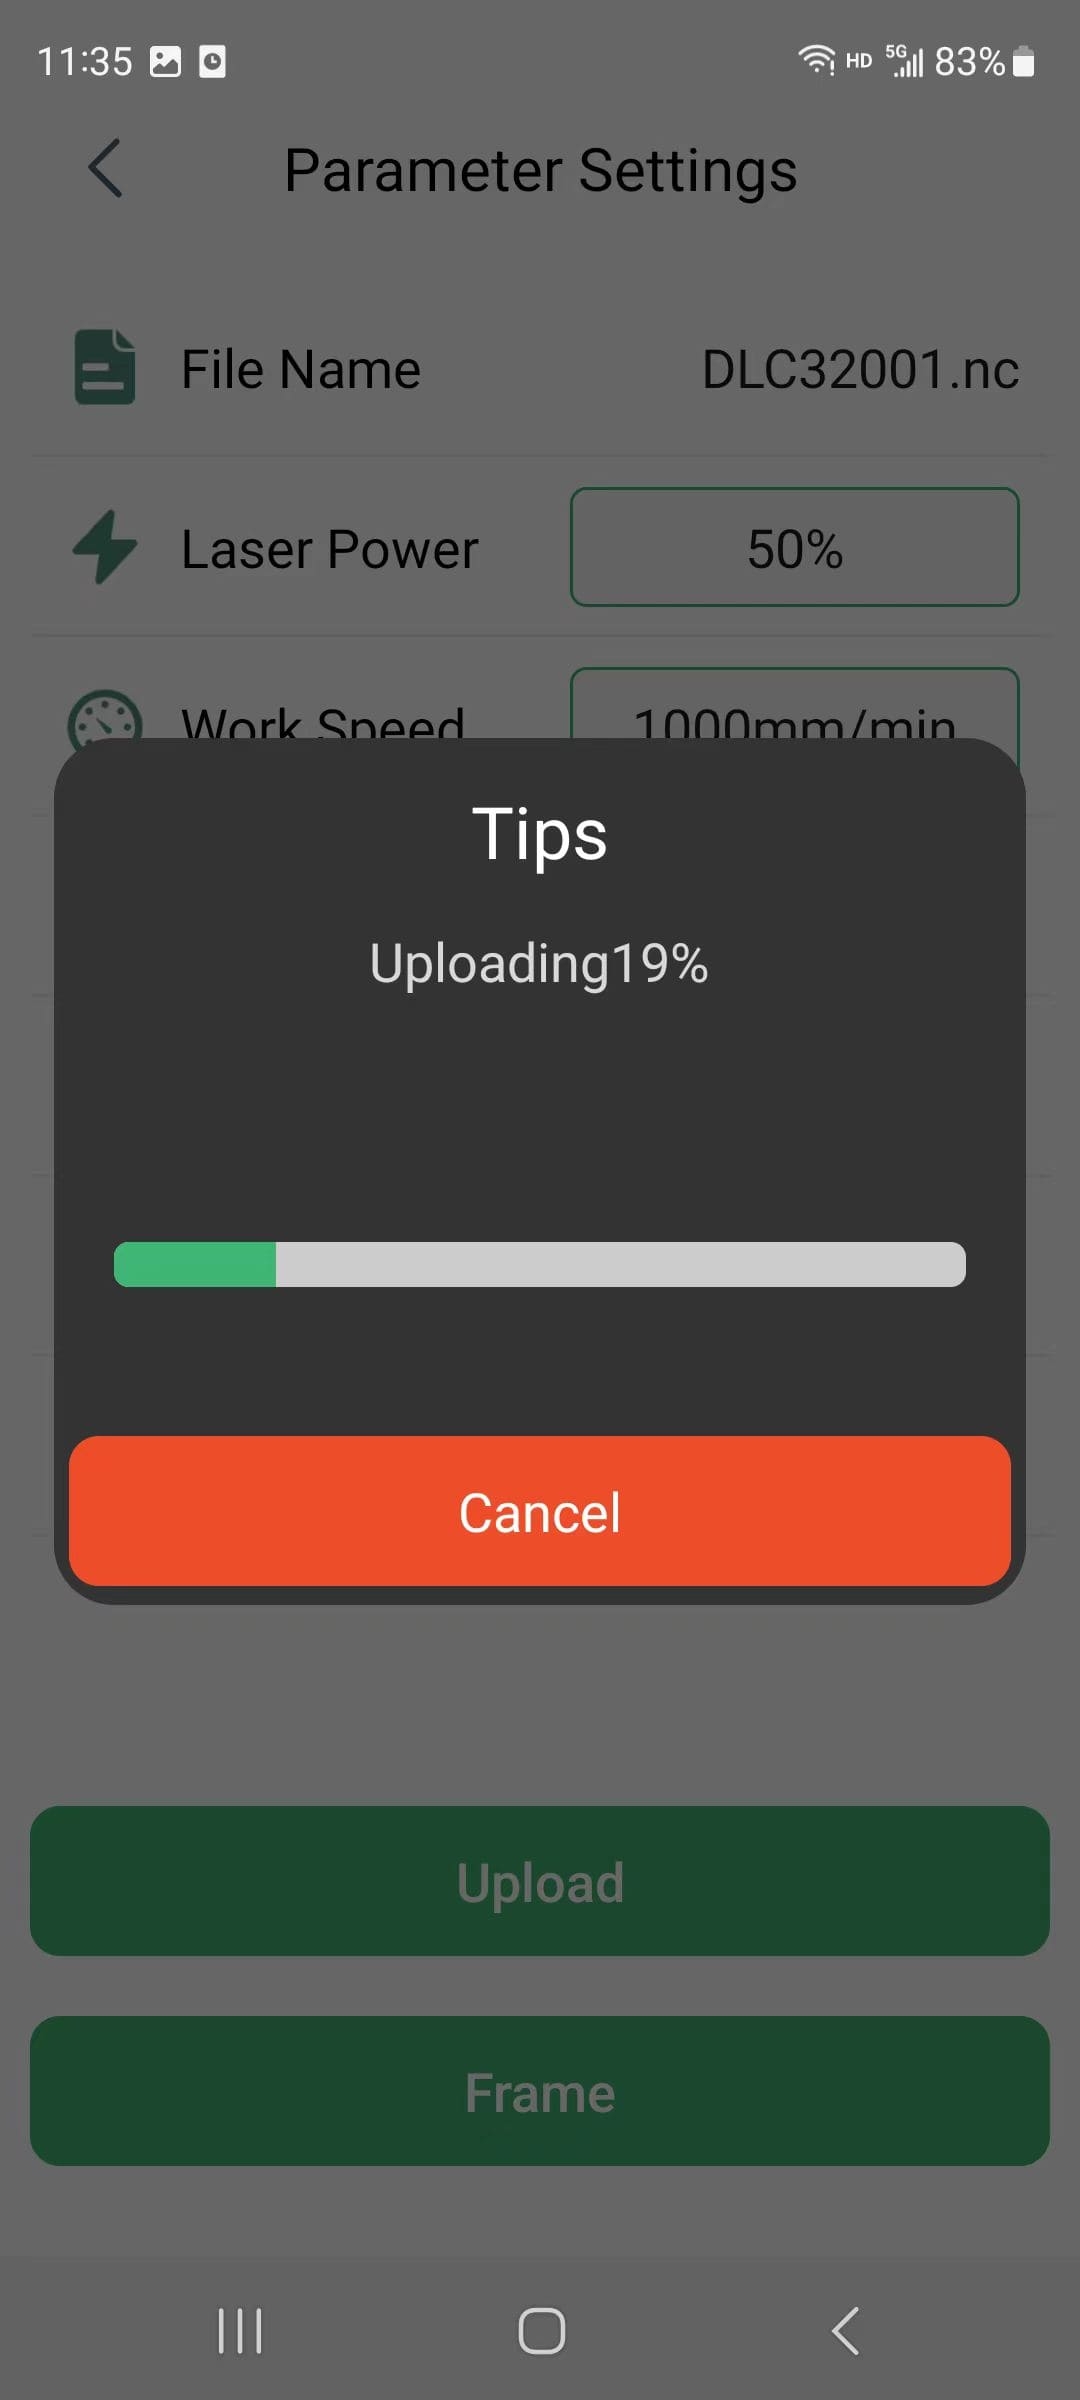
Step 5
- Waiting for the upload to complete
|
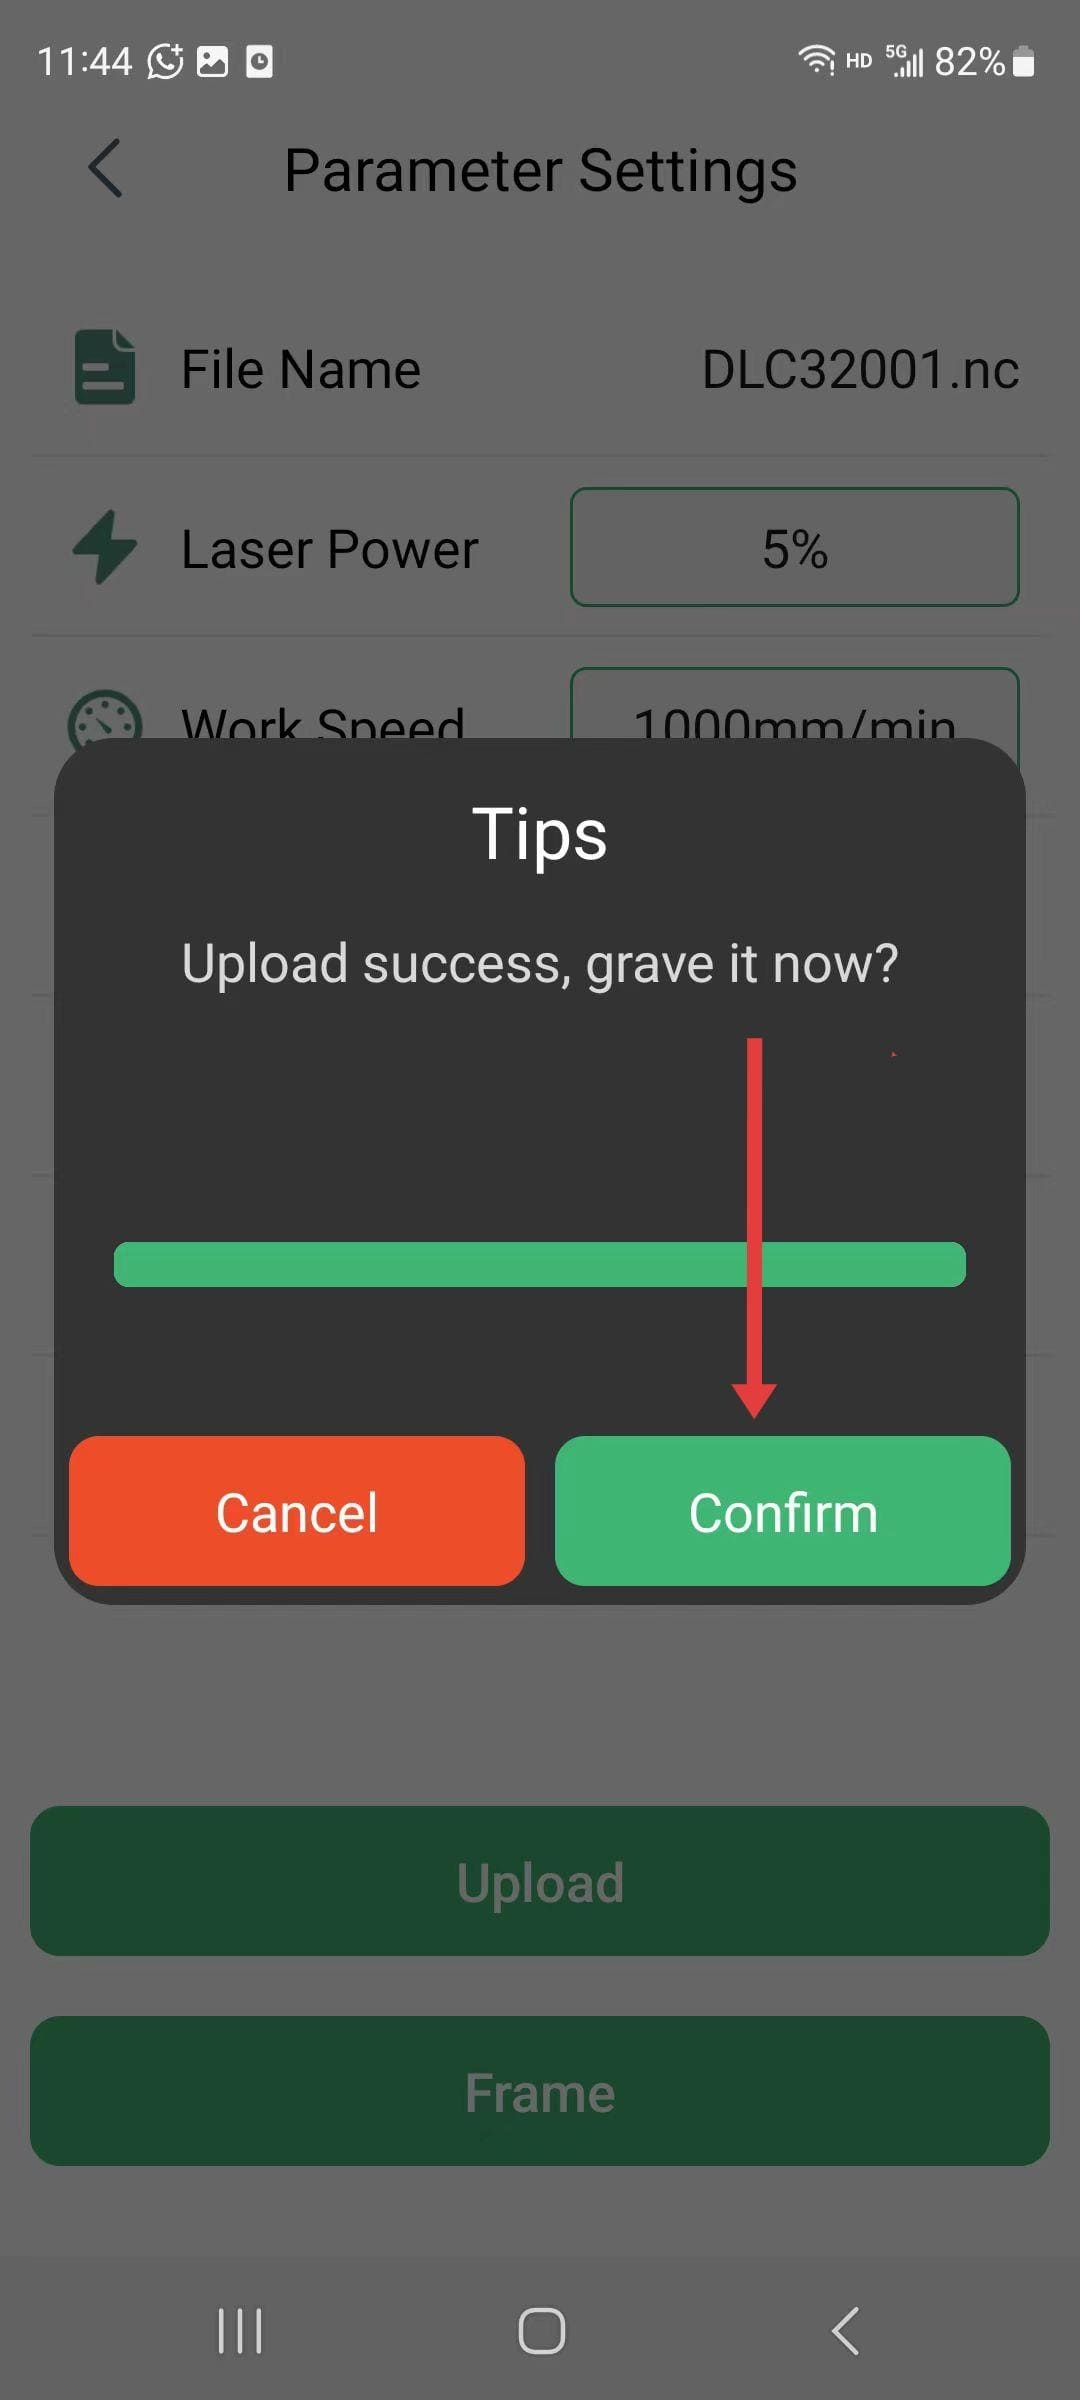
Step 6
- After the upload is completed, click “Confirm” to save the carving.
|
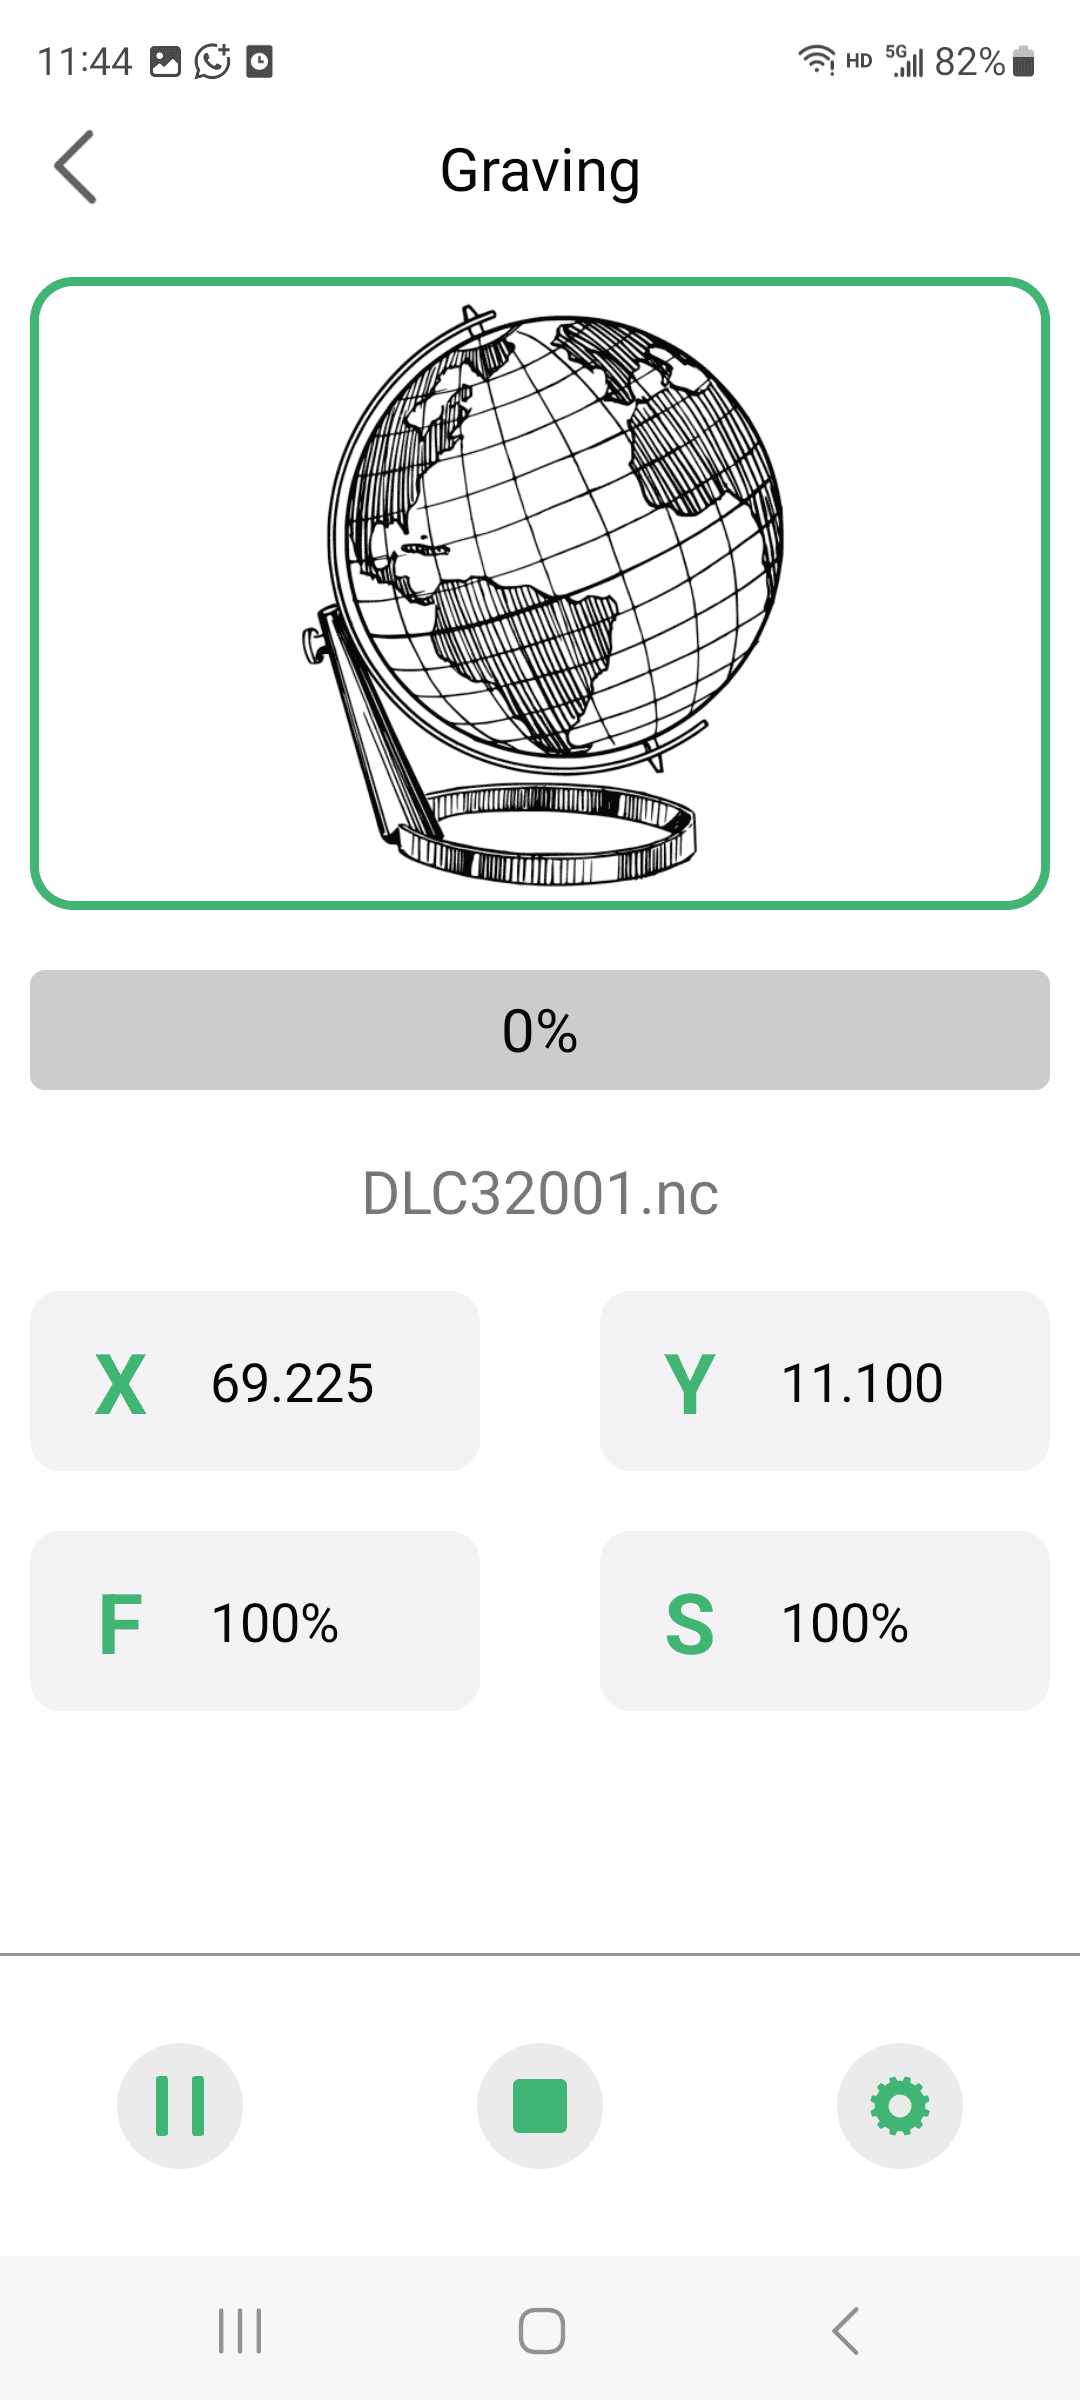
Step 7
- Then you can start the carving process.
|