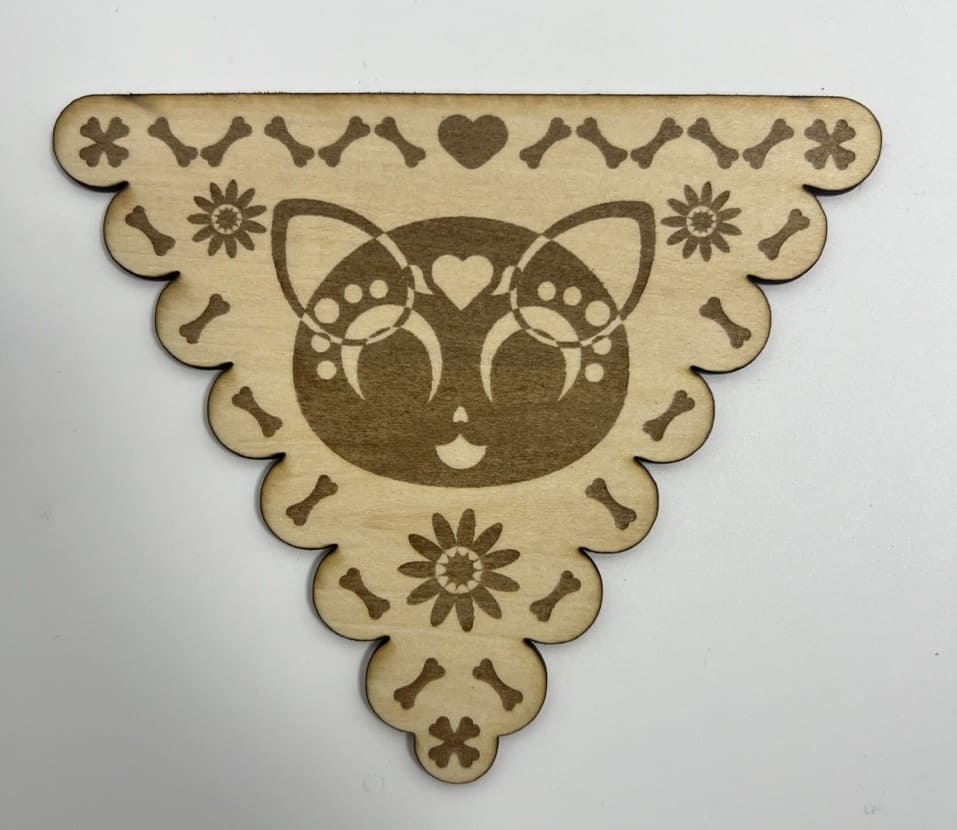
¶ Carving Tutorial
This chapter explains how to create a simple carving file, including the operation of designing the carving pattern and cutting the completed carving pattern out.
|
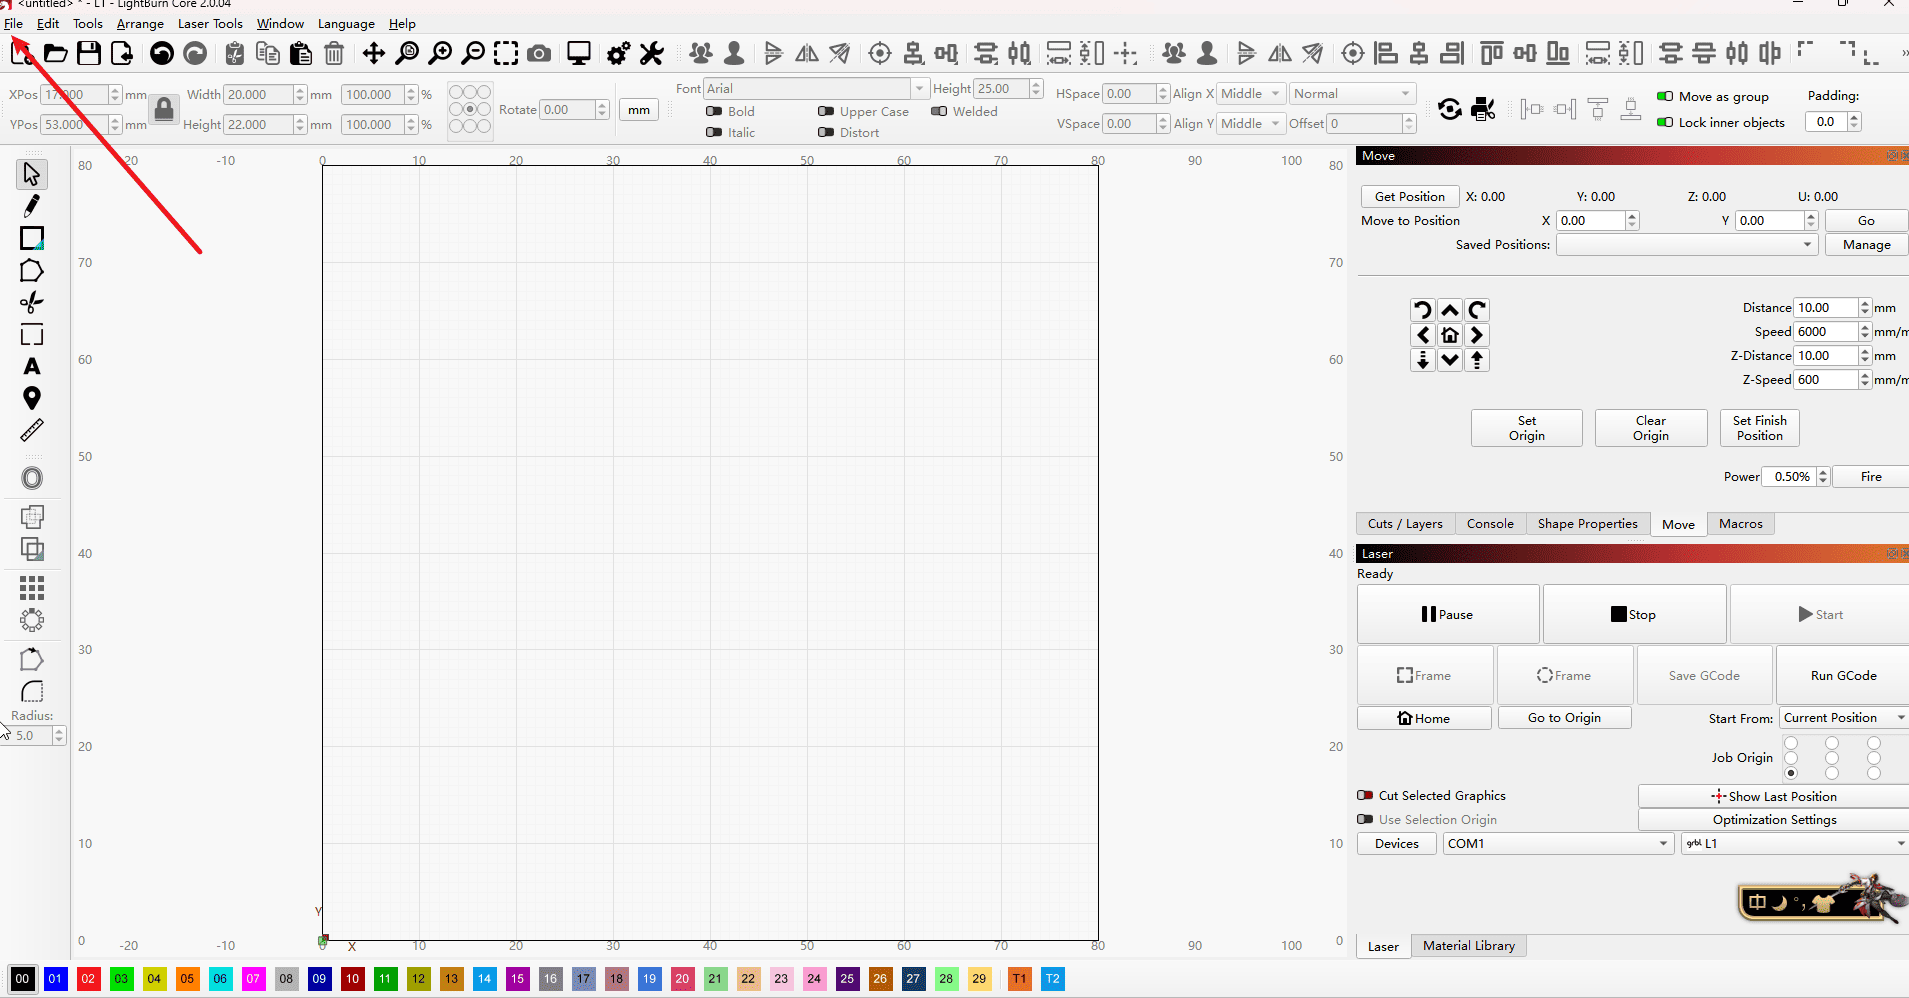
Step 1
- Import the file from the upper left corner of the software.
|
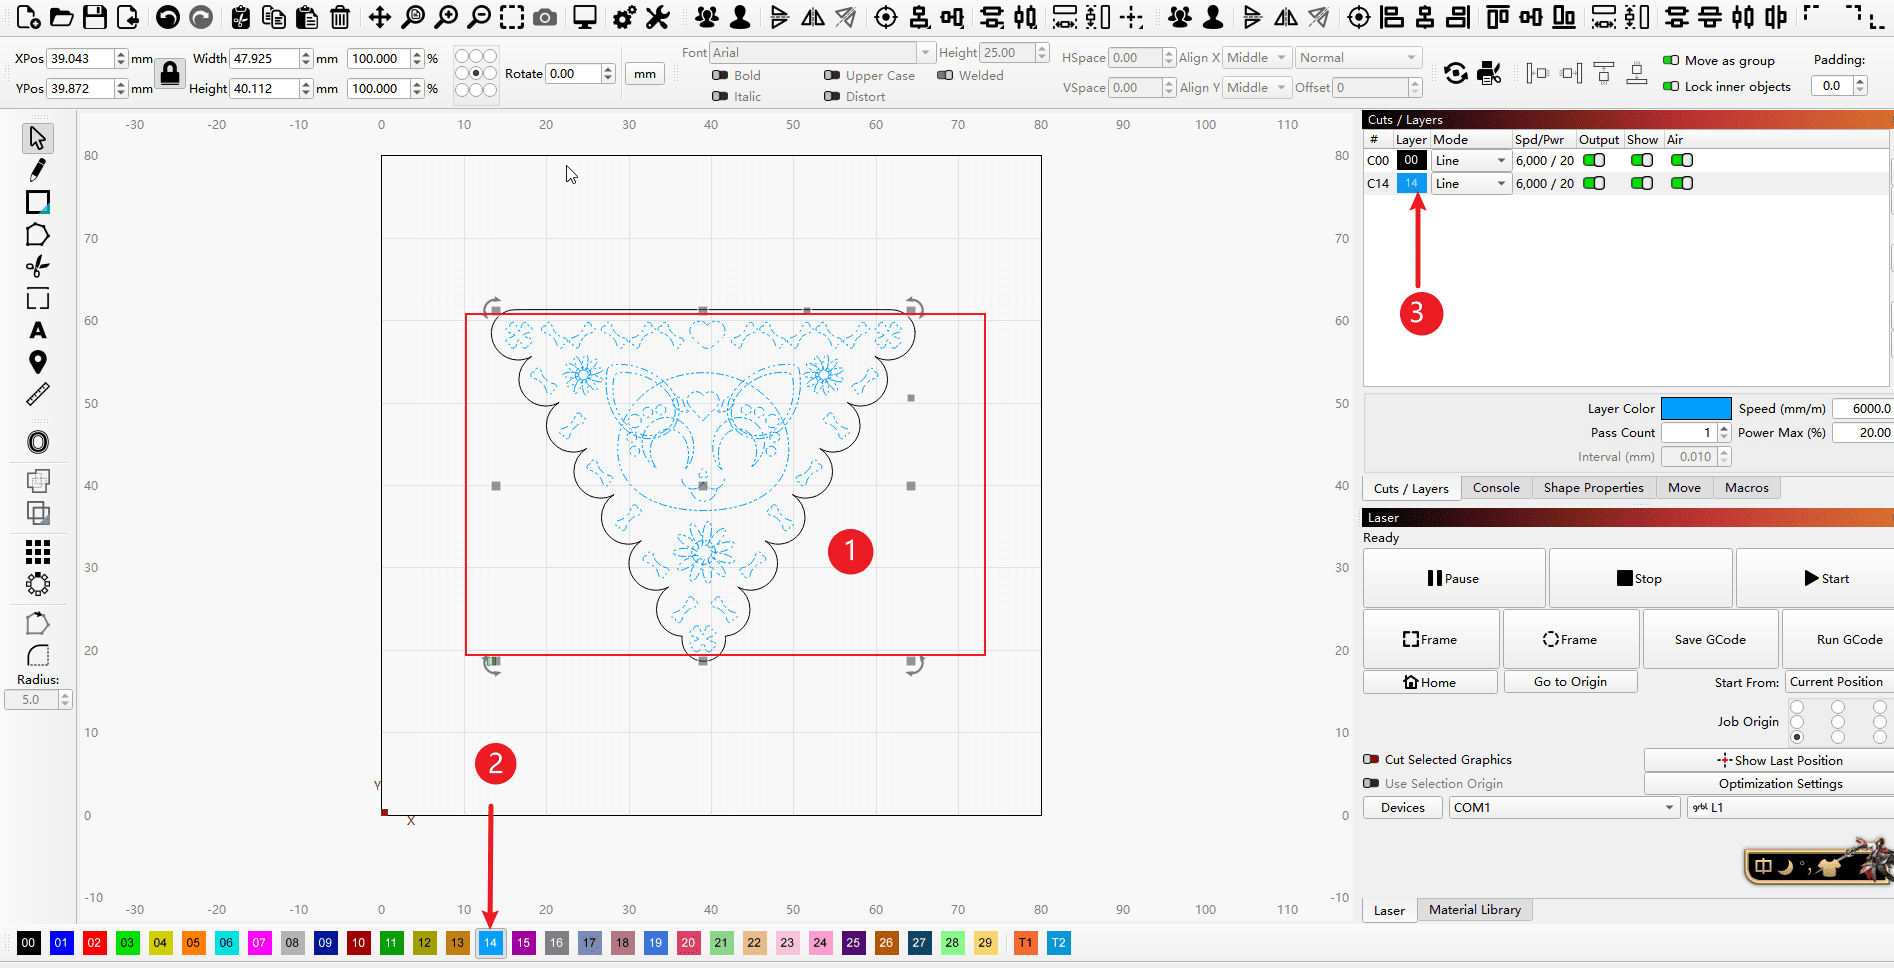
Step 2 (Perform the operations in the order indicated)
- 1.Select the vector you want to carve (you can choose the combination as you wish)
- 2.For the parts that need to be engraved, use other colors to group them so that it is easier to set different parameters.
- 3.After the grouping is completed, the new parameter settings will be displayed in the parameter column.
|
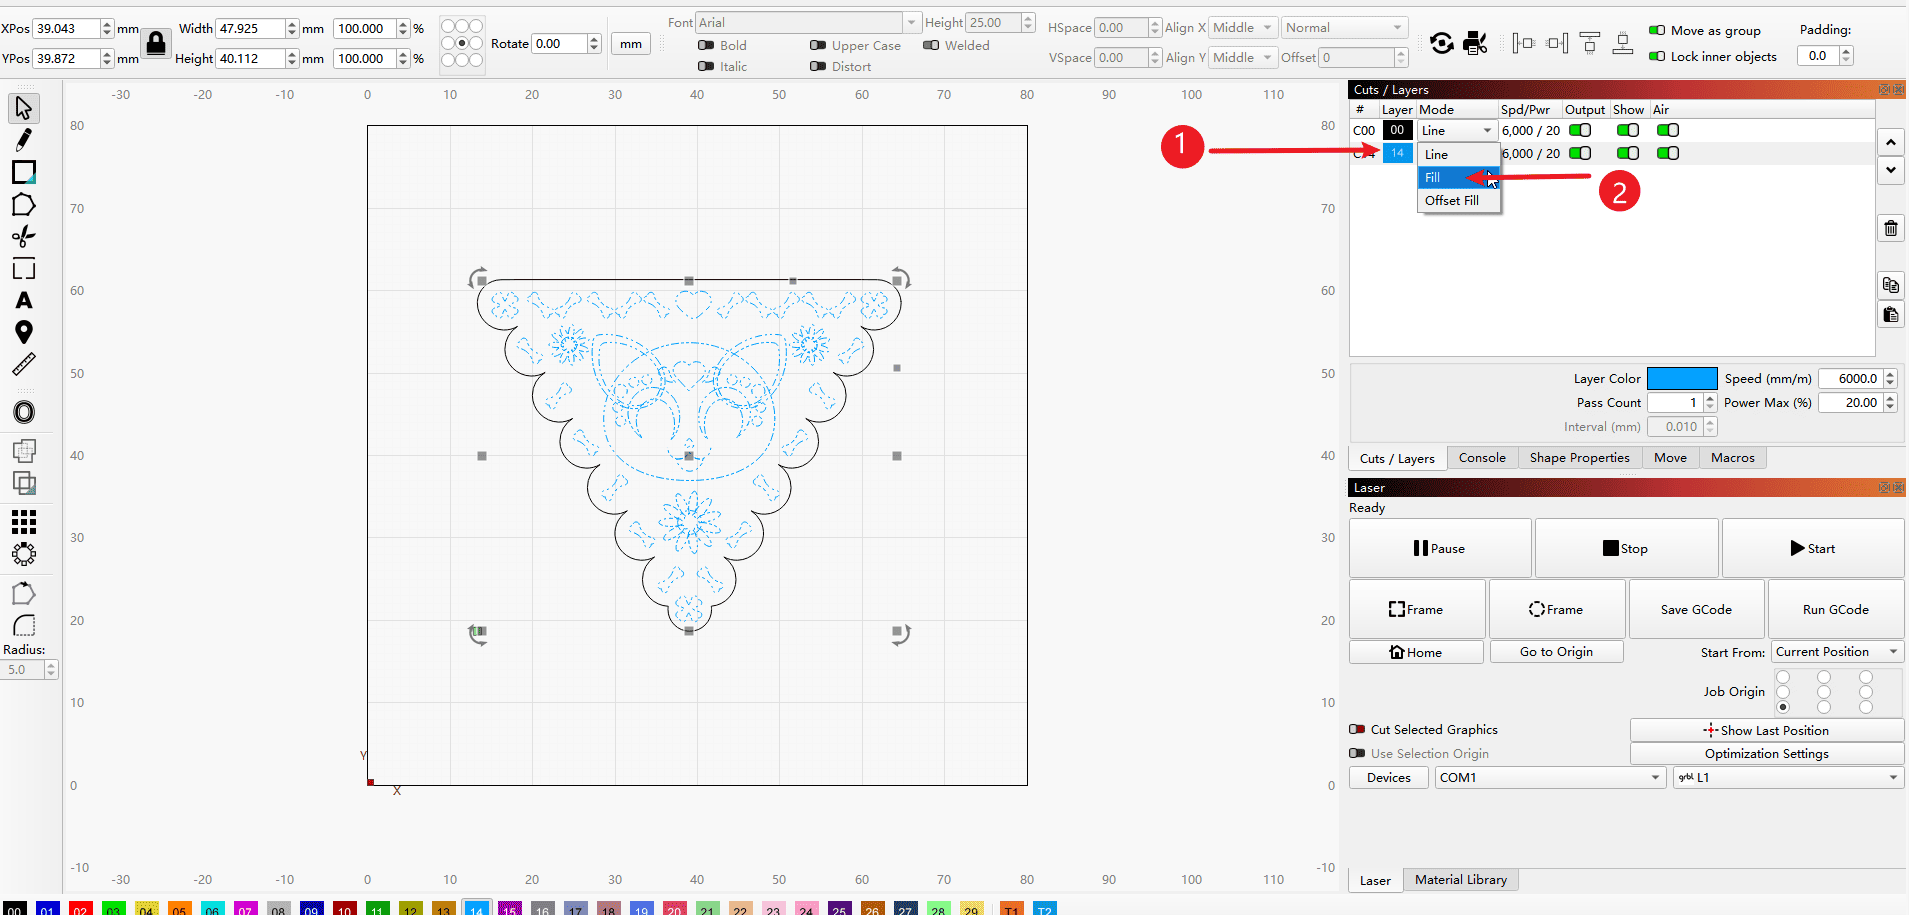
Step 3 (Perform the operations in the order indicated)
- 1.Click on the line segment of the parameter bar to set it.
- 2.Set the mode to Fill (which means to fill the selected vector with a solid color. Refer to Step 4 for details)
|
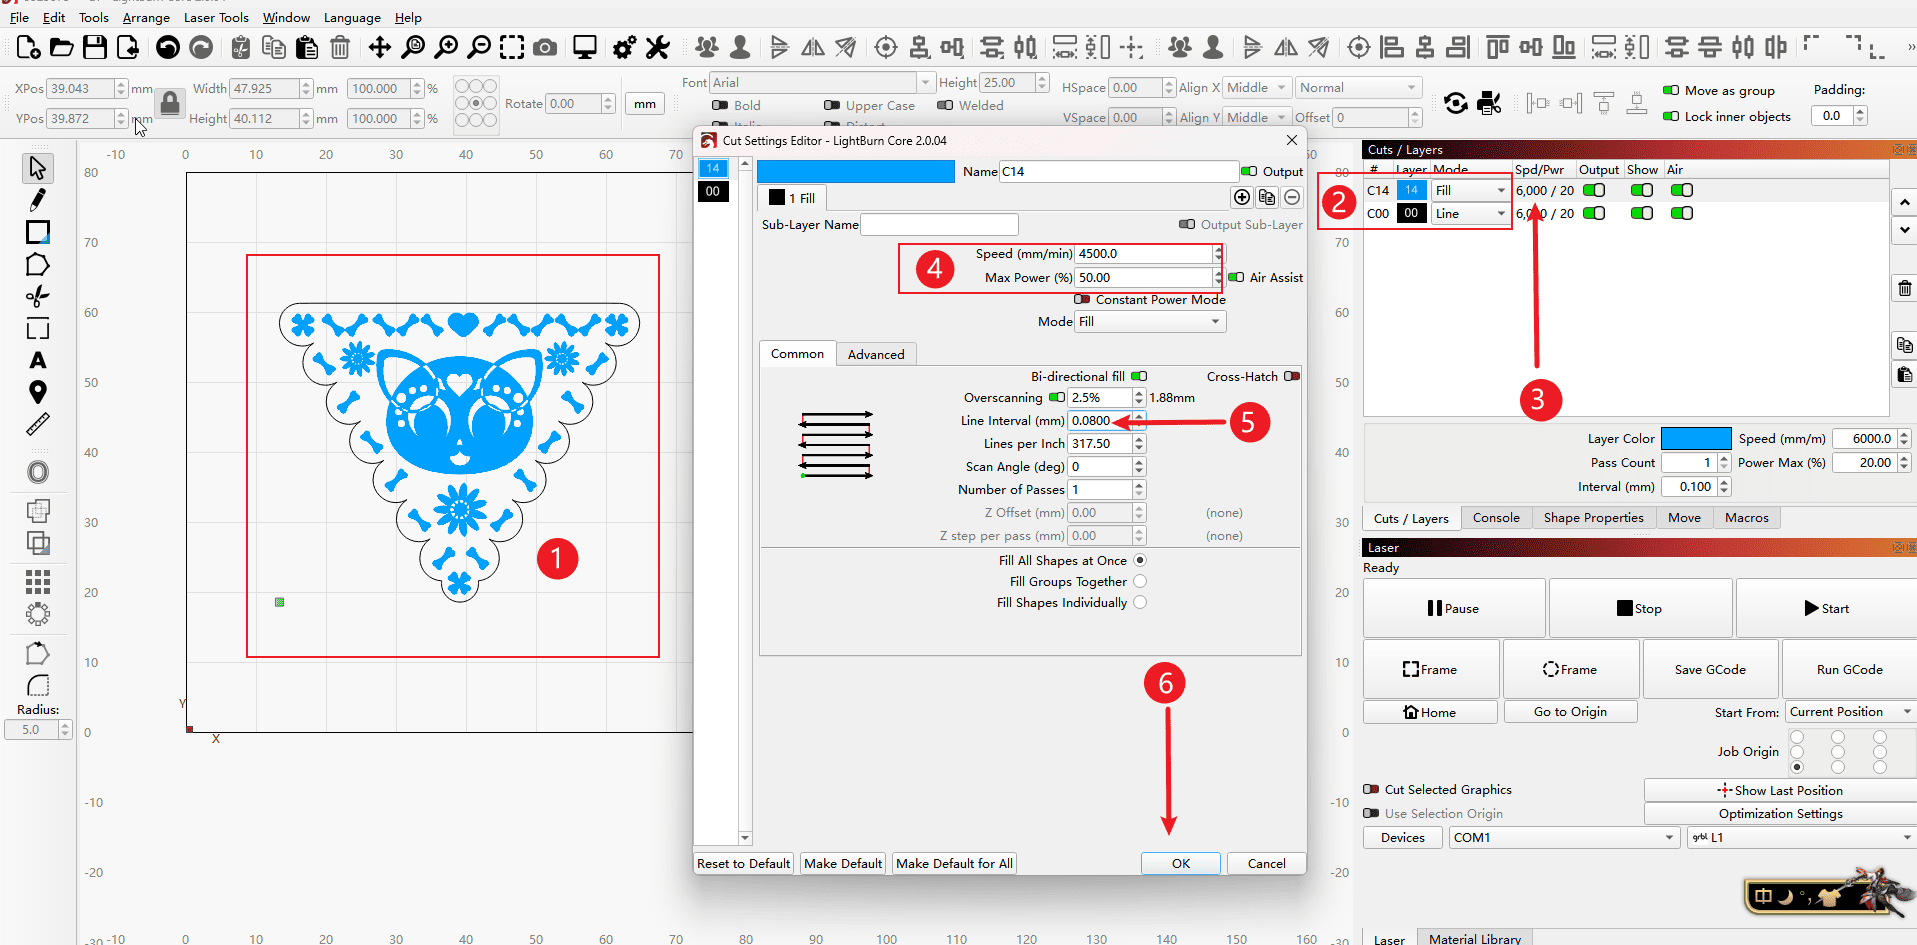
Step 4 (Perform the operations in the order indicated)
- 1.Switch to the effect image in fill mode
- 2.Swap the parameters of the filling and cutting processes to change the processing sequence (the engraving process needs to be carried out first before the cutting process)
- 3.Double-click the parameter bar
- 4.After entering the parameter settings, set the speed of the engraving and the power of the laser (this needs to be converted according to the machine you have; the parameters in the figure are only for demonstration purposes)
- 5.Set the interval of the light sources, usually set to 0.08 (you can also test it according to the content in the knowledge sharing section on the Wiki homepage and fill in as needed)
- 6.Click “OK” to save the settings.
|
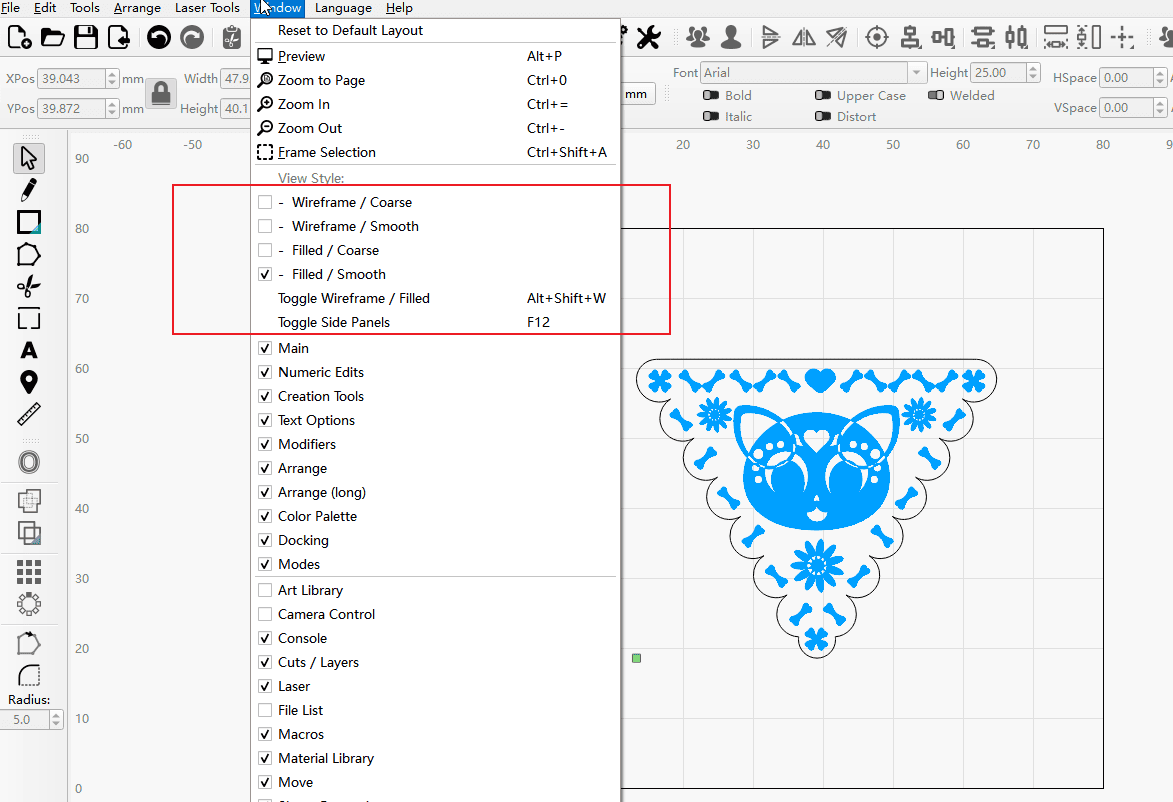
Step 5
- If the filling effect is not displayed after the setting, you can open the window’s tools to do so.
|
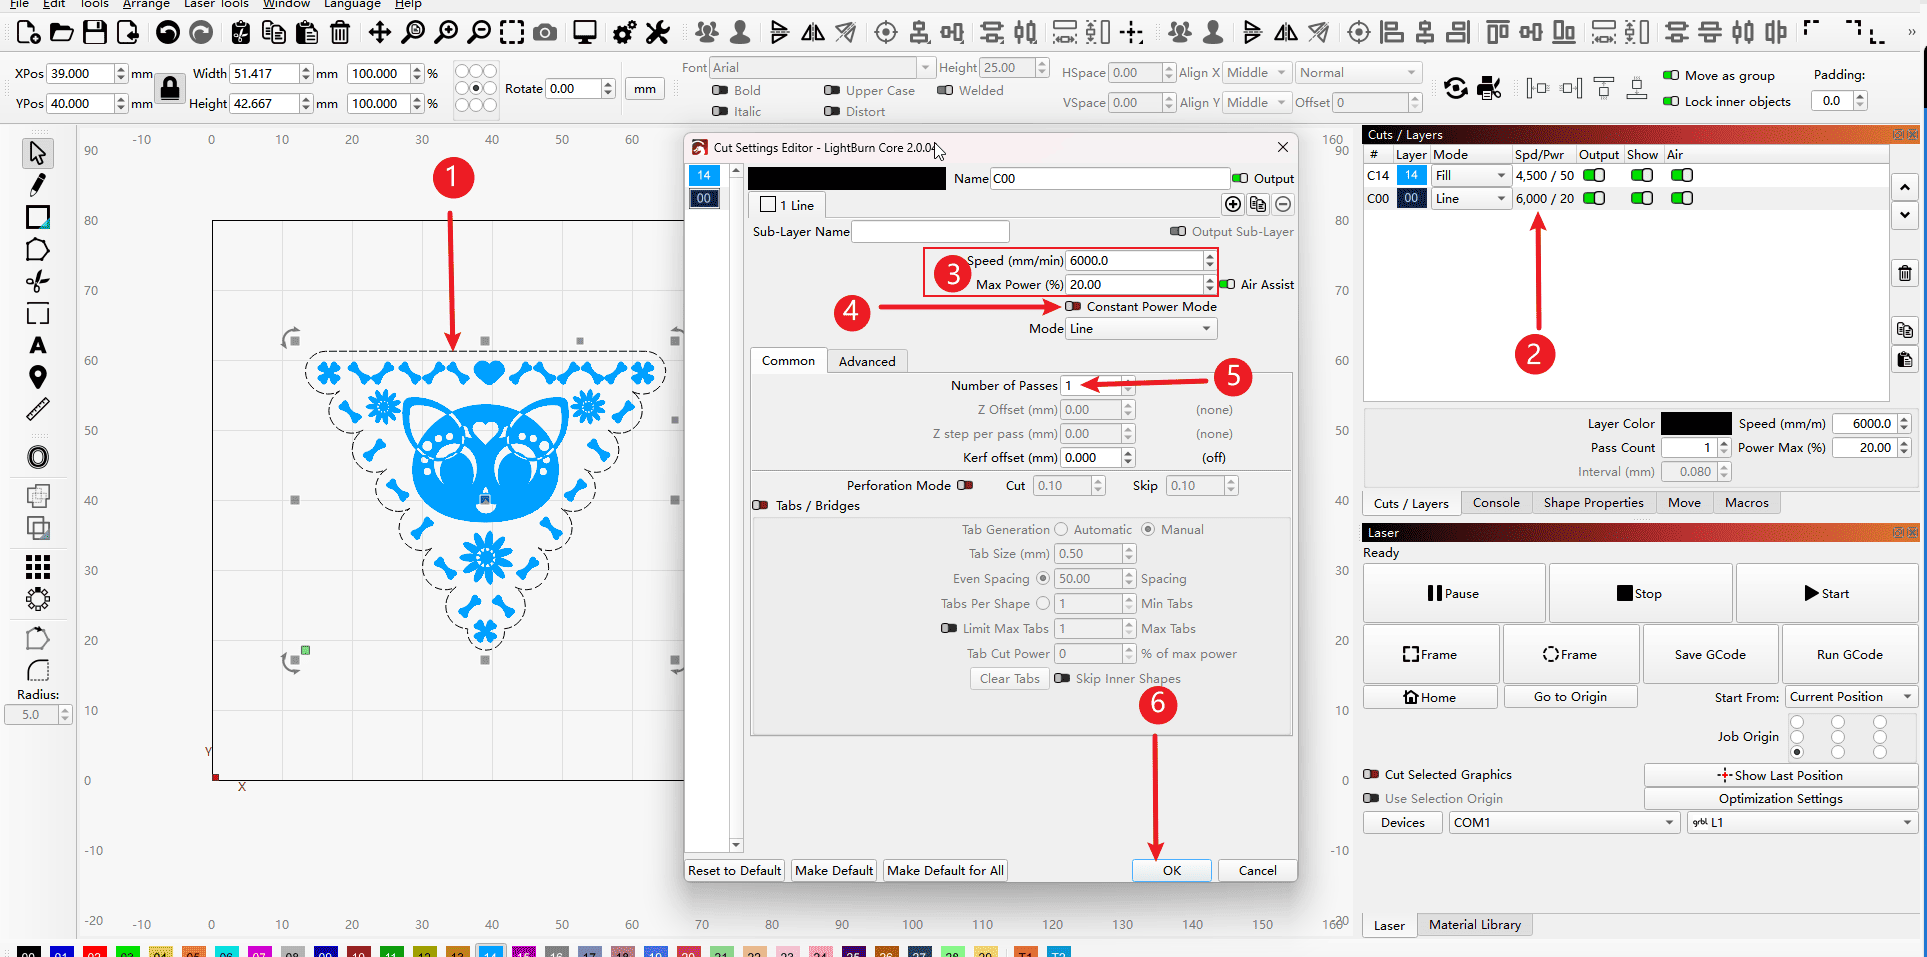
Step 6 (Perform the operations in the order indicated)
- 1.Select the edge vectors
- 2.Double-click the parameter bar
- 3.Set the speed and power of the cutting process (this needs to be converted according to the existing machine. The parameters shown in the figure are only for demonstration and can also be obtained by conducting parameter tests on the knowledge sharing page in the main menu.)
- 4.Activate the laser constant mode
- 5.Set the number of cuts
- 6.Click “OK” to save the parameters.
|
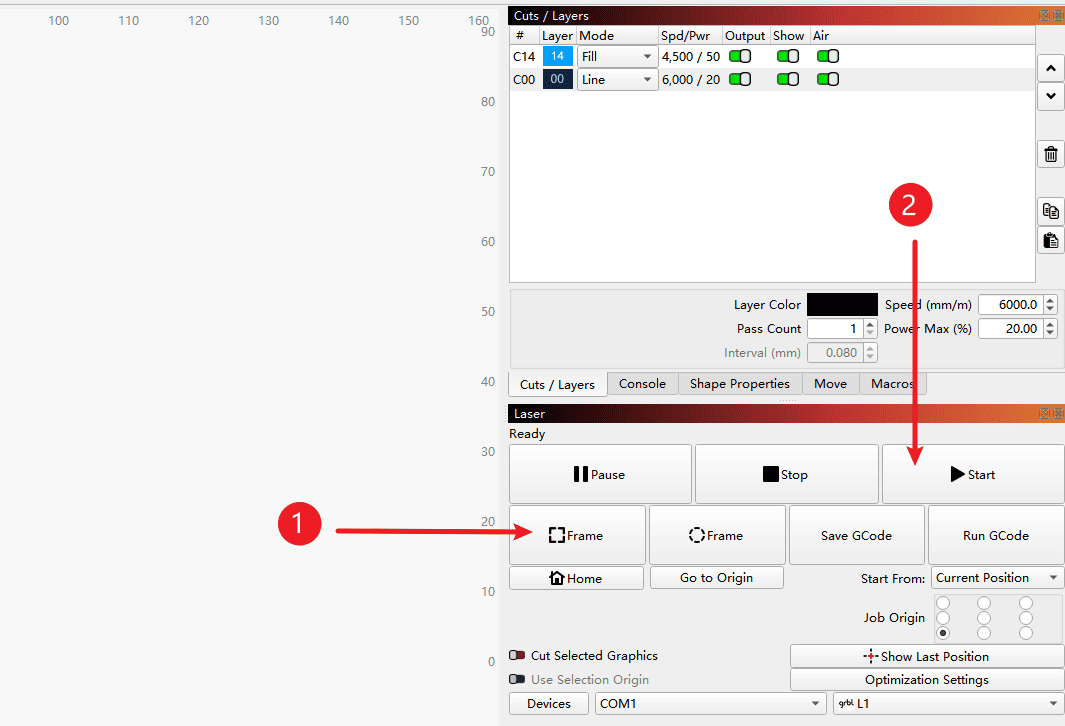
Step 7 (Perform the operations in the order indicated)
- 1.Click on “Find Edge” to check if the carving range is appropriate.
- 2.Click “Start” to begin the engraving process.
|